ISO8583 Connector Example
Given below is a sample scenario that demonstrates how the WSO2 ISO8583 Connector sends an ISO8583 message to financial networks using WSO2 Enterprise Integrator.
What you'll build
This example demonstrates how to expose core banking system functionality working with ISO8583 protocol as an API. Here WSO2 EI acts as ISO8583 terminal for the banking network. In this scenario to mock the banking network we used Test mock server.
Given below is a sample API that illustrates how you can configure ISO8583 with the init operation and then use the iso8583.sendMessage operation to send an ISO8583 message for the financial transactions.
To know the further information about the init and iso8583.sendMessage operations please refer this link.

If you do not want to configure this yourself, you can simply get the project and run it.
Configure the connector in WSO2 Integration Studio
Follow these steps to set up the Integration Project and the Connector Exporter Project.
-
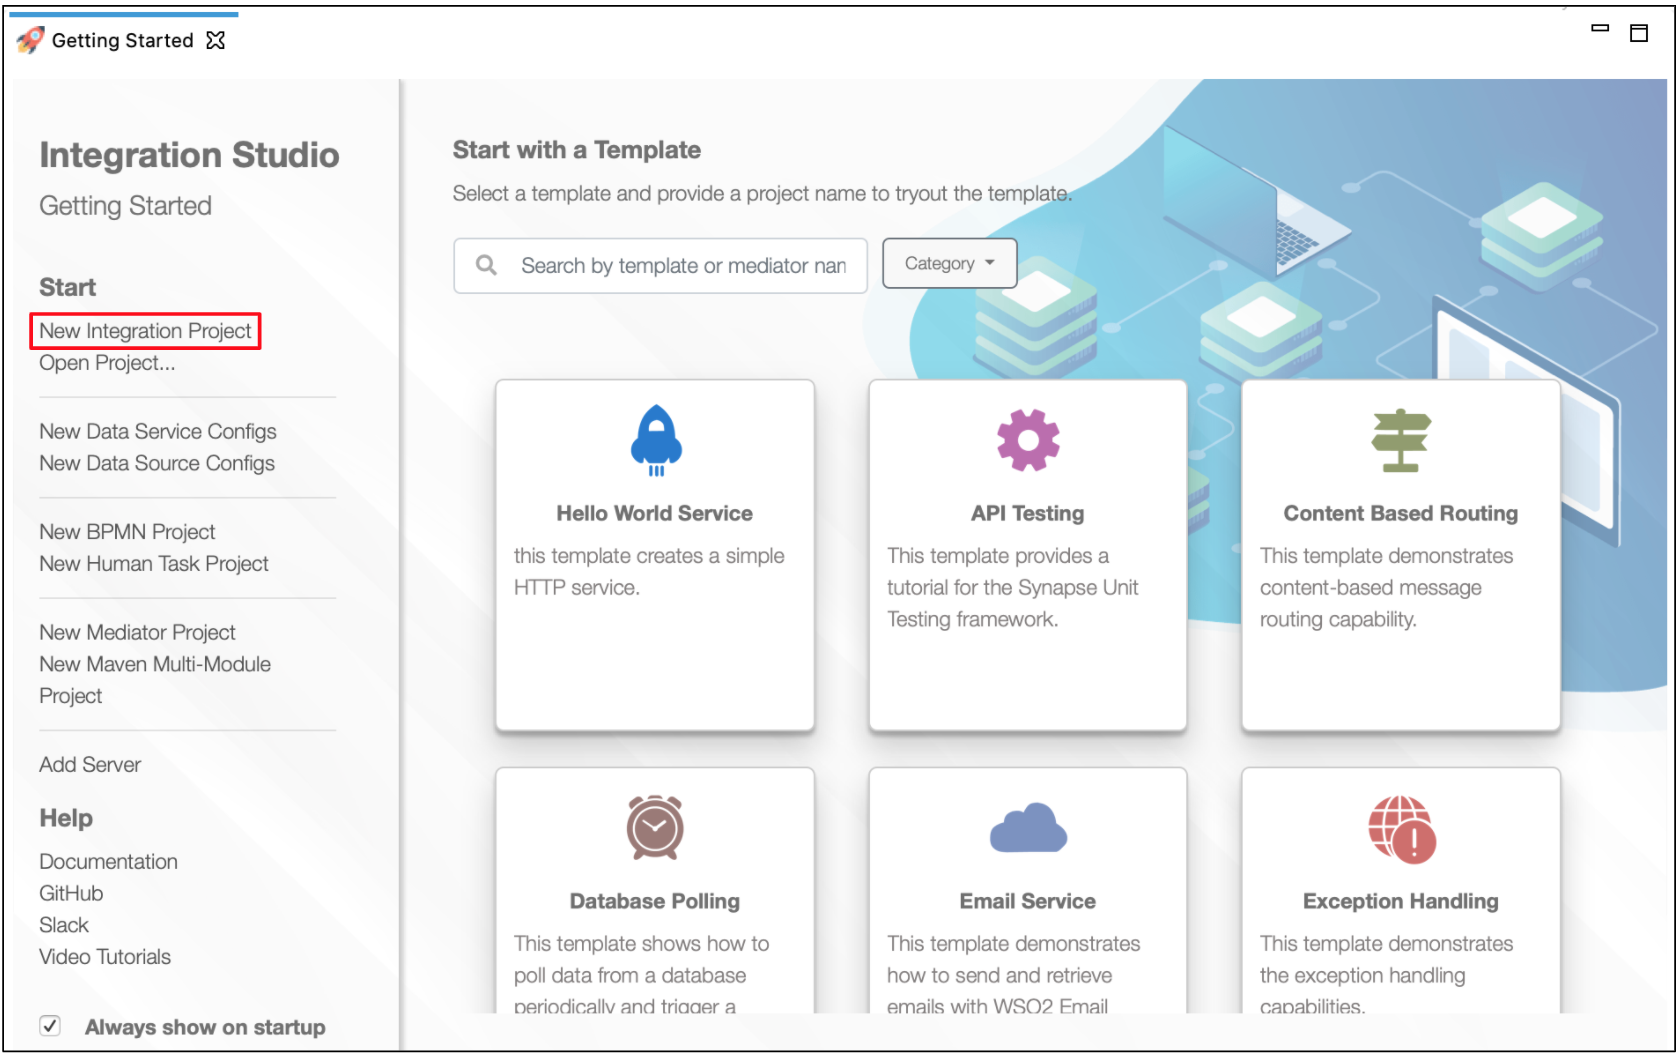
Open WSO2 Integration Studio and create an Integration Project.

-
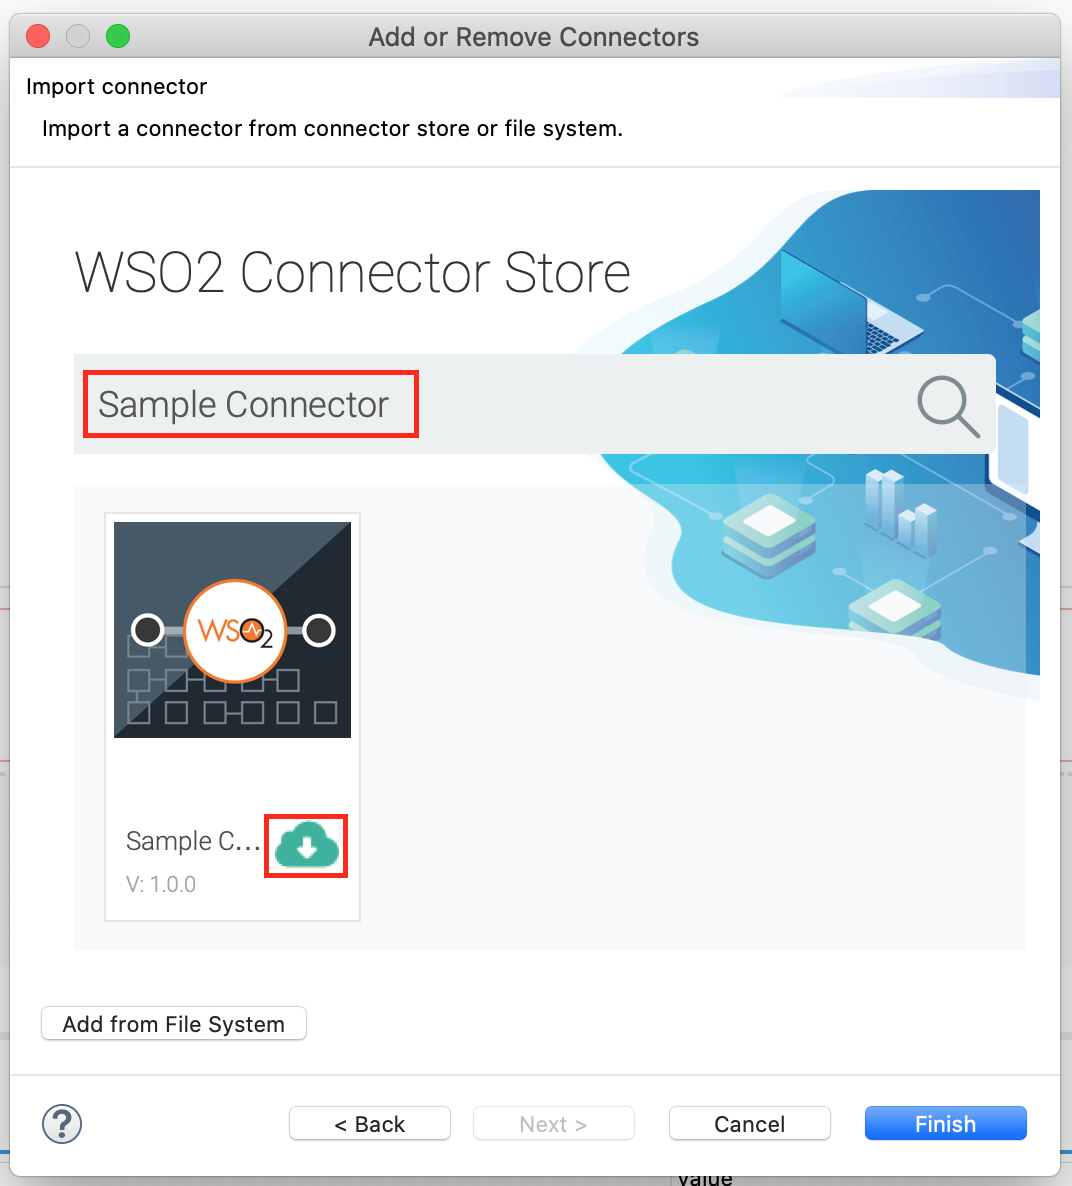
Right click on the project that you created and click on Add or Remove Connector -> Add Connector. You will get directed to the WSO2 Connector Store.
-
Search for the specific connector required for your integration scenario and download it to the workspace.

-
Click Finish, and your Integration Project is ready. The downloaded connector is displayed on the side palette with its operations.
-
You can drag and drop the operations to the design canvas and build your integration logic.

-
Right click on the created Integration Project and select, -> New -> Rest API to create the REST API.
-
Specify the API name as
SendisoTestAPIand API context as/sendiso. You can go to the source view of the XML configuration file of the API and copy the following configuration (source view).
<?xml version="1.0" encoding="UTF-8"?>
<api context="/sendiso" name="SendisoTestAPI" xmlns="http://ws.apache.org/ns/synapse">
    <resource methods="POST">
        <inSequence>
            <log>
                <property name="status" value="Sending_an_ISO8583_Messsage"/>
            </log>
            <iso8583.init>
                <serverHost>localhost</serverHost>
                <serverPort>5010</serverPort>
            </iso8583.init>
            <iso8583.sendMessage/>
            <respond/>
        </inSequence>
        <outSequence>
            <log/>
            <send/>
        </outSequence>
        <faultSequence/>
    </resource>
</api>Get the project
You can download the ZIP file and extract the contents to get the project code.
Deployment
Follow these steps to deploy the exported CApp in the Enterprise Integrator Runtime.
Testing
Invoke the API as shown below using the curl command. Curl Application can be downloaded from here.
       curl -v POST -d
       '<ISOMessage>
            <header>AAAAaw==</header>
            <data>
             <field id="104">000001161204171926FABCDE123ABD06414243</field>
             <field id="109">000termid1210Community106A5DFGR1112341234234</field>
             <field id="125">1048468112122012340000100000001107221800</field>
             <field id="127">01581200F230040102B000000000000004000000</field>
            </data>
</ISOMessage>' "http://localhost:8290/sendiso" -H "Content-Type:application/xml" <ISOMessage>
<header>MDIxMA==</header>
<data>
<field id="0">8000</field>
<field id="23">000</field>
</data>
</ISOMessage> What's next
- You can deploy and run your project on Docker or Kubernetes. See the instructions in Running the Micro Integrator on Containers.
