K8s Deployment Sample 1: Hello World Scenario
Let's define a basic Hello World scenario using WSO2 Micro Integrator and deploy it on your Kubernetes environment.
Prerequisites
-
Install and set up WSO2 Integration Studio.
Tip
Be sure to get the latest updates before trying this example.
-
Install a Kubernetes cluster and v1.11+ client. Alternatively, you can run Kubernetes locally via Minikube.
- Install Docker.
- Install the EI Kubernetes operator.
Step 1: Create the integration solution
Follow the steps given below.
-
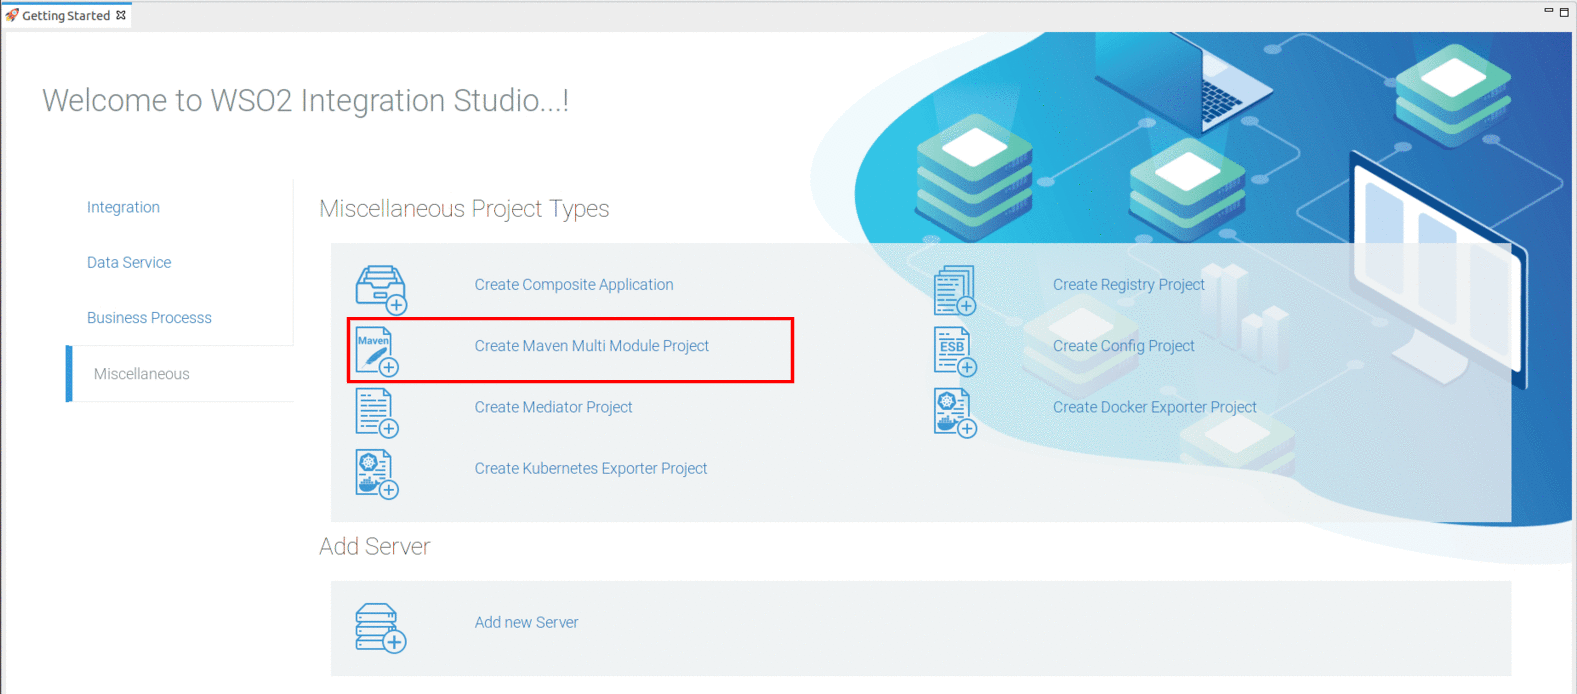
Create a Maven Multi Module project using WSO2 Integration Studio.
-
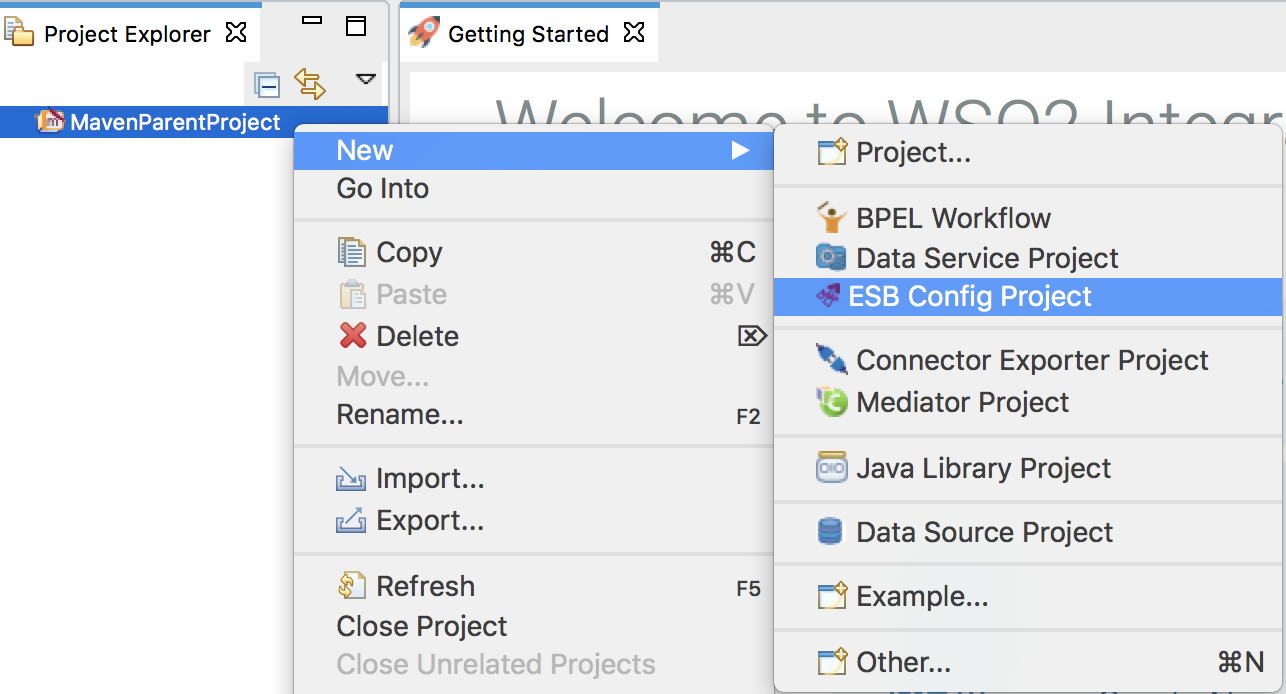
Create an ESB Config Project inside the Maven Multi Module project:
Right-click the Maven Multi Module project in the project explorer, go to New → Project, and select ESB Config Project to open the New ESB Config Project dialog.
-
Add the following proxy service configuration inside the ESB Config Project. This will return the "{"Hello":"World"}" response payload for the service request.
-
Right-click the ESB Config project in the project explorer, go to New -> Proxy Service and create a custom proxy service named
HelloWorld.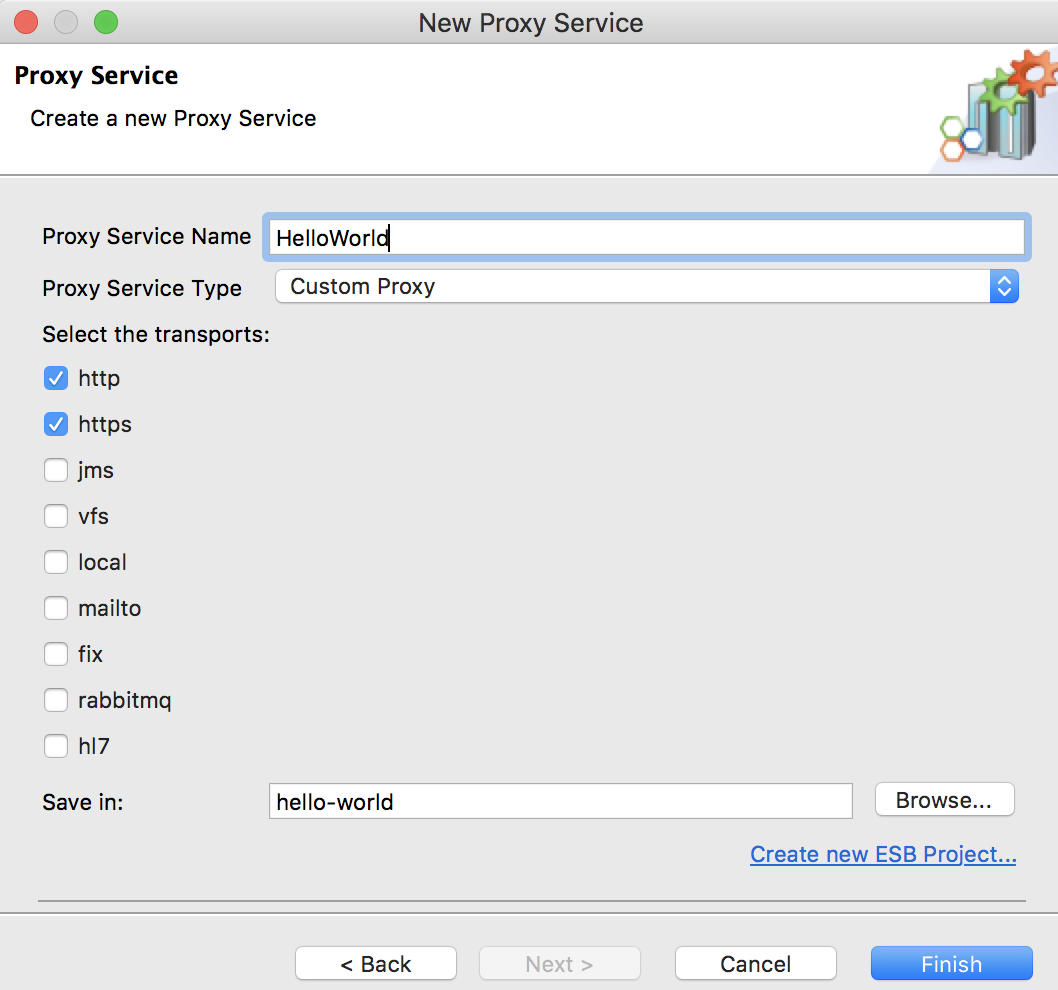
-
You can then use the Source View to copy the following configuration.
<?xml version="1.0" encoding="UTF-8"?>
<proxy name="HelloWorld" startOnLoad="true" transports="http https" xmlns="http://ws.apache.org/ns/synapse">
    <target>
        <inSequence>
            <payloadFactory media-type="json">
                <format>{"Hello":"World"}</format>
                <args/>
            </payloadFactory>
            <respond/>
        </inSequence>
        <outSequence/>
        <faultSequence/>
    </target>
</proxy>
-
-
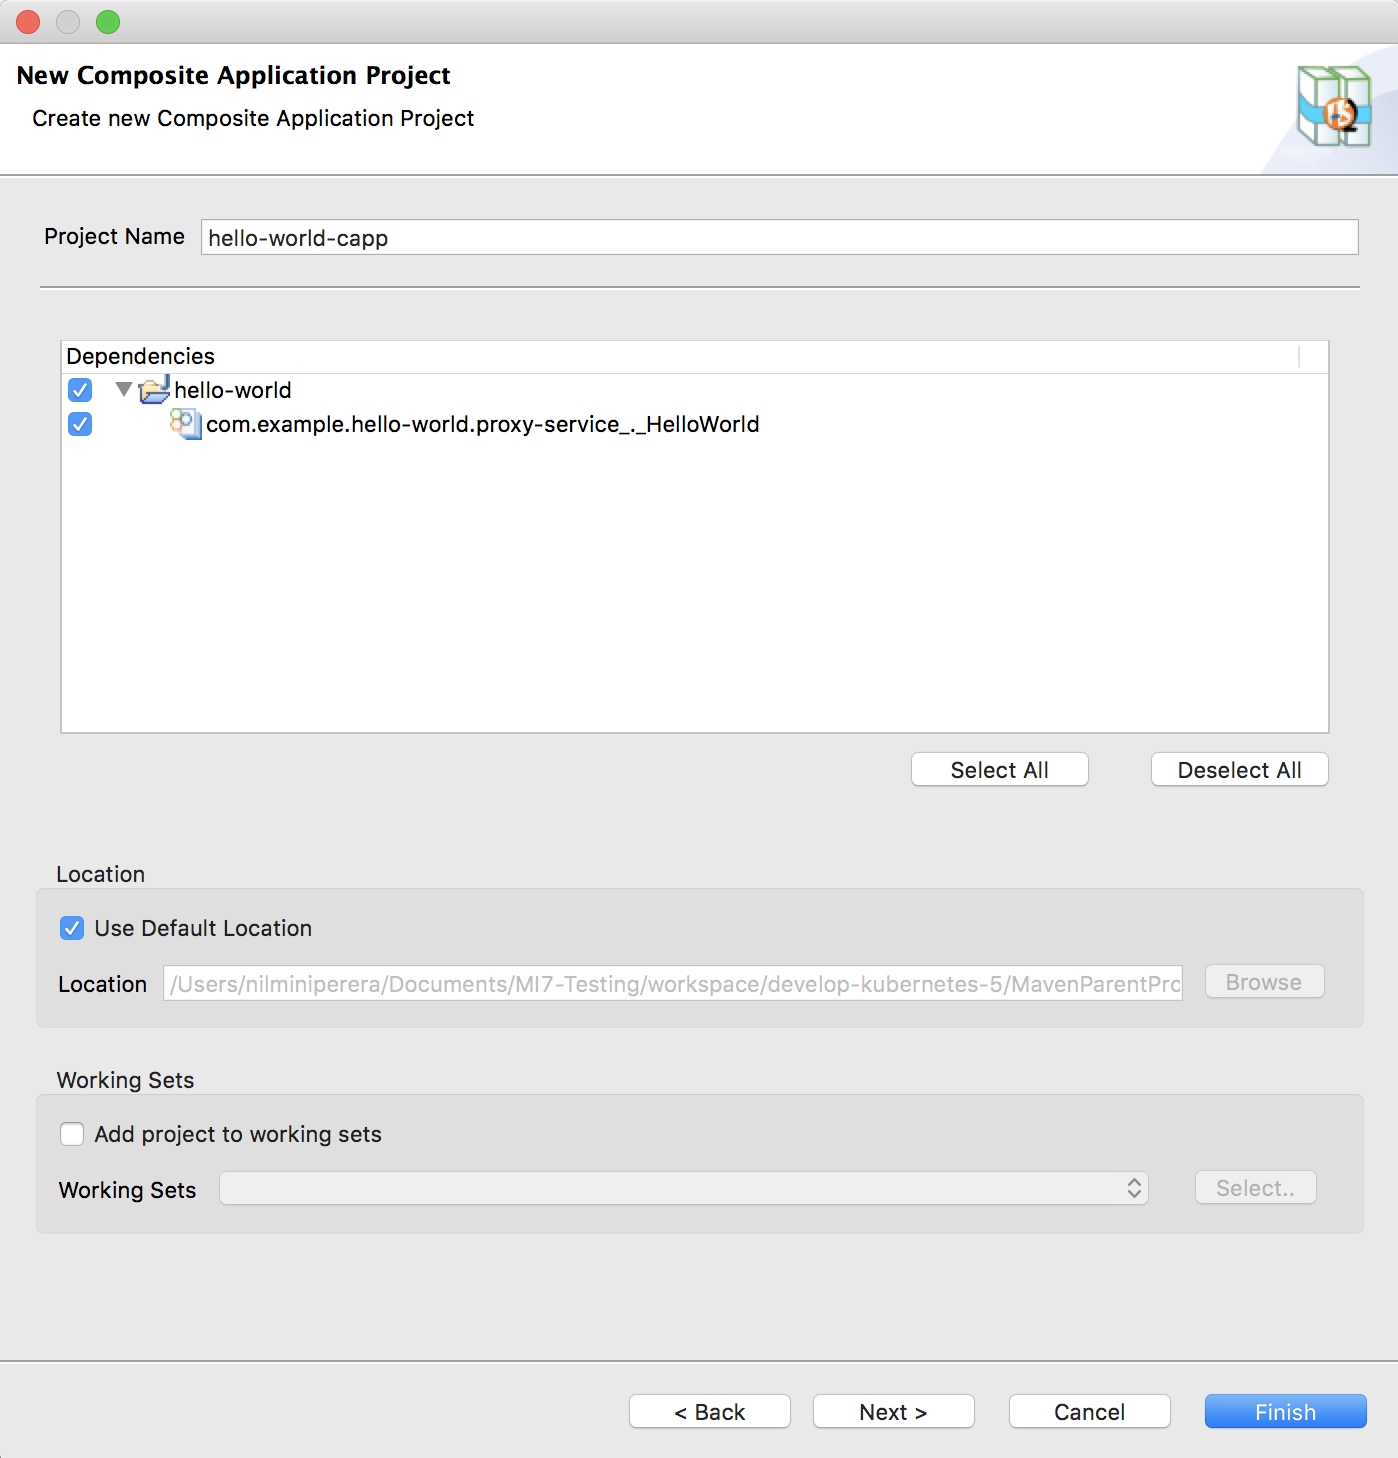
Create a Composite Application Project with the above proxy service inside the Maven Multi Module project.
- Right-click the maven multi modiule project, go to New → Project, select Composite Application Project, and click Next.
-
Be sure to select the proxy service under Dependencies as shown below.
-
Click Finish.
-
Create a Kubernetes Project inside the Maven Multi Module Project.
- Right-click the Maven Multi Module project, go to New → Project, select Kubernetes Exporter Project, and click Next.

-
In the Kubernetes Project Information dialog that opens, enter the following details:
Parameter Description Kubernetes Project Name Give a unique name for the project. Integration Name This name will be used to identify the integration solution in the kubernetes custom resource. Let's use hello-worldas the integration name for this example.Number of Replicas Specify the number of pods that should be created in the kubernetes cluster. Base Image Repository Specify the base Micro Integrator Docker image for your solution. For this example, let's use the Micro Integrator docker image from the WSO2 public docker registry: wso2/wso2mi. Note that the image value format should be 'docker_user_name/repository_name'. Base Image Tag Give a tag name for the base Docker image. Target Image Repository The Docker repository to which the Docker image will be pushed: 'docker_user_name/repository_name'. Target Image Tag Give a tag name for the Docker image. -
This step is only required if you already have a Docker image (in your local Docker repository) with the same name as the base image specified above.
Info
In this scenario, WSO2 Integration Studio will first check if there is a difference in the two images before pulling the image specified in the Base Image Repository field. If the given base image is more updated, the existing image will be overwritten by this new image. Therefore, if you are currently using an older version, or if you have custom changes in your existing image, they will be replaced.
To avoid your existing custom/older images from being replaced, add the following property under dockerfile-maven-plugin -> executions -> execution -> configurations in the
pom.xmlfile of your Docker Exporter project. This configuration will ensure that the base image will not be pulled when a Docker image already exists with the same name.<pullNewerImage>false</pullNewerImage>
- Right-click the Maven Multi Module project, go to New → Project, select Kubernetes Exporter Project, and click Next.
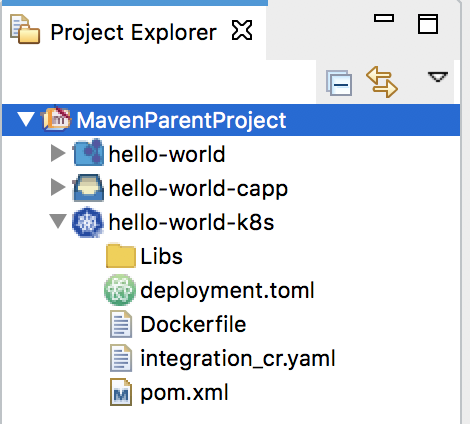
Finally, the created Maven Multi Module project should look as follows:
Step 2: Package and build the solution
You need to build a Docker image of the integration solution and push it to your Docker registry.
- Start the Docker daemon in the host machine.
-
Open the pom.xml file in the Kubernetes project and ensure that the composite application is selected under Dependencies.
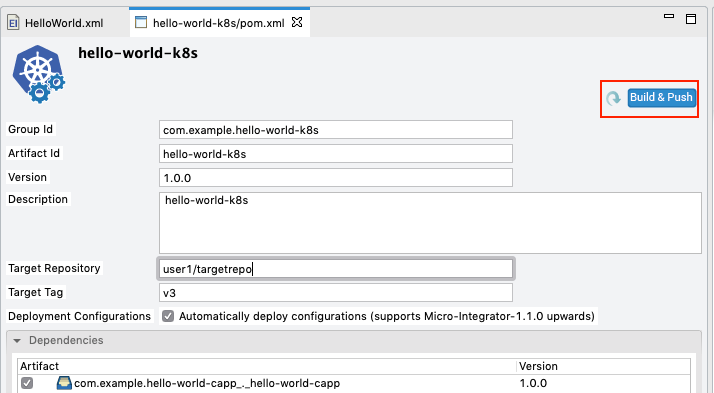
-
Leave the Automatically deploy configurations check box selected. This ensures that deployment configurations are automatically deployed to the base image.
-
Click Build and Push.
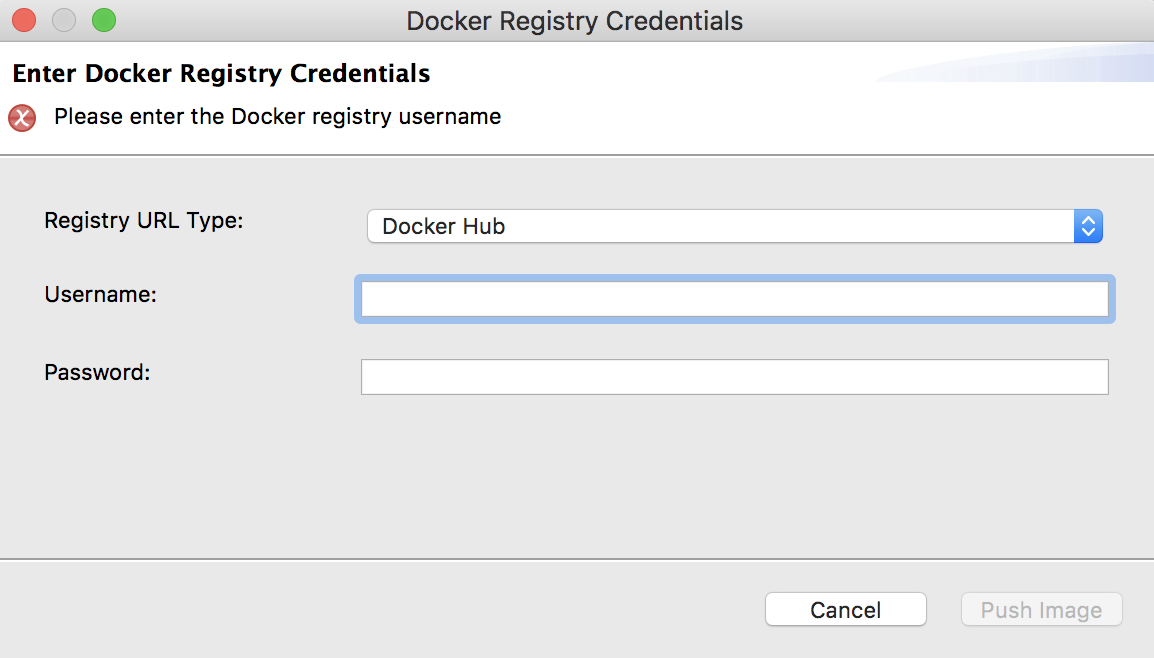
In the dialog that opens, enter the credentials of your Docker registry to which the image should be pushed.
Info
Alternatively, you can build the Docker image and push it to the Docker registry as follows:
- Navigate to the Maven Multi Module project and run the following command to build the project. It will create a docker image with the provided target repository and tag once the build is successfull.
mvn clean install -Dmaven.test.skip=true - Navigate to the Kubernetes project inside the MavenParentProject and run the following command to push the docker image to the remote docker registry.
mvn dockerfile:push -Ddockerfile.username={username} -Ddockerfile.password={password}
- Navigate to the Maven Multi Module project and run the following command to build the project. It will create a docker image with the provided target repository and tag once the build is successfull.
-
Run the
docker image lscommand to verify that the Docker image is created.
Step 3: Deploy the solution in K8s
Info
Before you begin, be sure that the system requrements are in place, and that the EI Kubernetes Operator is installed.
Follow the steps given below.
- Open the
integration_cr.yamlfile from the Kubernetes project in WSO2 Integration Studio. -
See that the integration details of the
hello-worldsolution are updated:apiVersion: "integration.wso2.com/v1alpha2" kind: "Integration" metadata: name: "hello-world" spec: replicas: 1 image: "<Docker image for the Hello World Scenario>" -
Open a terminal, navigate to the location of your
integration_cr.yamlfile, and execute the following command to deploy the integration solution in the Kubernetes cluster:kubectl apply -f integration_cr.yaml
When the integration is successfully deployed, it should create the hello-world integration, hello-world-deployment, hello-world-service, and ei-operator-ingress as follows:
Tip
The ei-operator-ingress will not be created if you have disabled the ingress controller.
kubectl get integration

NAME          STATUS    SERVICE-NAME    AGE
hello-world   Running   hello-service   2m

kubectl get deployment

NAME                     READY   UP-TO-DATE   AVAILABLE   AGE
hello-world-deployment   1/1     1            1           2m

kubectl get services
NAME                     TYPE        CLUSTER-IP       EXTERNAL-IP   PORT(S)       AGE
hello-world-service      ClusterIP   10.101.107.154   <none>        8290/TCP      2m
kubernetes               ClusterIP   10.96.0.1        <none>        443/TCP       2d
k8s-ei-operator          ClusterIP   10.98.78.238     <none>        443/TCP       1d

kubectl get ingress
NAME                  HOSTS     ADDRESS     PORTS     AGE
ei-operator-ingress   wso2ei    10.0.2.15   80, 443   2m
Step 4: Test the deployment
Let's invoke the service without going through the ingress controller.
-
Apply port forwarding as shown below. This will allow you to invoke the service without going through the Ingress controller:
kubectl port-forward service/hello-world-service 8290:8290 -
Invoke the service as follows:
curl http://localhost:8290/services/HelloWorld
You will receive the following response:
{"Hello":"World"}%