Creating a Project Solution
An integration solution consists of one or several project directories. These directories store the various artifacts that you create for your integration sequence.
WSO2 Integration Studio allows you to simultaneously create all the project directories that are required for your solution by using a single wizard.
Follow the steps given below.
Prerequisites
It is recommended to get the latest updates for your WSO2 Integration Studio before trying these instructions.
Step 1: Select the required projects
-
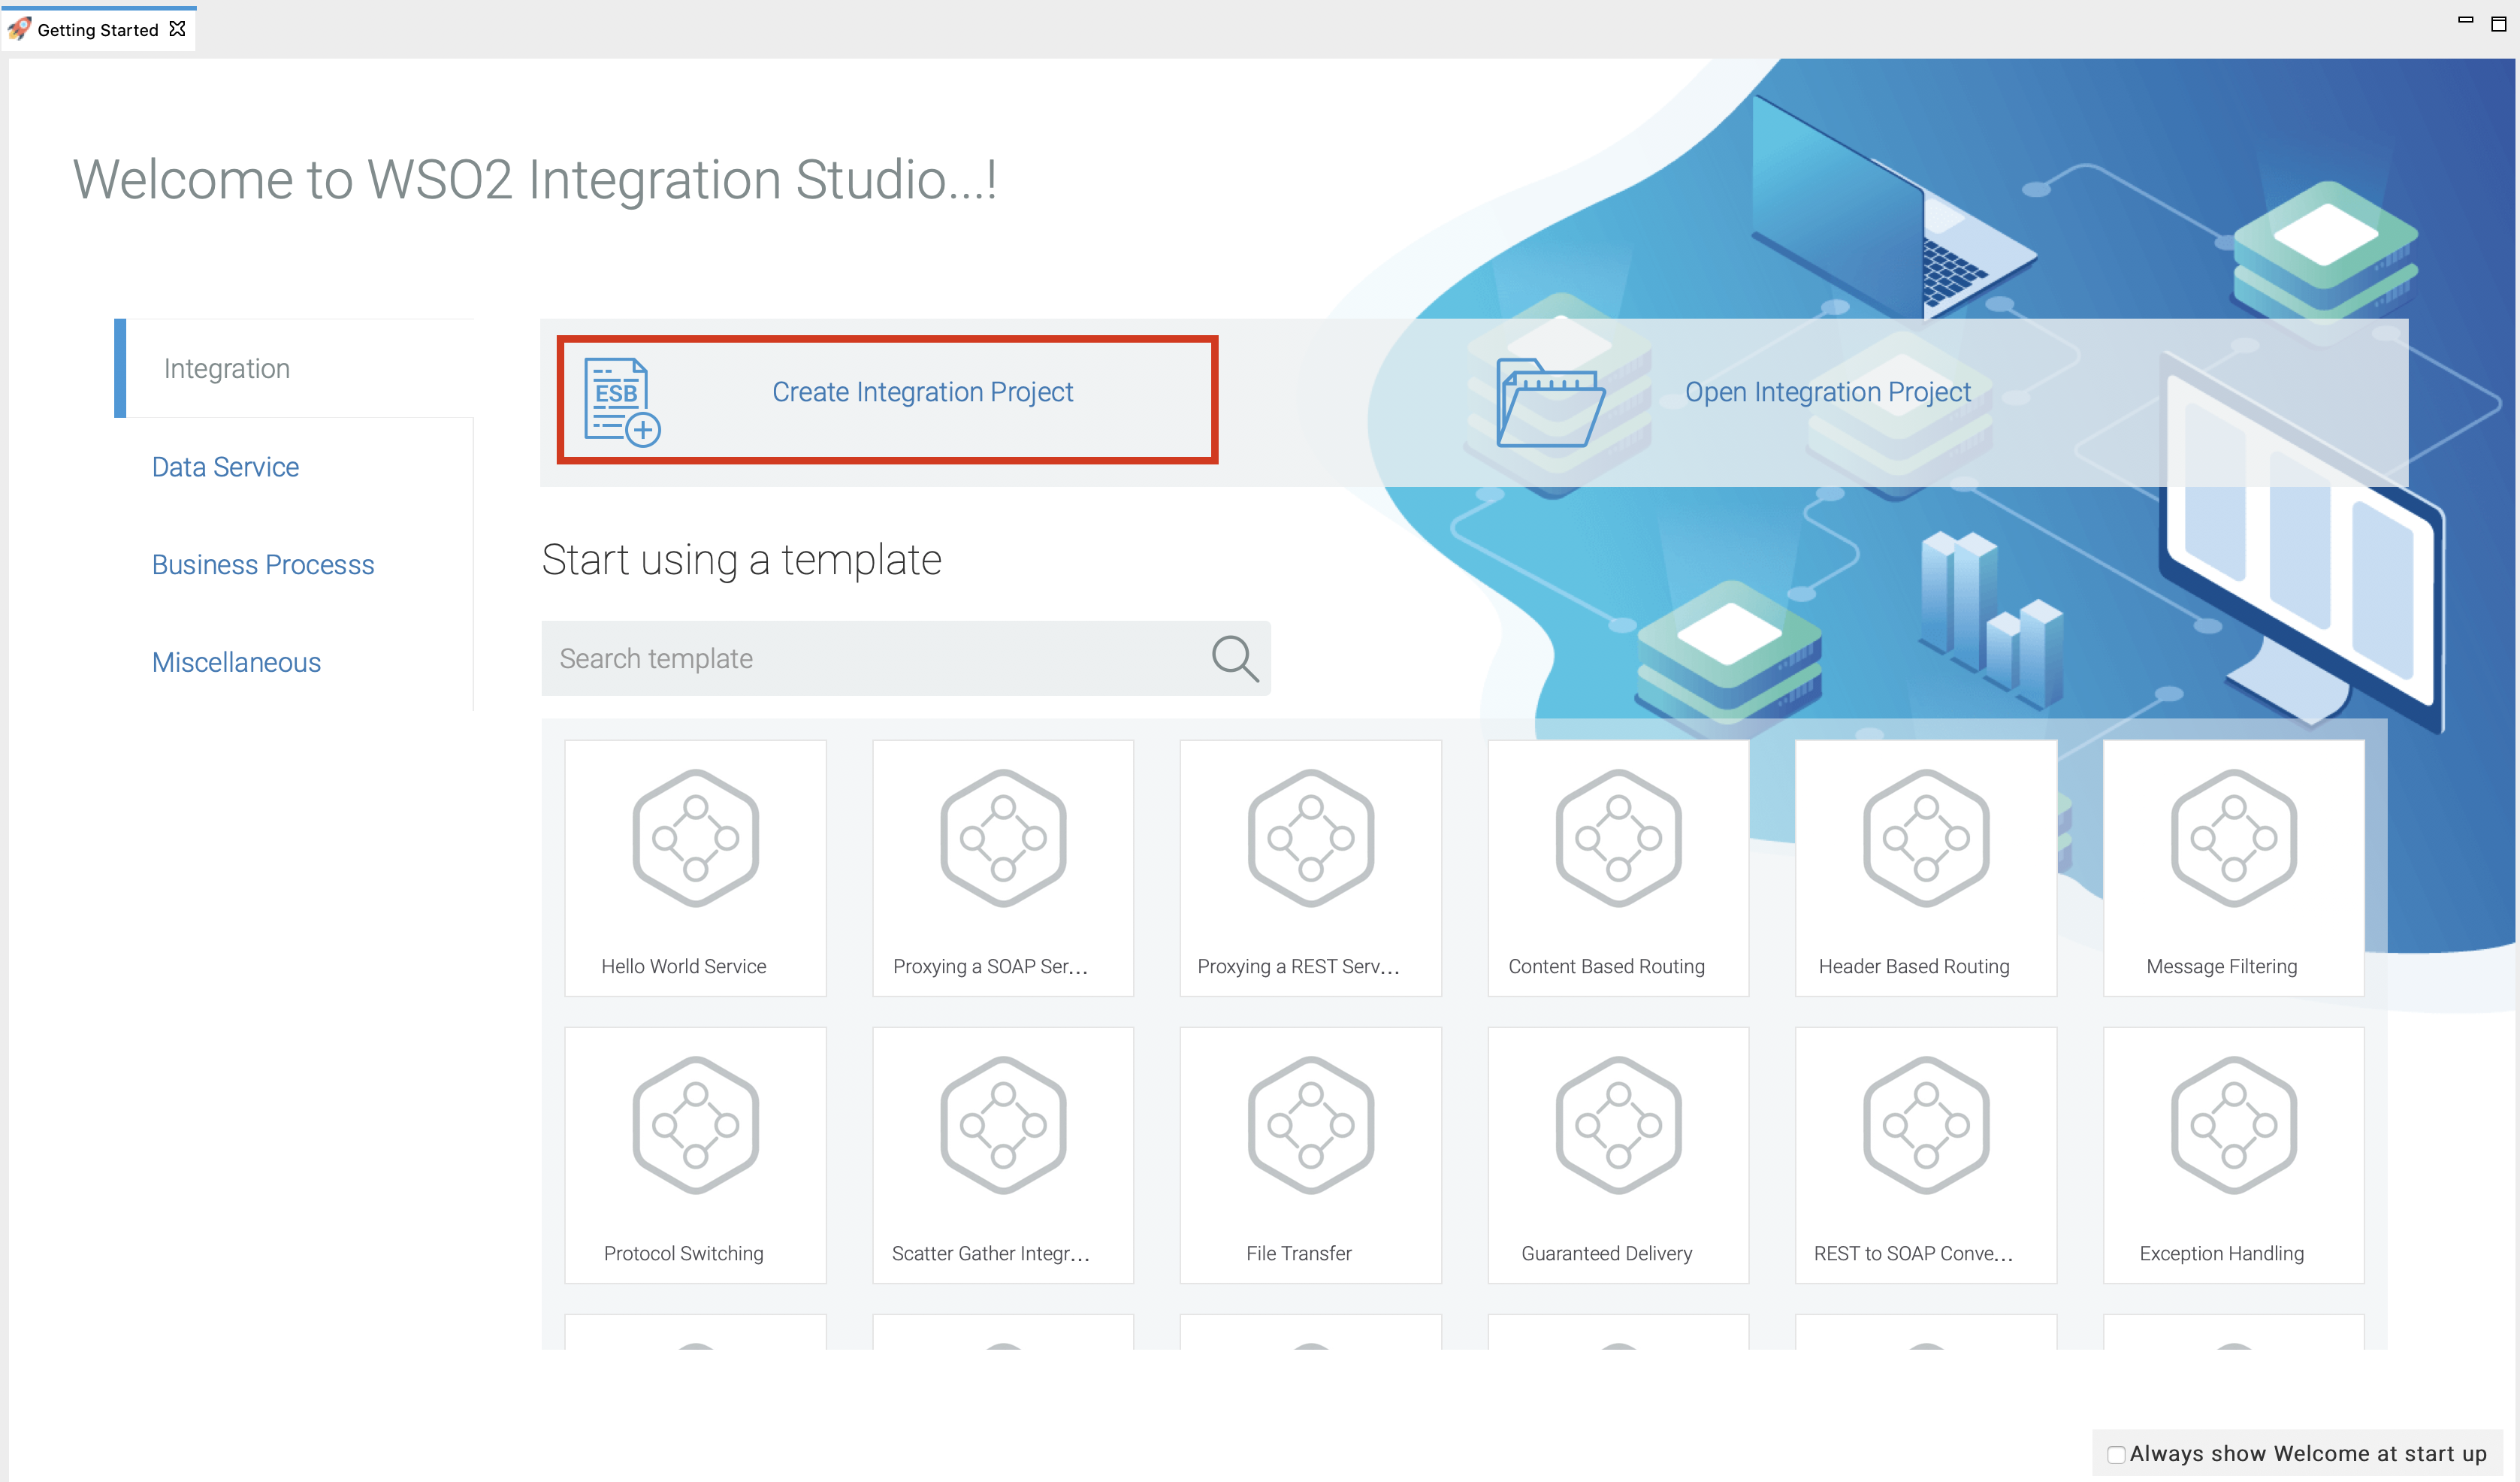
Open WSO2 Integration Studio and click Integration → Create Integration Project in the Getting Started view as shown below.
-
In the New Integration Project dialog that opens, provide the following information:
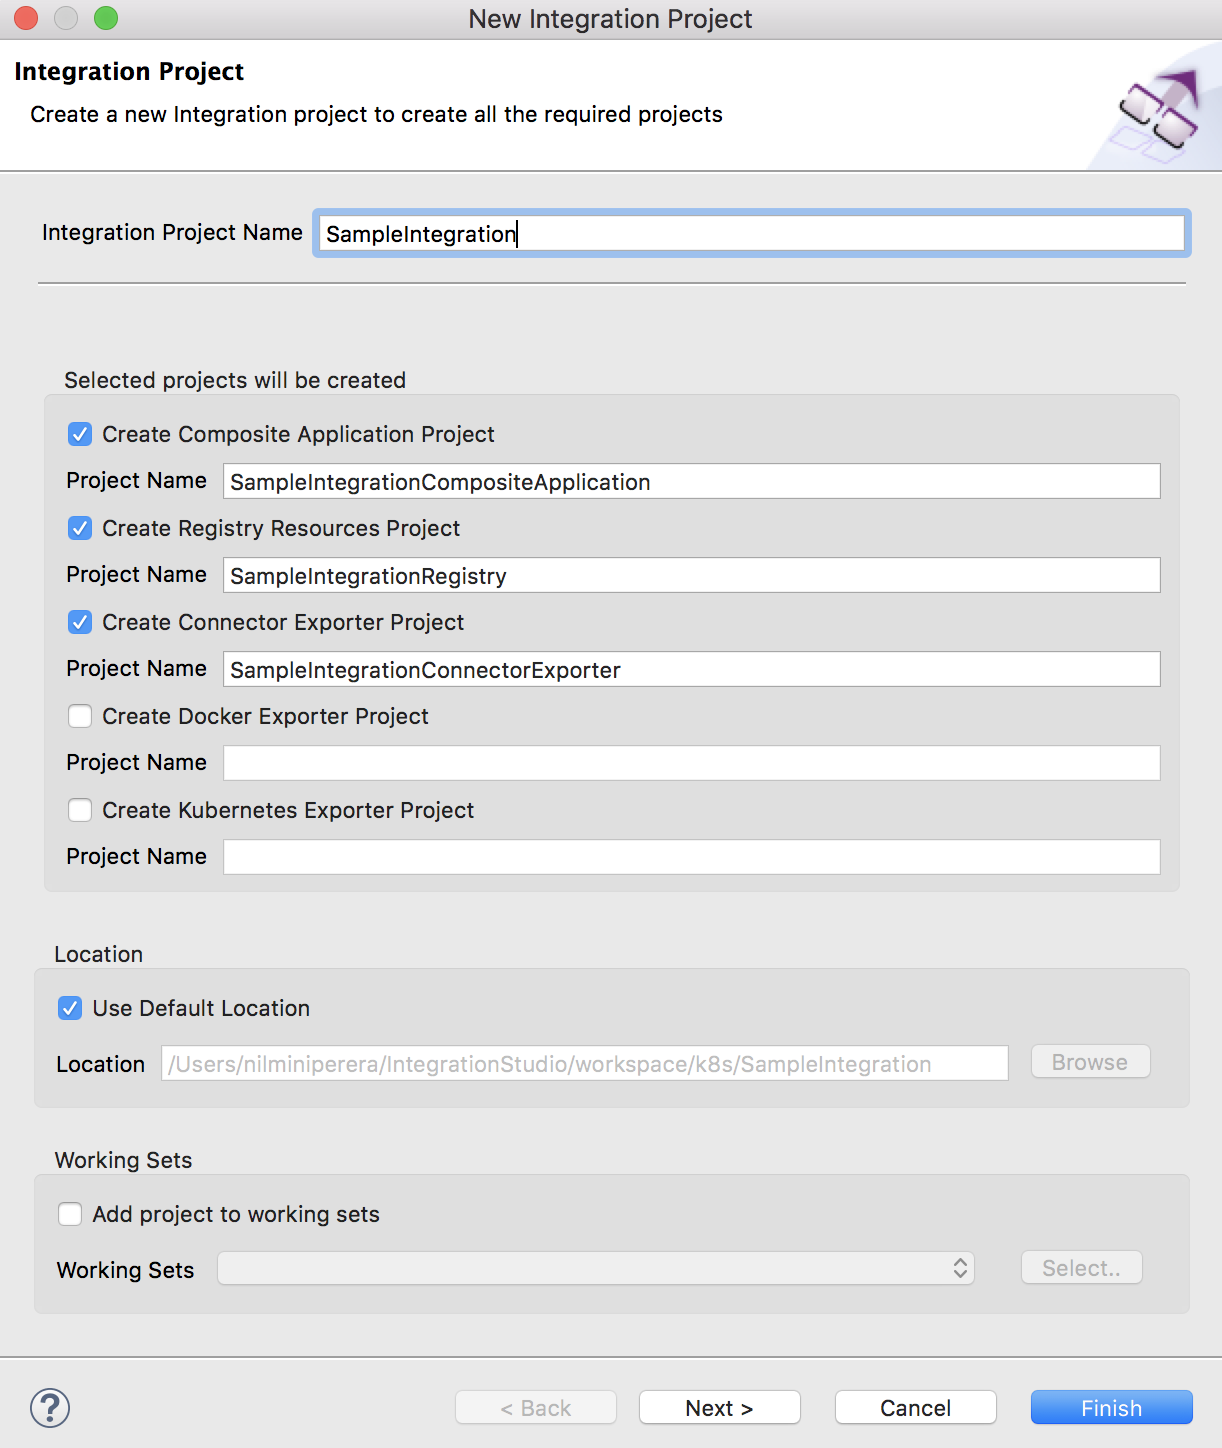
Project Type Description Integration Project Name Required. Enter a name for the main project (Config project) in this field. The Config project stores the mediation sequence and related mediation artifacts. Create Composite Application Project You will need this project when you package your solution. Create Registry Resources Project Select this option if you will use registry resources in your integration solution. Create Connector Exporter project Select this option if you will add Connectors in your integration solution. Create Docker Exporter project You will need this project if you are deploying the solution on Docker. Create Kubernetes Exporter project You will need this project if you are deploying the solution on Kubernetes. -
Click Next to go to the next step or click Finish to end the process.
Step 2: Enter Docker project information (Optional)
Tip
The following step is only available if you have selected Create Docker Exporter Project in step 1.
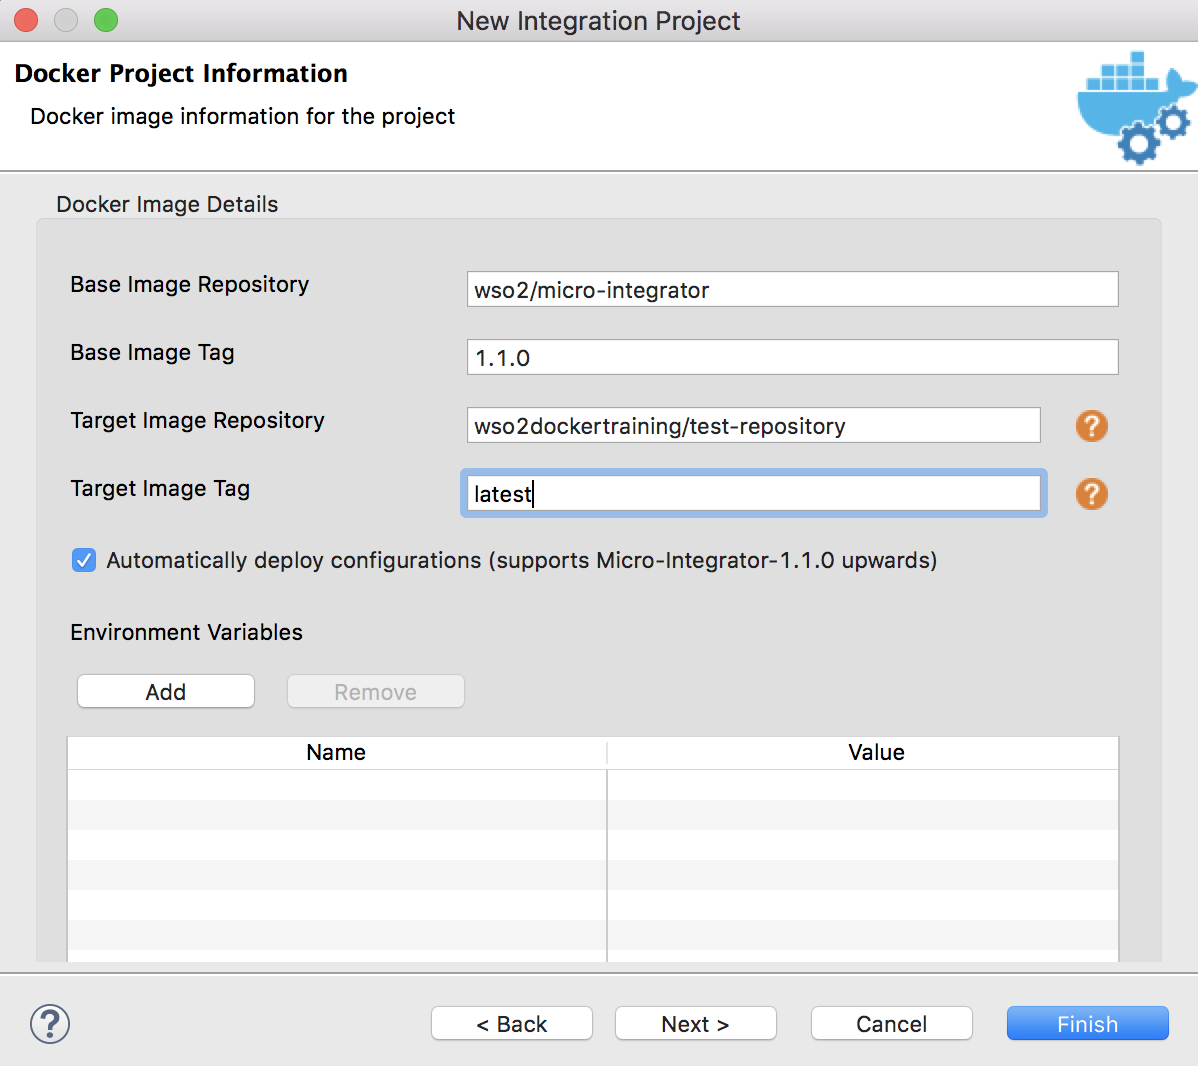
In the Docker Project Information page, enter the details required for the Docker project.
| Parameter | Description |
|---|---|
| Base Image Repository |
Required. Select the base Micro Integrator Docker image for your solution. Use one of the following options:
|
Base Image Tag | Required. Specify the tag of the base image that you are using. |
| Target Image Repository |
Required. The Docker repository to which you will later push this Docker image.
|
| Target Image Tag | Required. Give a tag name for the Docker image. |
| Environment Variables | You can enter multiple environment variables as key-value pairs. |
Click Next to go to the next step or click Finish to end the process.
Step 3: Enter Kubernetes project information (Optional)
Tip
The following step is only available if you have selected Create Kubernetes Exporter Project in step 1.
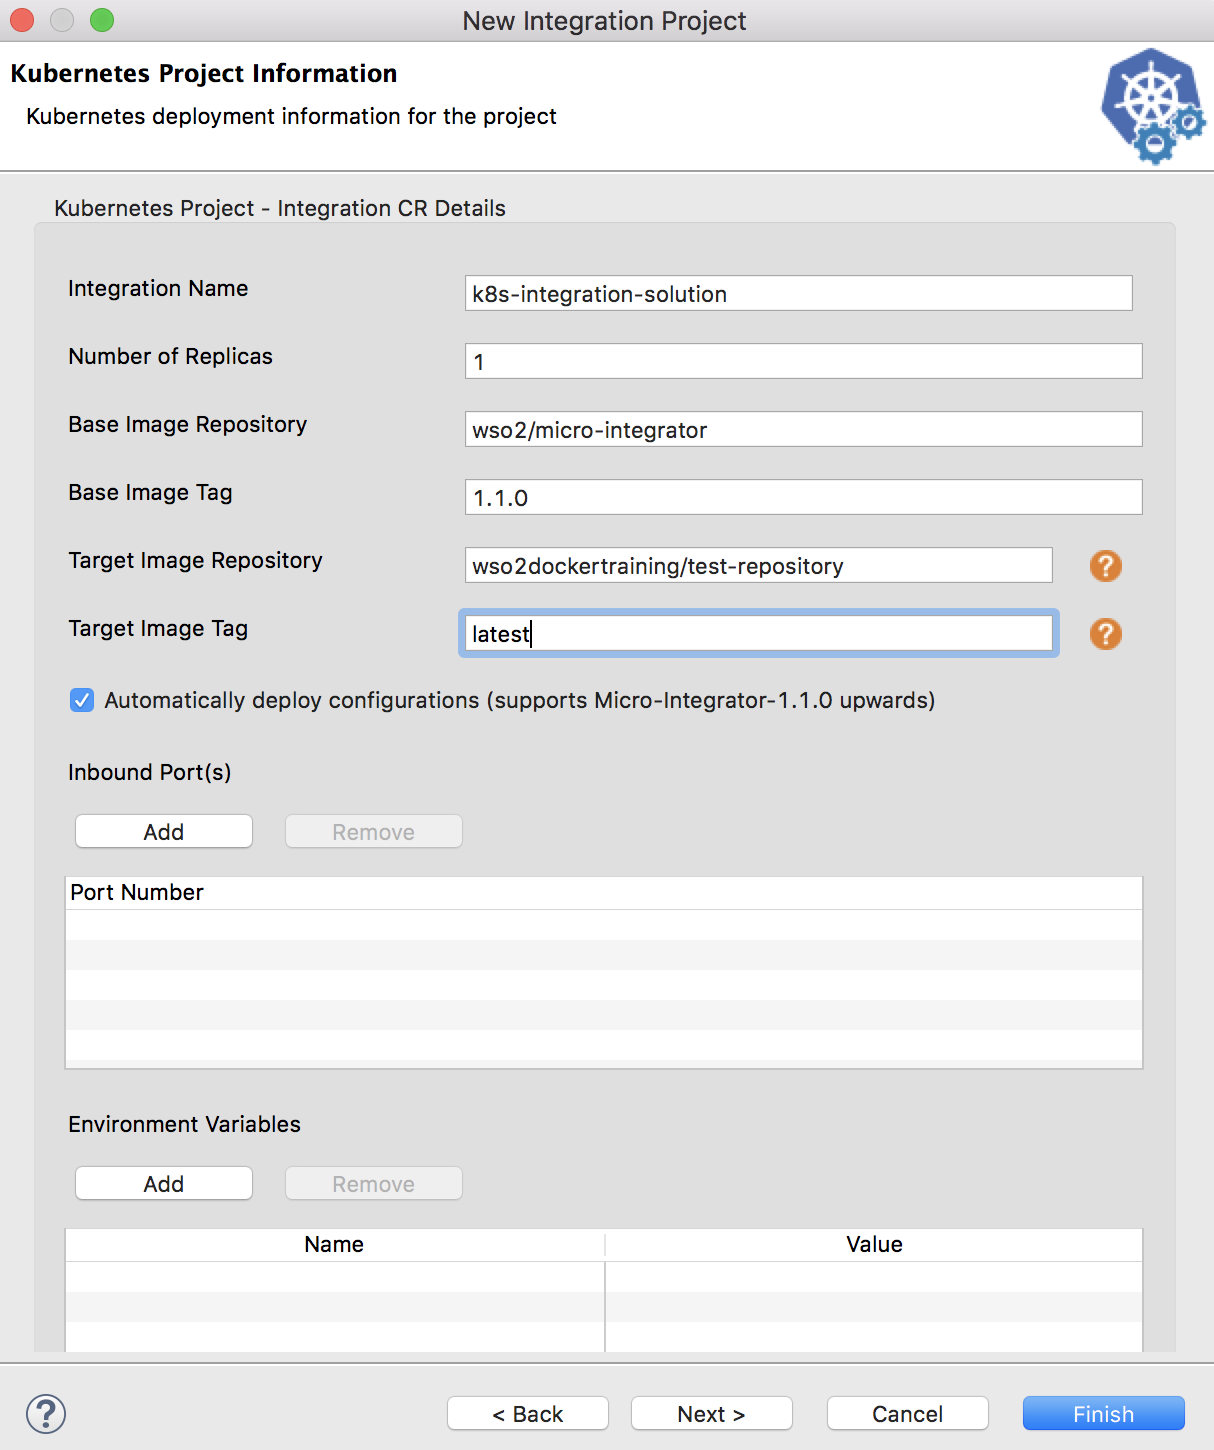
In the Kubernetes Project Information page, enter the details required for the Kuberntes project.
| Parameter | Description |
|---|---|
| Integration Name | Required. This name will be used to identify the integration solution in the kubernetes custom resource. The custom resource file (integration_cr.yaml) for this solution will be generated along with the other artifacts. |
| Number of Replicas | Required. Specify the number of pods that should be created in the kubernetes cluster. |
| Base Image Repository |
Required. Select the base Micro Integrator Docker image for your solution. Use one of the following options:
|
Base Image Tag | Required. Specify the tag of the base image that you are using. |
| Target Image Repository |
Required. The Docker repository to which you will later push this Docker image.
|
| Target Image Tag | Required. Give a tag name for the Docker image. |
| Automatically deploy configurations | This check box indicates that you are using WSO2 EI 7 Micro Integrator as the base image. It is recommended to leave this check box selected when you use WSO2 EI 7. |
| Environment Variables | Multiple environment variable as key-value pairs. |
Click Next to go to the next step or click Finish to end the process.
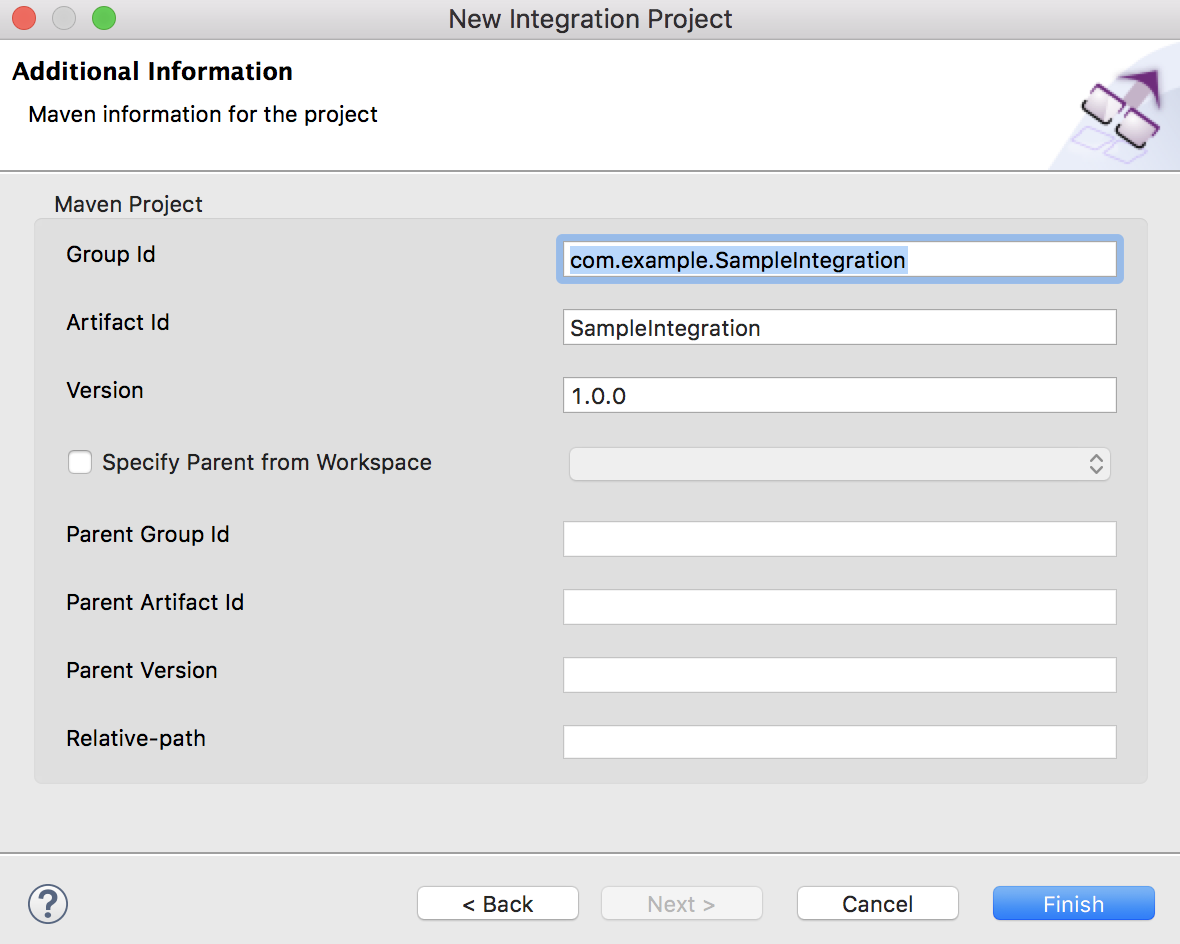
Step 4: Update Maven information (Optional)
In the Additional Information page, update the Maven information:
Step 5: Finish the process
Once you have added all the mandatory information, click Finish to save the projects.

The projects are created and saved in the project explorer. See the example given below.
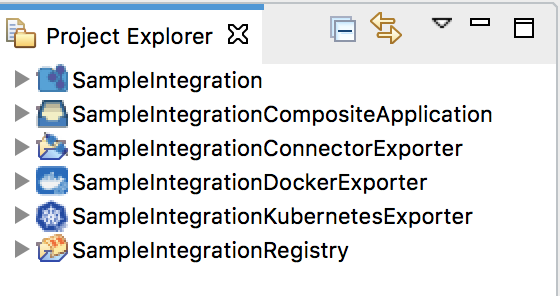
Go to Docker project directory or Kubernetes project directory for more details about the directory structure.
What's Next?
You can now start creating the integration artifacts.
Top