Deploying in WSO2 Integration Cloud
Once you have developed an integration solution, you can host it on the Integration Cloud to make it available for multiple users. To understand how to host a solution on Integration Cloud, follow the steps below:
Before you begin
Step 1: Create an Application
-
Create an integration application as follows:
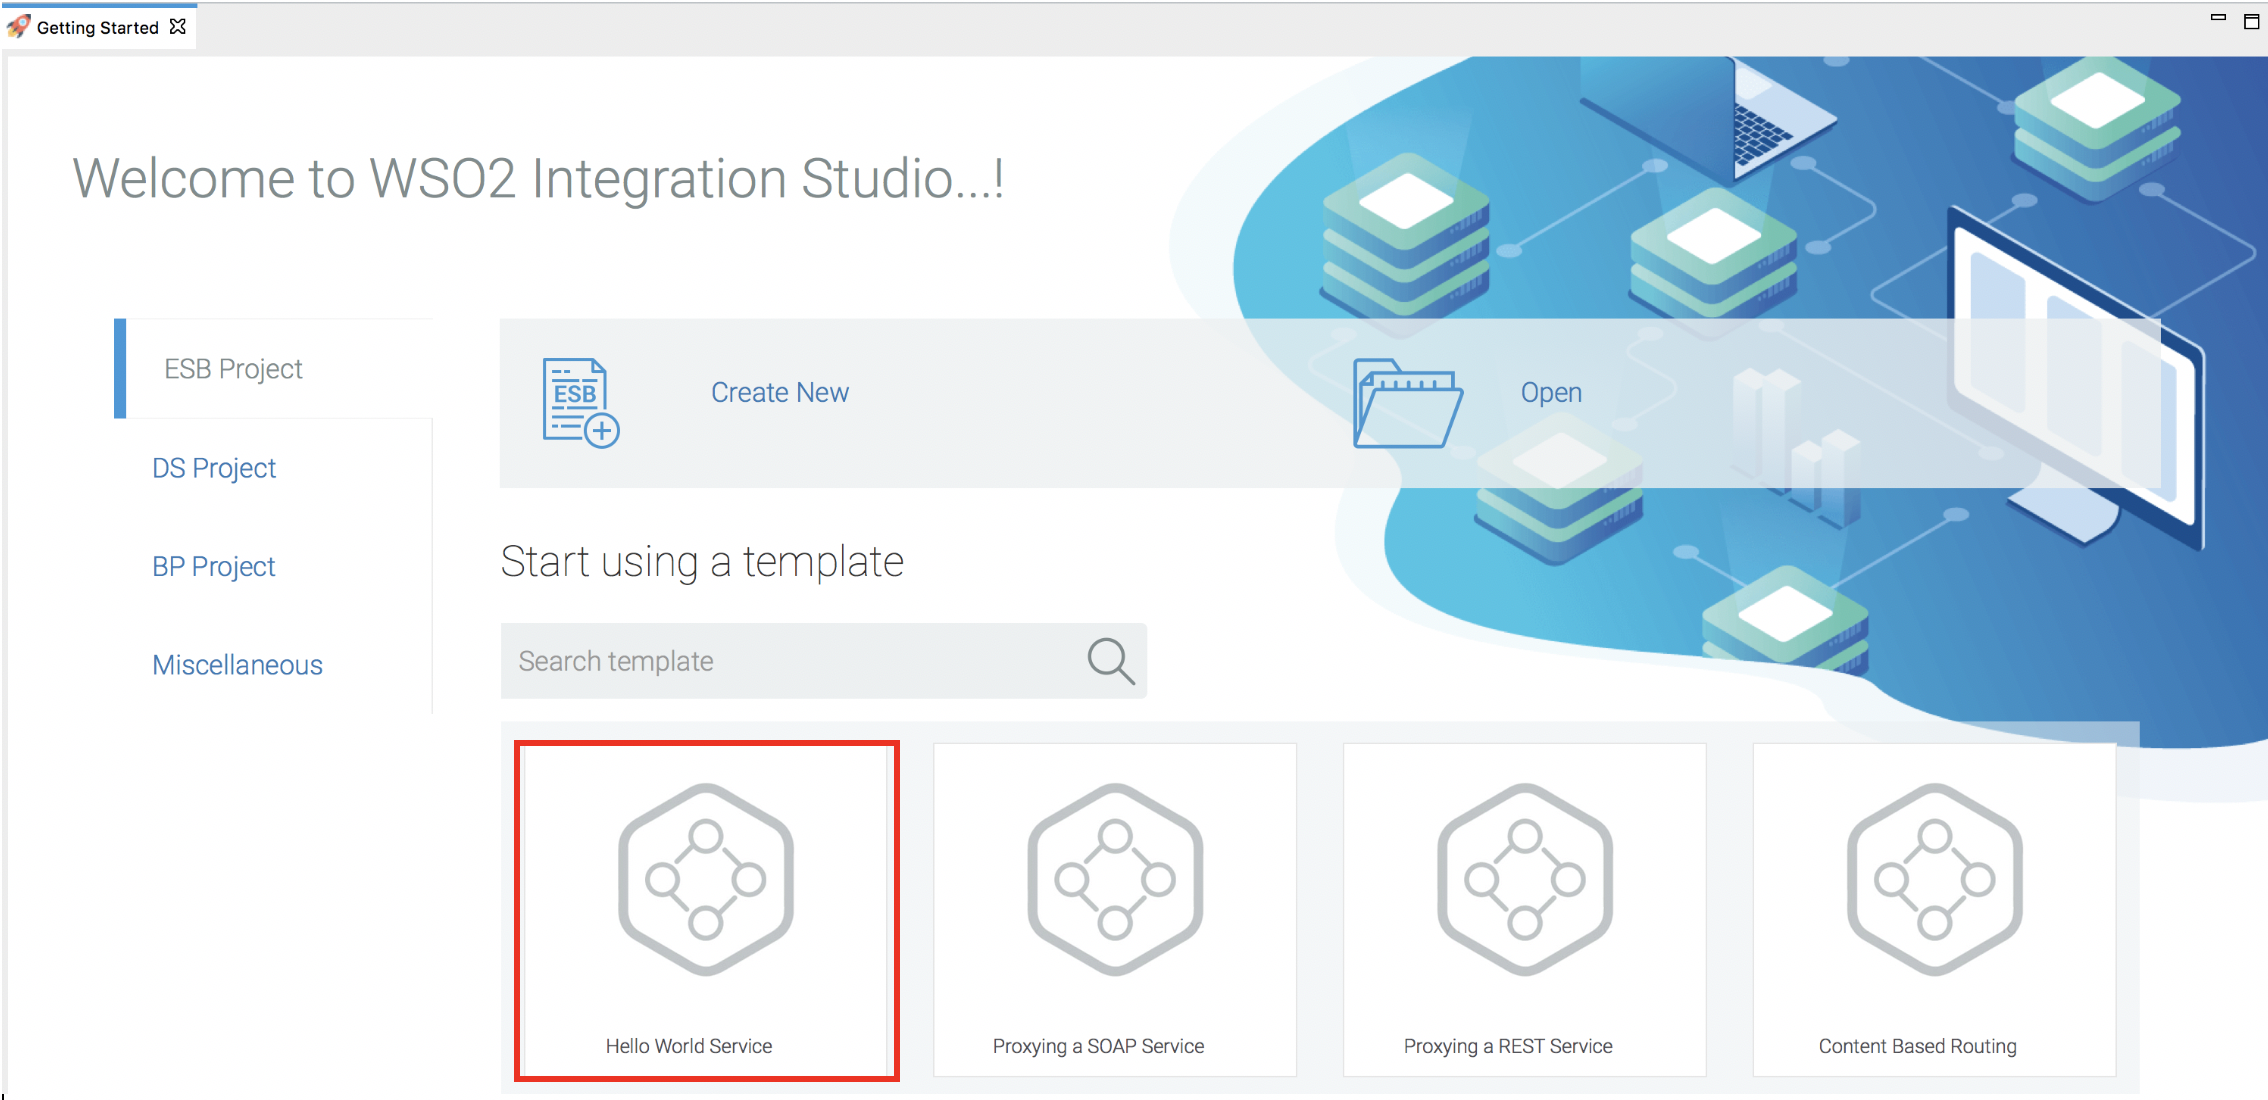
- Open WSO2 Integration Studio. In the Getting Started page,
click the Hello World Service template to start creating a
new application based on this template.
- In the Create Project Using Hello World Service Template
dialog box, enter a name for the application. In this example,
let's enter HelloWorldApps as the name.
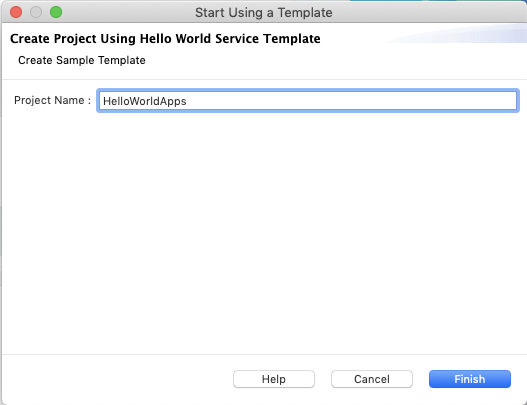
- Click Finish to add the project for the application.
- Open WSO2 Integration Studio. In the Getting Started page,
click the Hello World Service template to start creating a
new application based on this template.
-
The project currently has the configurations derived from the template. Let's modify them as follows:
Info
The purpose of this step is to change the default values. You can skip it if required.
-
In the left navigator, open the
HelloWorldApps/src/main/synapse-config/proxy-services/HelloWorld.xmlfile. Then click on the PayloadFactory icon to open the Payload Factory Mediator configuration in the Properties tab.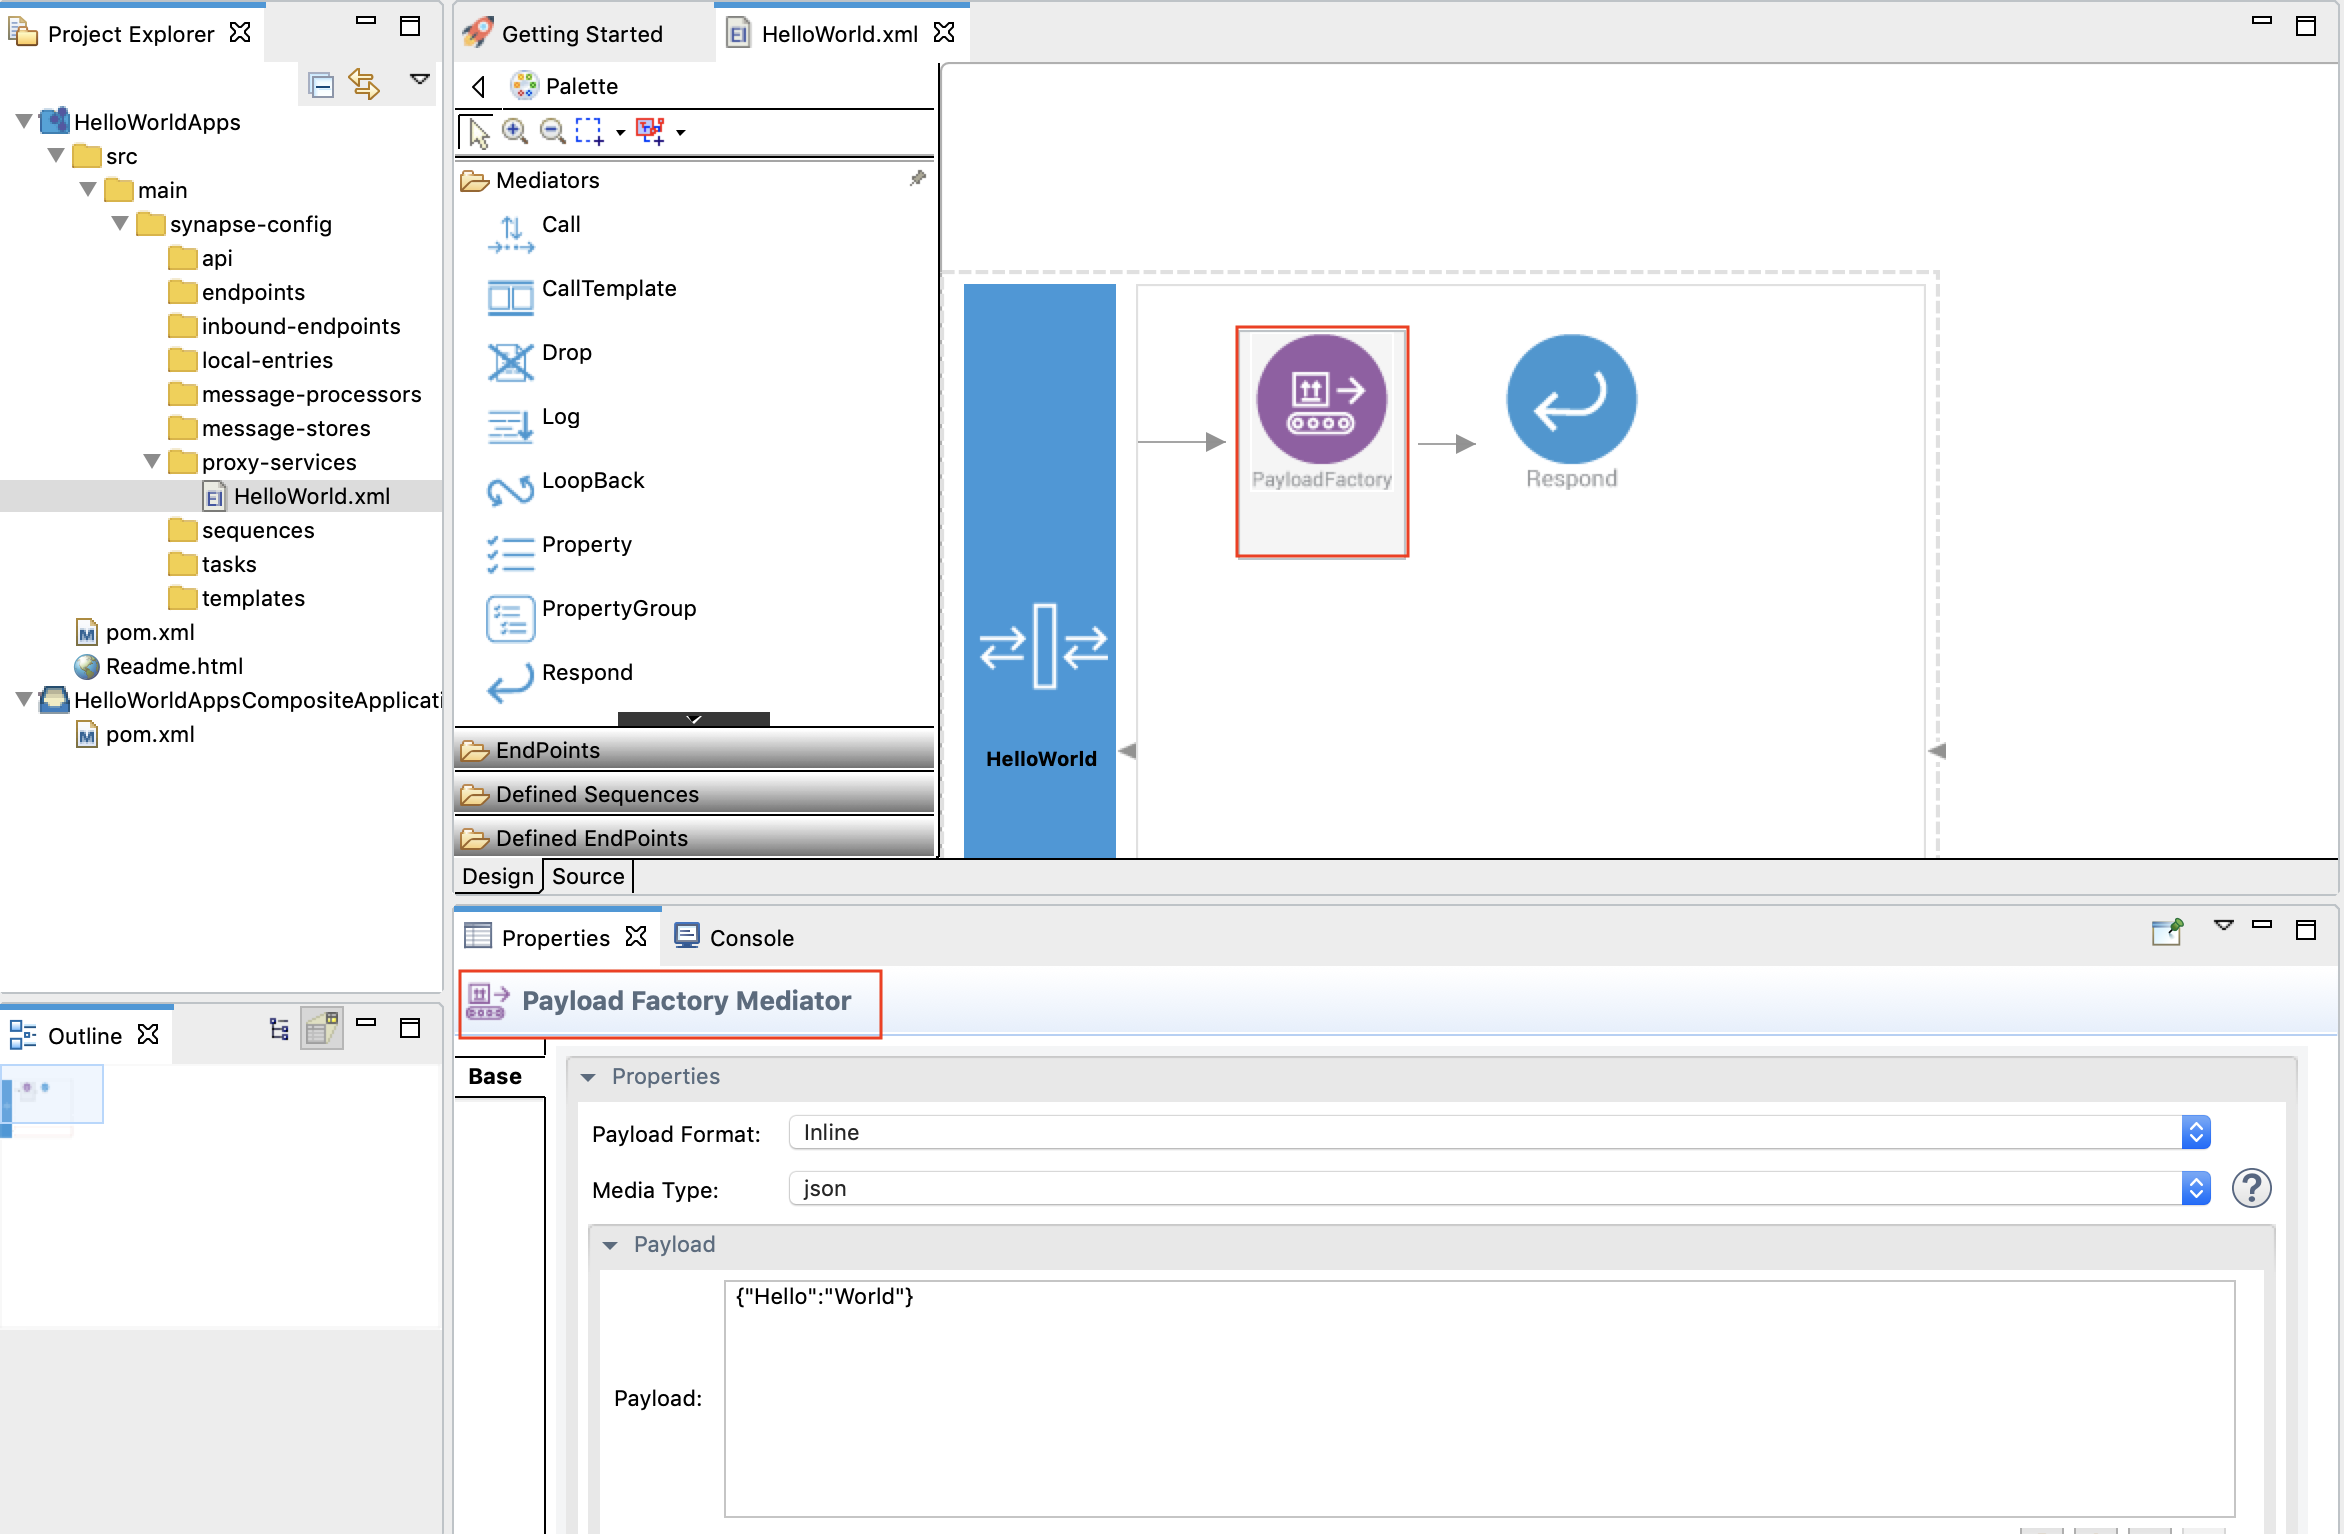
-
In the Payload field, replace the existing value with
{"data": "HelloWorld"}.
-
Step 2: Deploy in WSO2 Integration Cloud
-
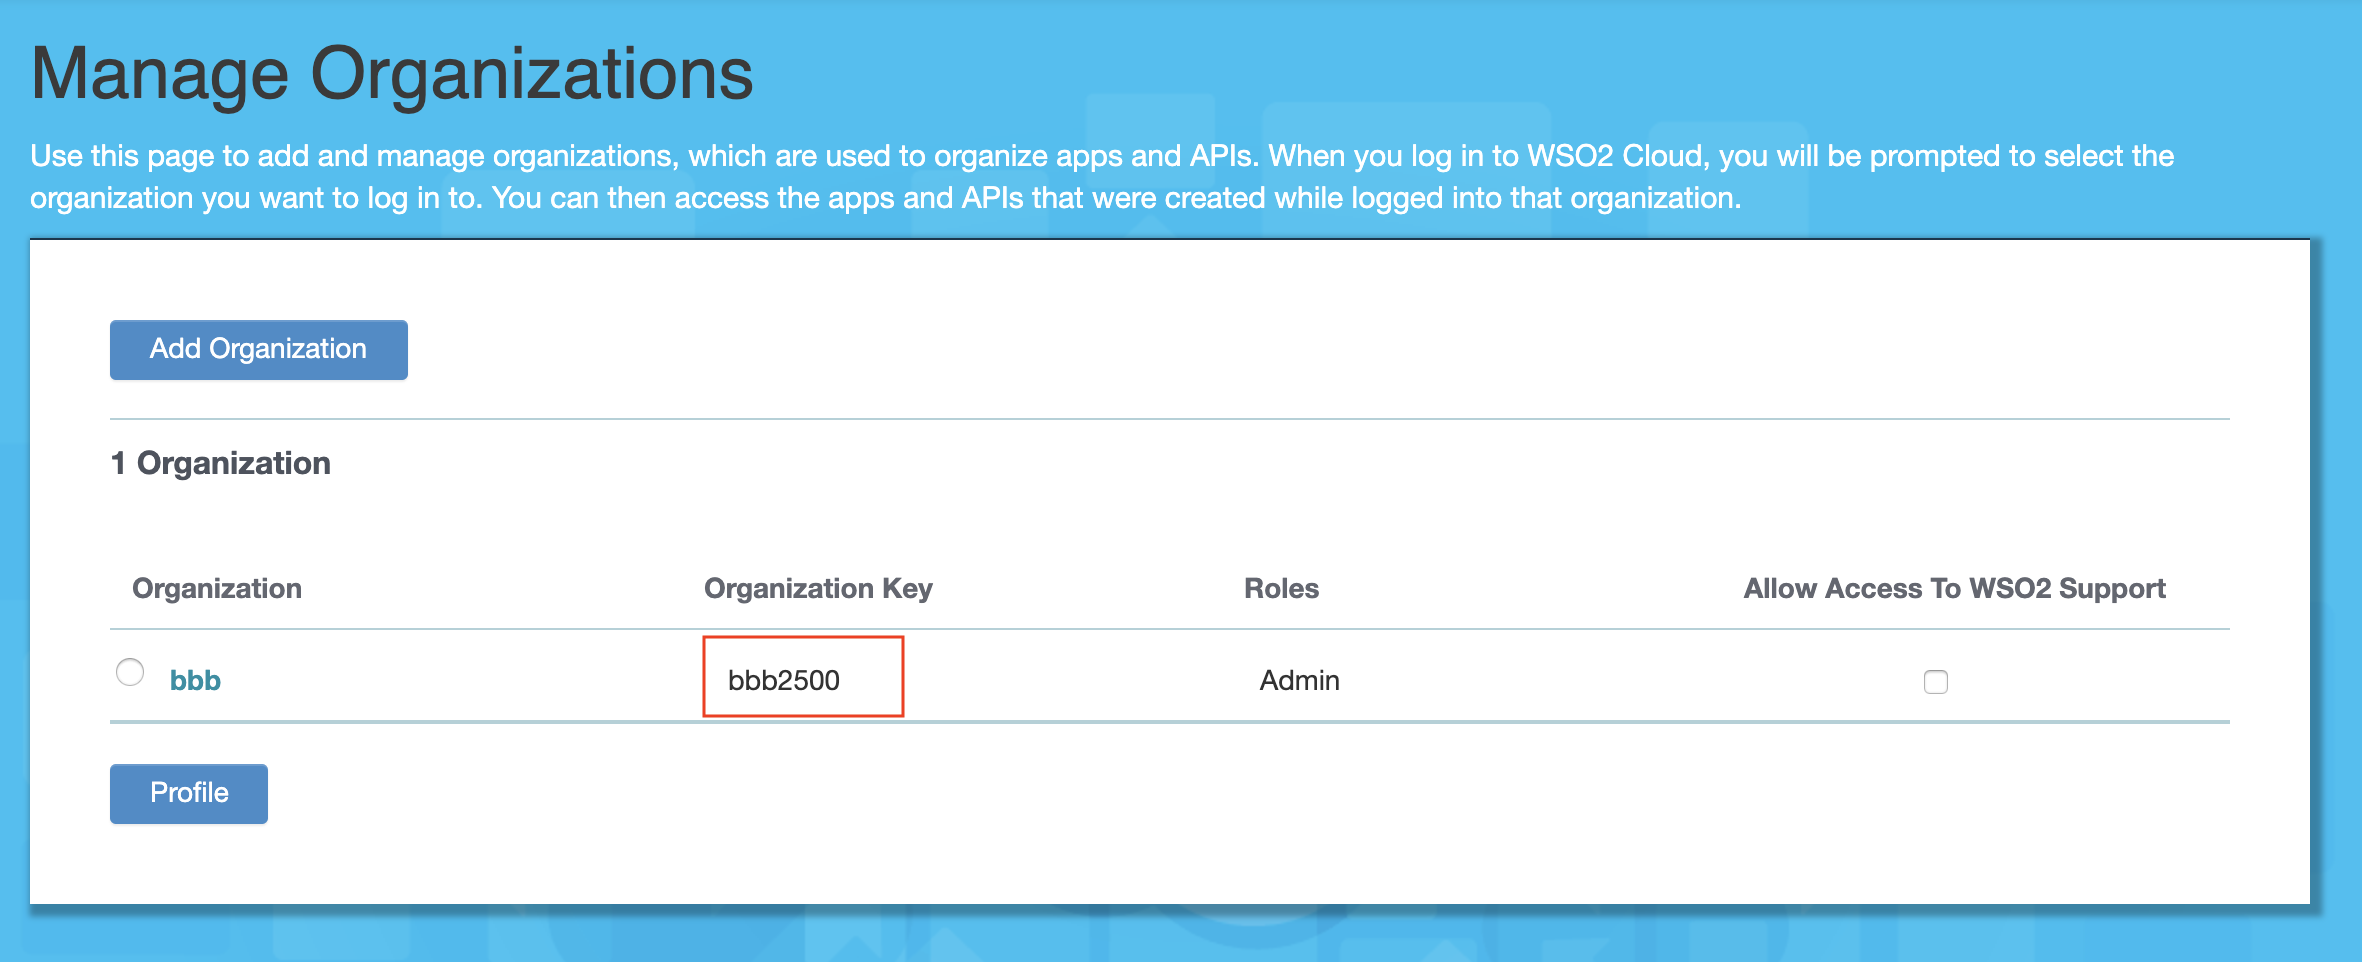
Before deploying the composite application, you need to know the key of the organization to which you are deploying. To get the organization ID, sign in to the Integration Cloud and access your organization as follows:
Info
If you already know the key of the organization to which the application needs to be deployed, you can skip this step.
- Sign in to the Integration Cloud with your credentials.
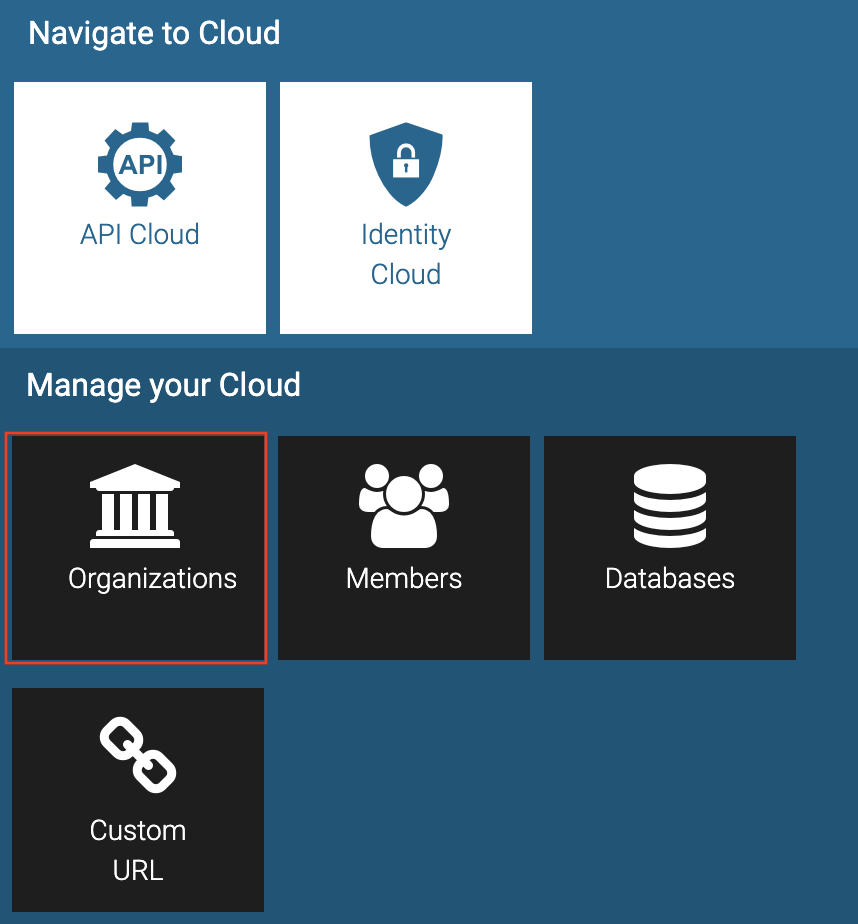
- Click the following icon tray in the right end of the top
bar.

Then click Organizations to open the Manage Organizations page.
The keys of the available organizations are displayed as shown below.
-
Deploy the
Hello World Applicationthat you created as follows:- In WSO2 Integration Studio, open your workbench. Then
right-click on HelloWorldAppsCompositeApplication , and then
click Deploy to Integration Cloud . The WSO2 Integration
Cloud - Authentication wizard opens as follows.
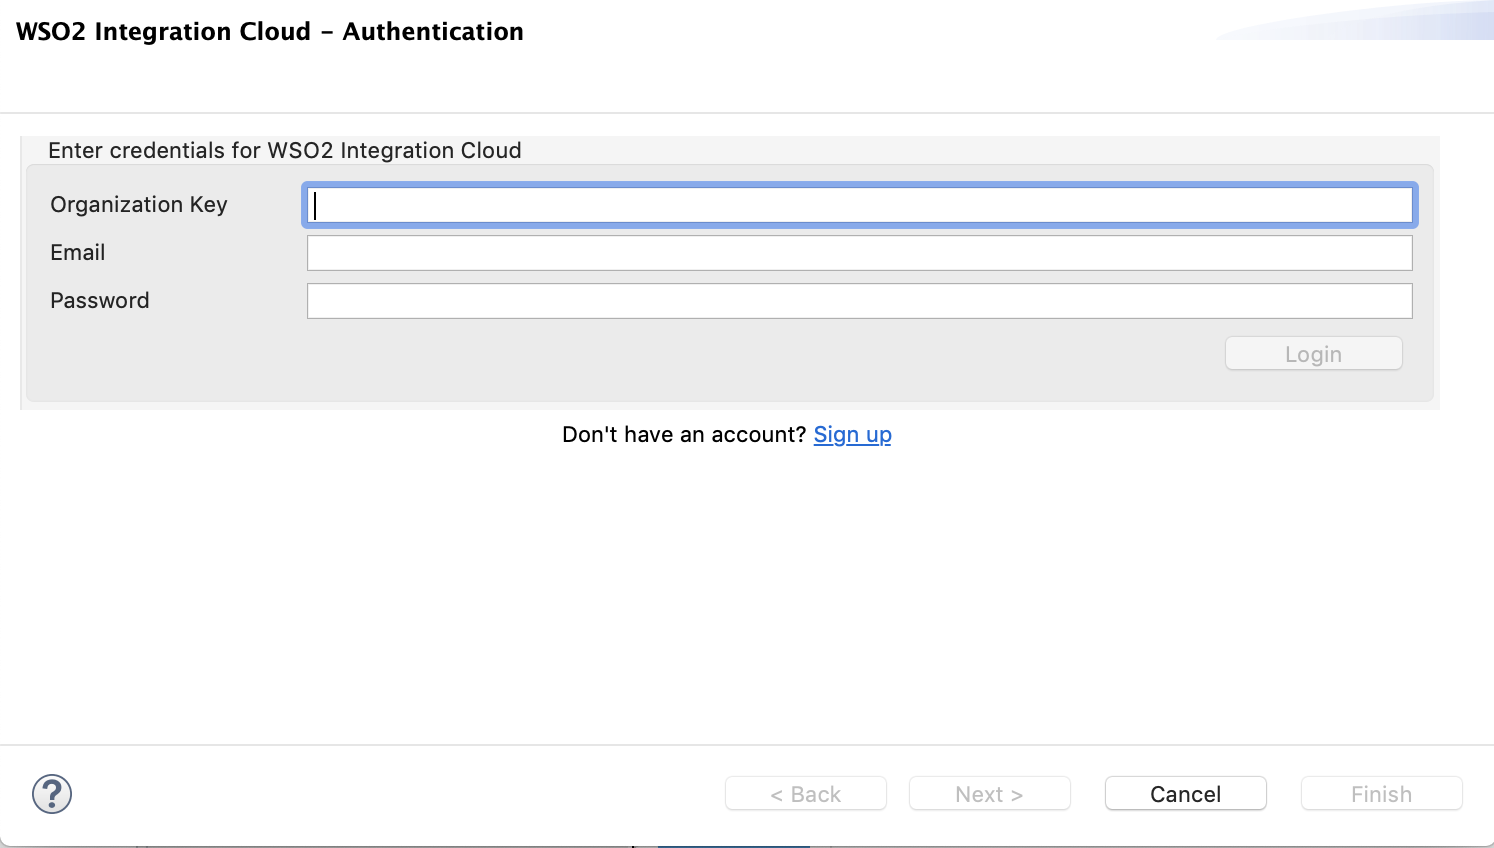
- Enter the following information in the wizard:
- Organization Key : The key of the organization to which you want to deploy the application. The required organization key needs to be already registered under your Integration Cloud account.
- Email : The email address with which you are registered in the Integration Cloud.
- Password : The password with which you sign in to the Integration Cloud.
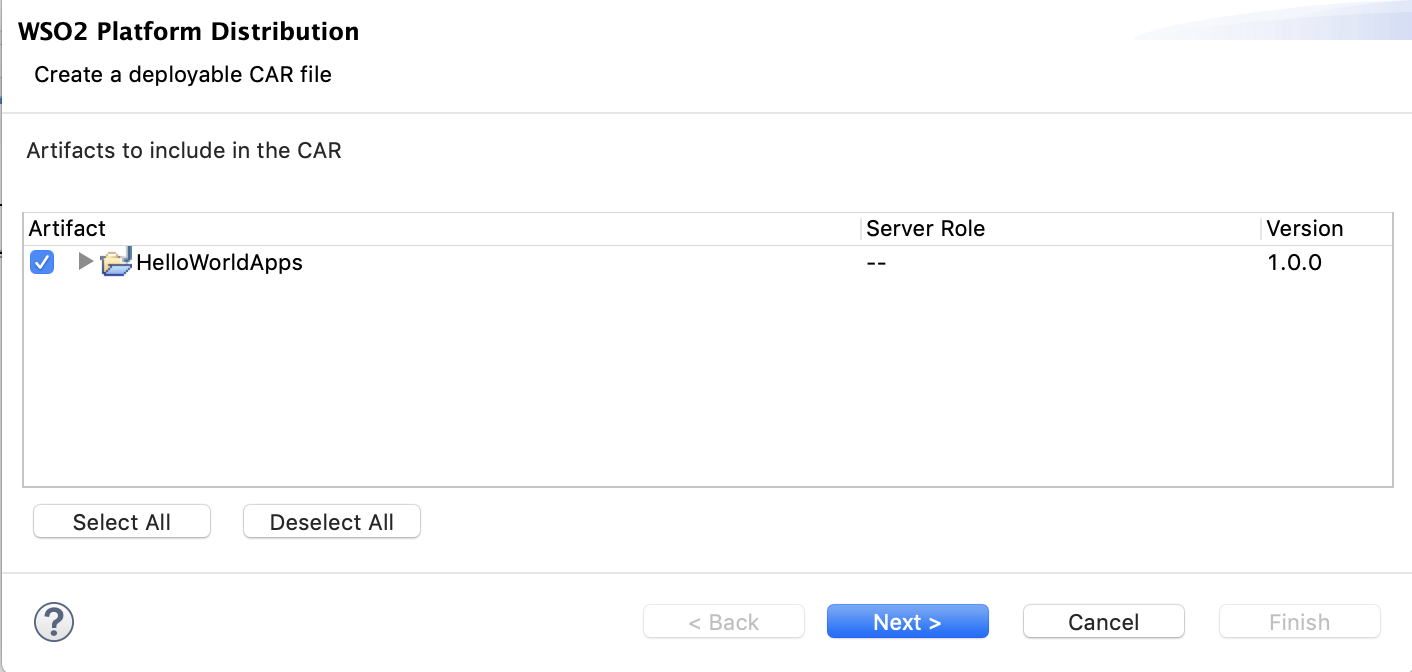
- Click Finish. The WSO2 Platform Distribution wizard opens.
- In the WSO2 Platform Distribution wizard, select the applications that you want to include in the CAR file that you
are deploying to the Integration Cloud. For this example, select HelloWorldApps as shown below.
- Click Next, and then click Finish . A message appears
to inform you that your application is being deployed to the
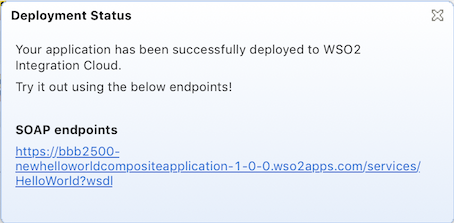
cloud. Once the deployment is complete, the following message
appears.
- In WSO2 Integration Studio, open your workbench. Then
right-click on HelloWorldAppsCompositeApplication , and then
click Deploy to Integration Cloud . The WSO2 Integration
Cloud - Authentication wizard opens as follows.
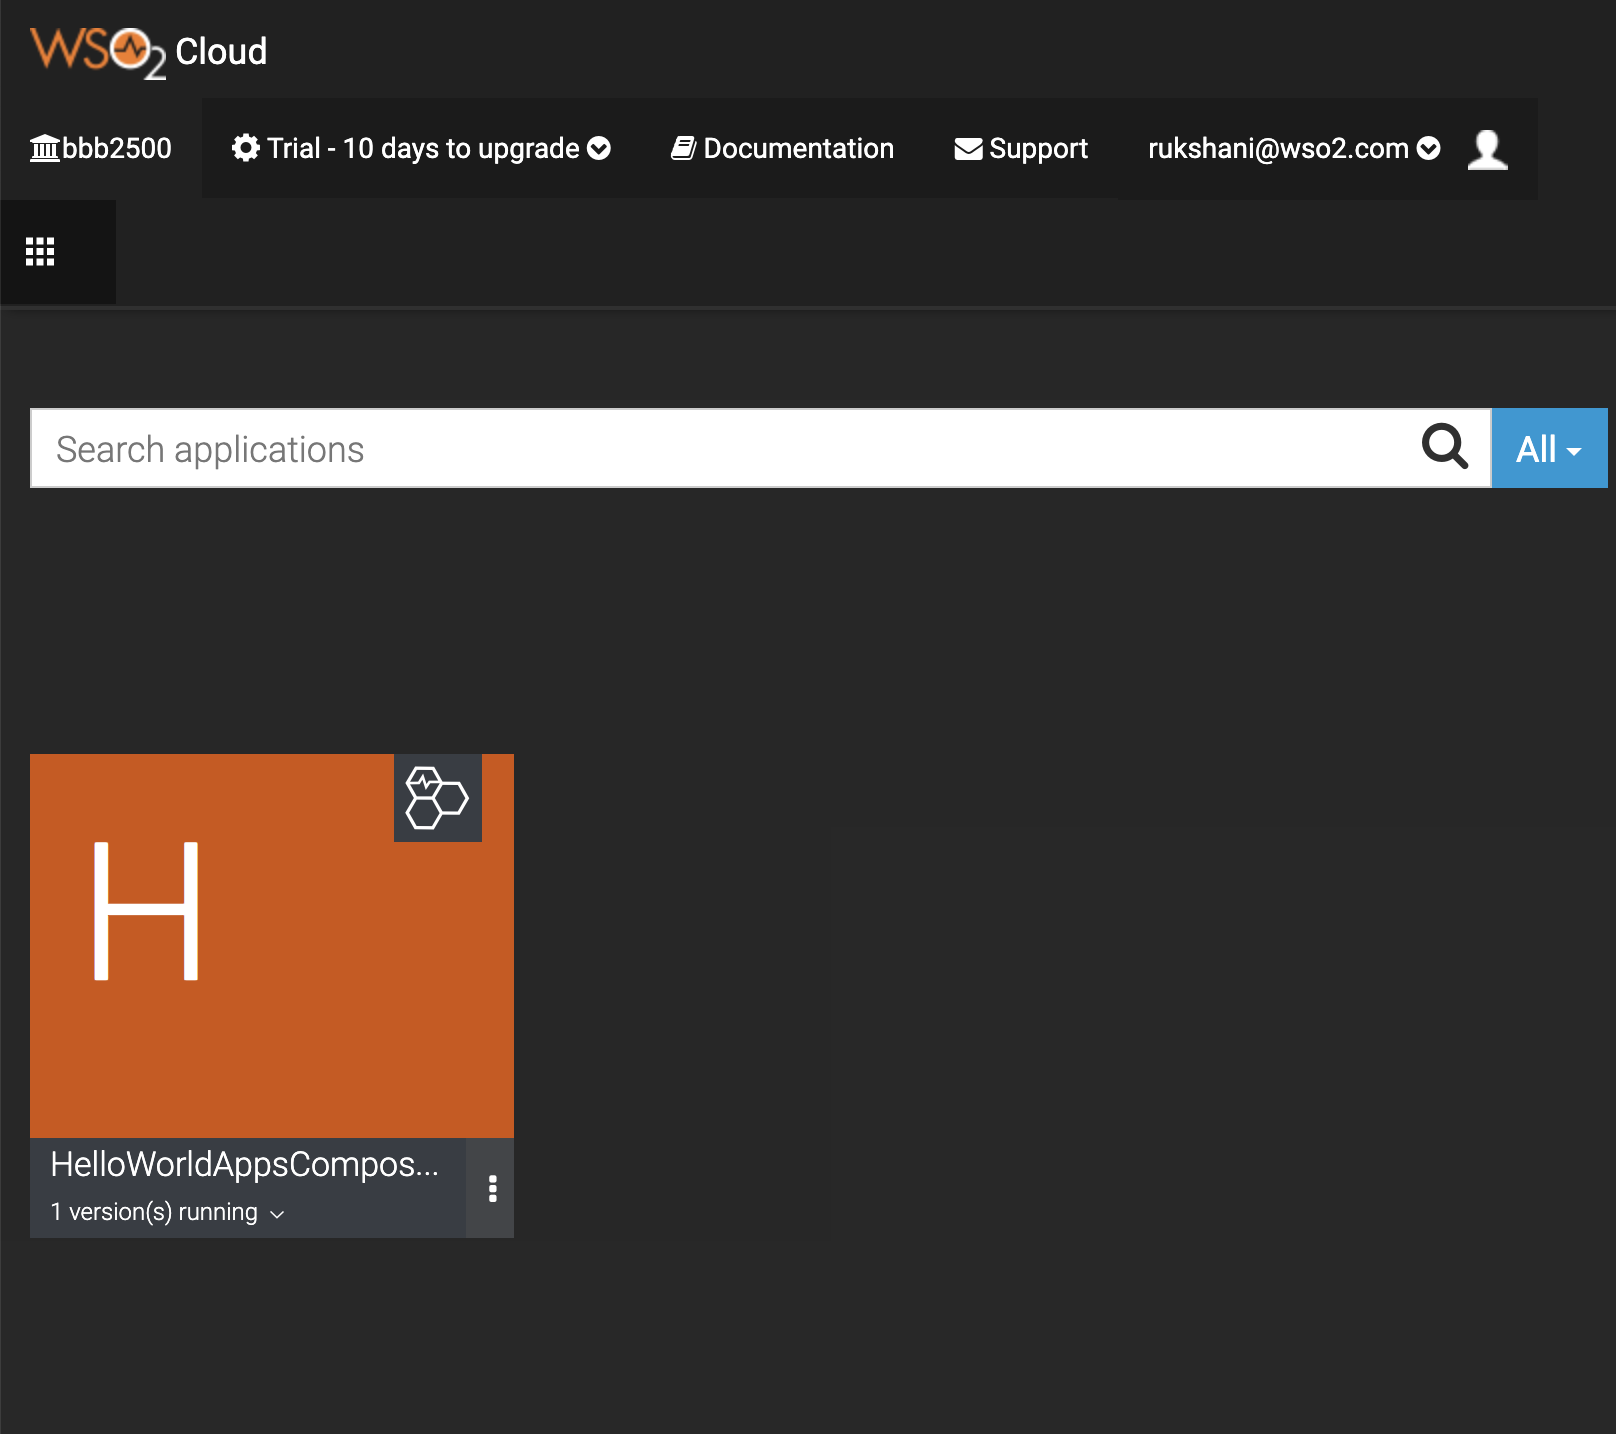
- Access your organization on Integration Cloud as you did in step 1.
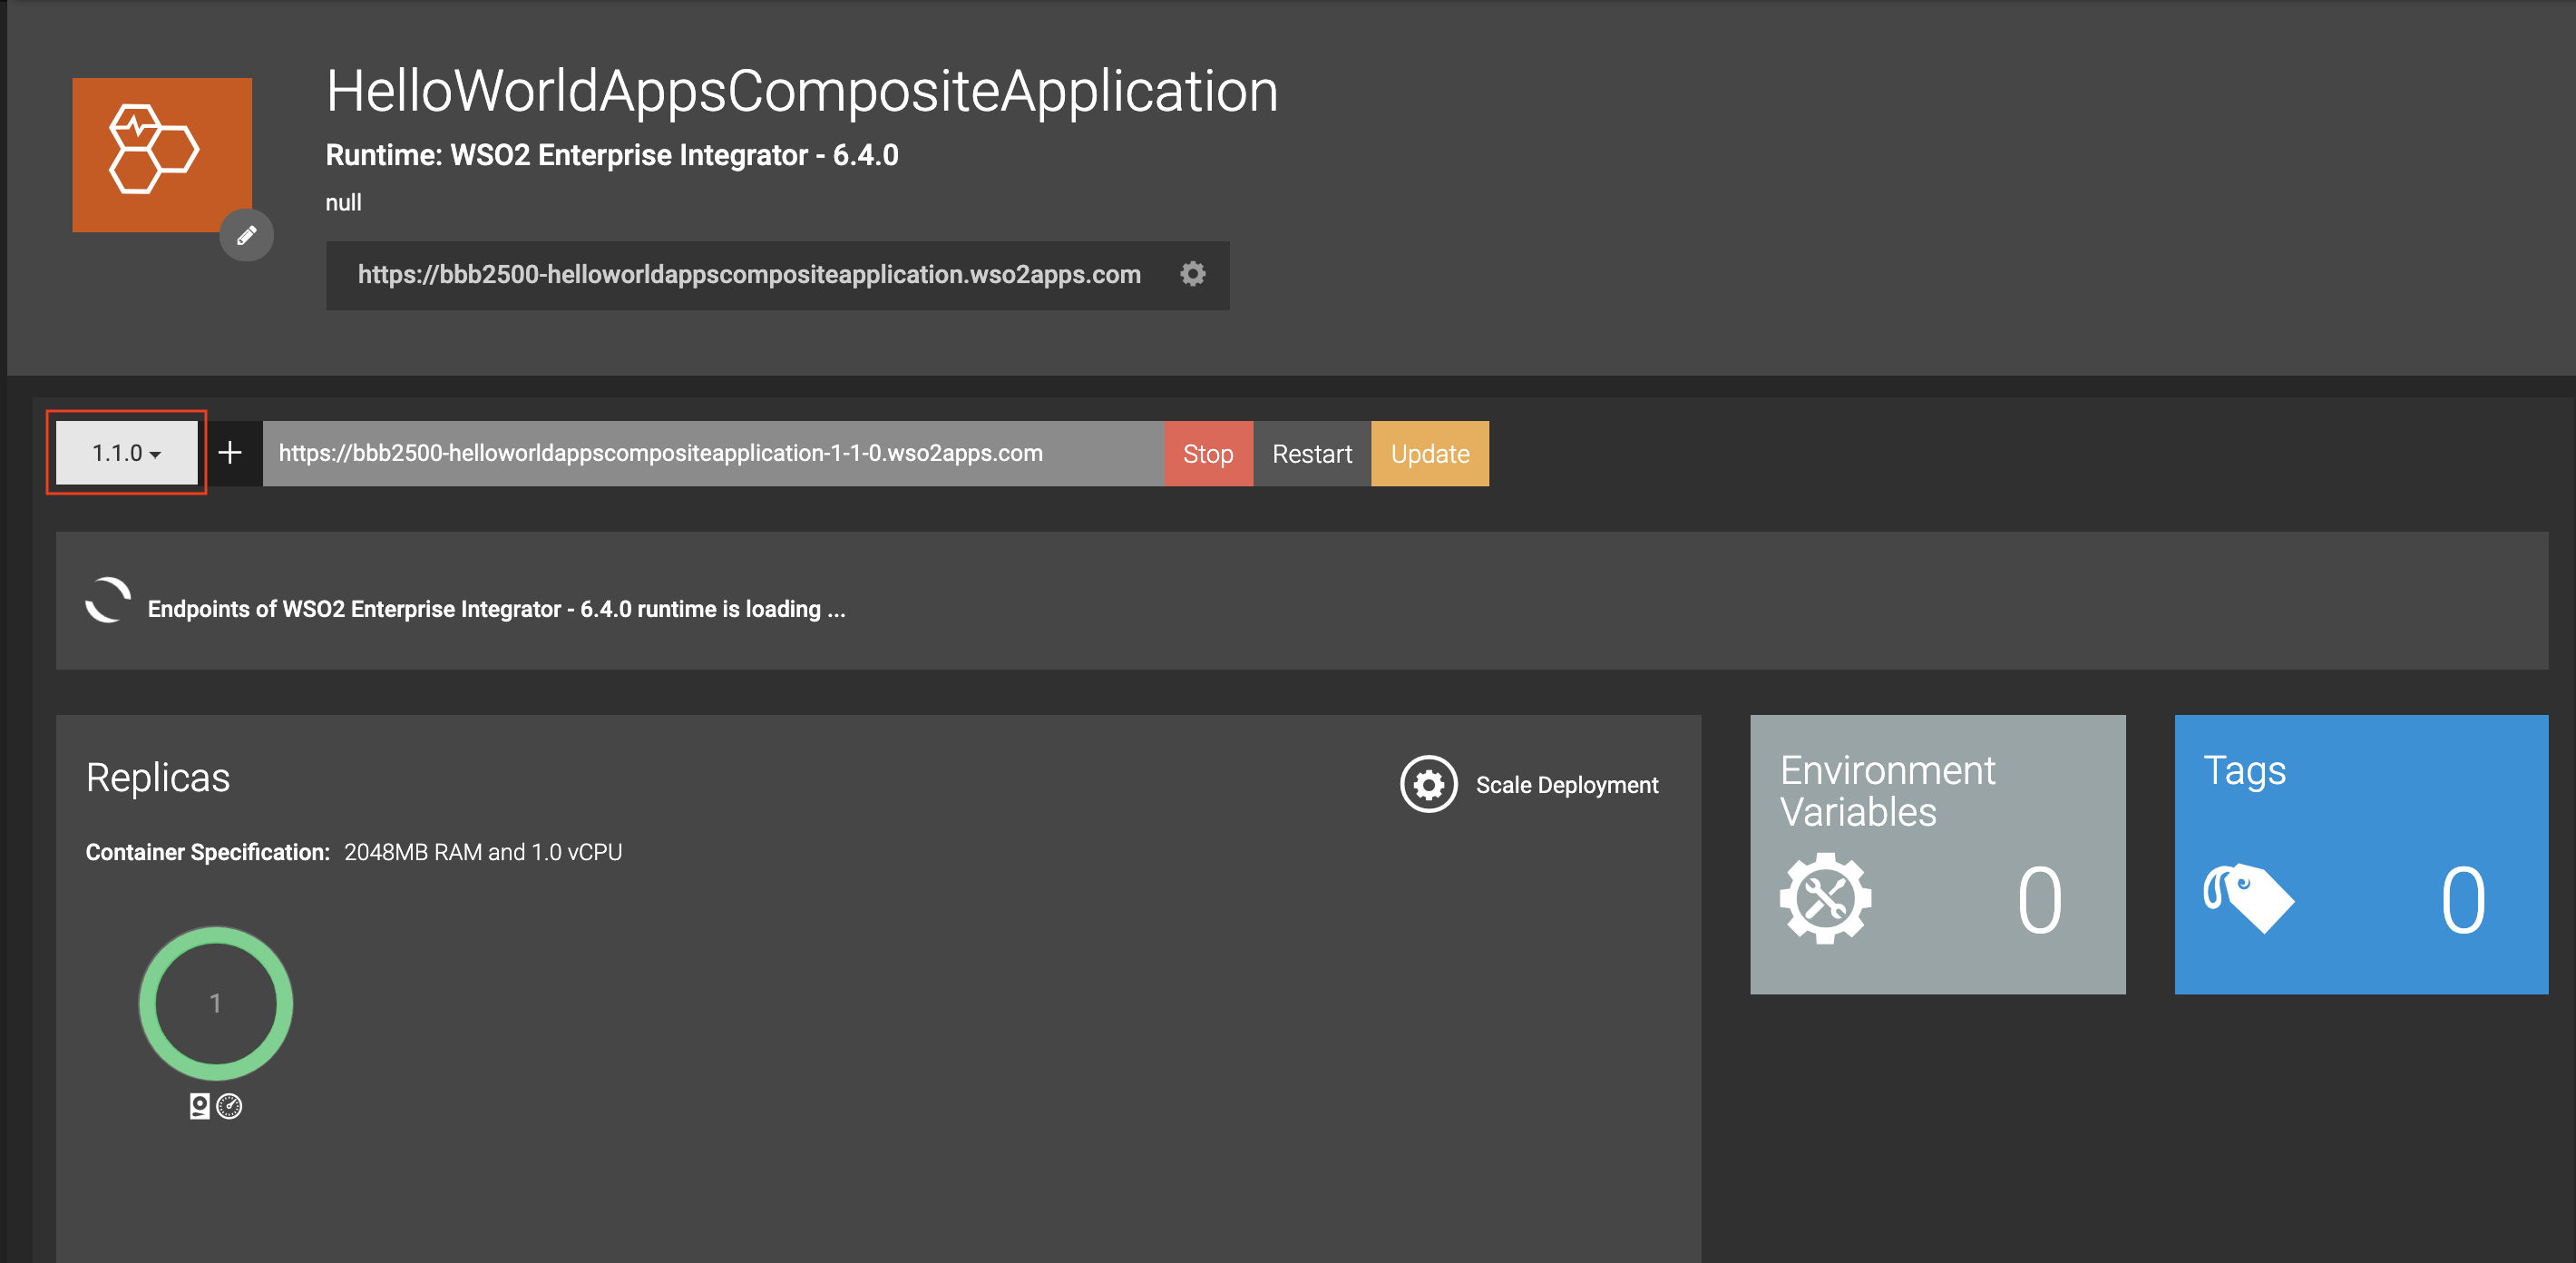
The HelloWorldAppsComposite Application you deployed is
displayed as follows.
- To create a new version, repeat step 2, sub steps a-c. Then follow
the steps below to create a new version.
- In the page where you select deployable artifacts, select HelloWorldApps and click Next.
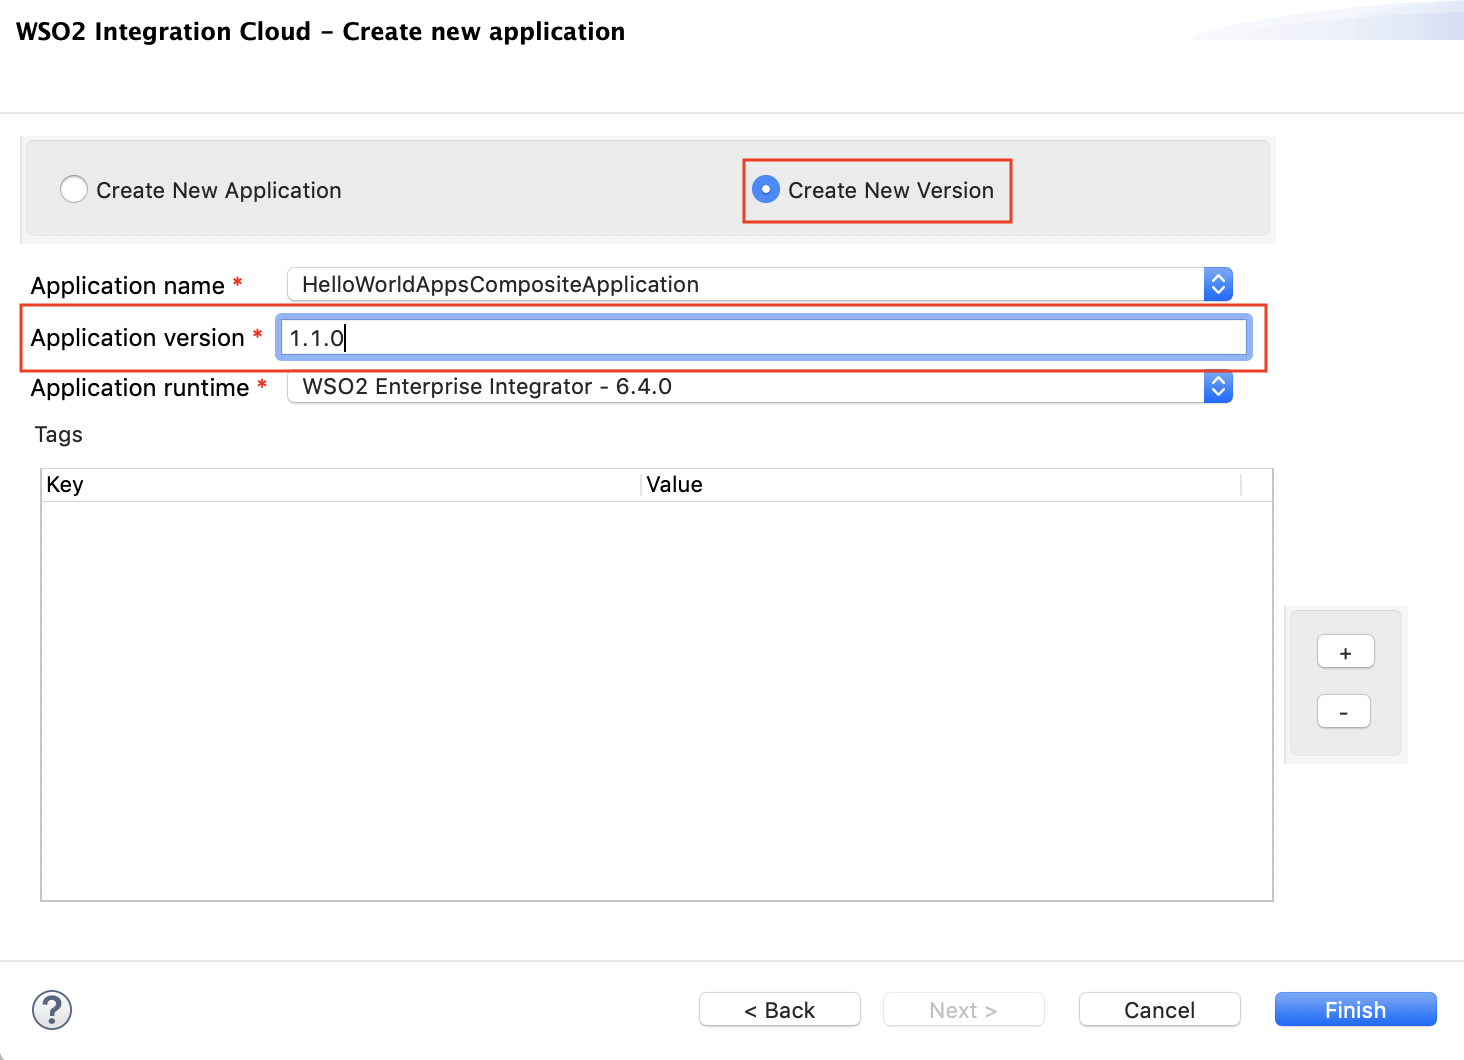
- In the next page, select the Create New Version option
and update the value displayed in the Application Version
field.
- Click Finish .
- Sign in to the Integration
Cloud
and click on the HelloWorldApps application.
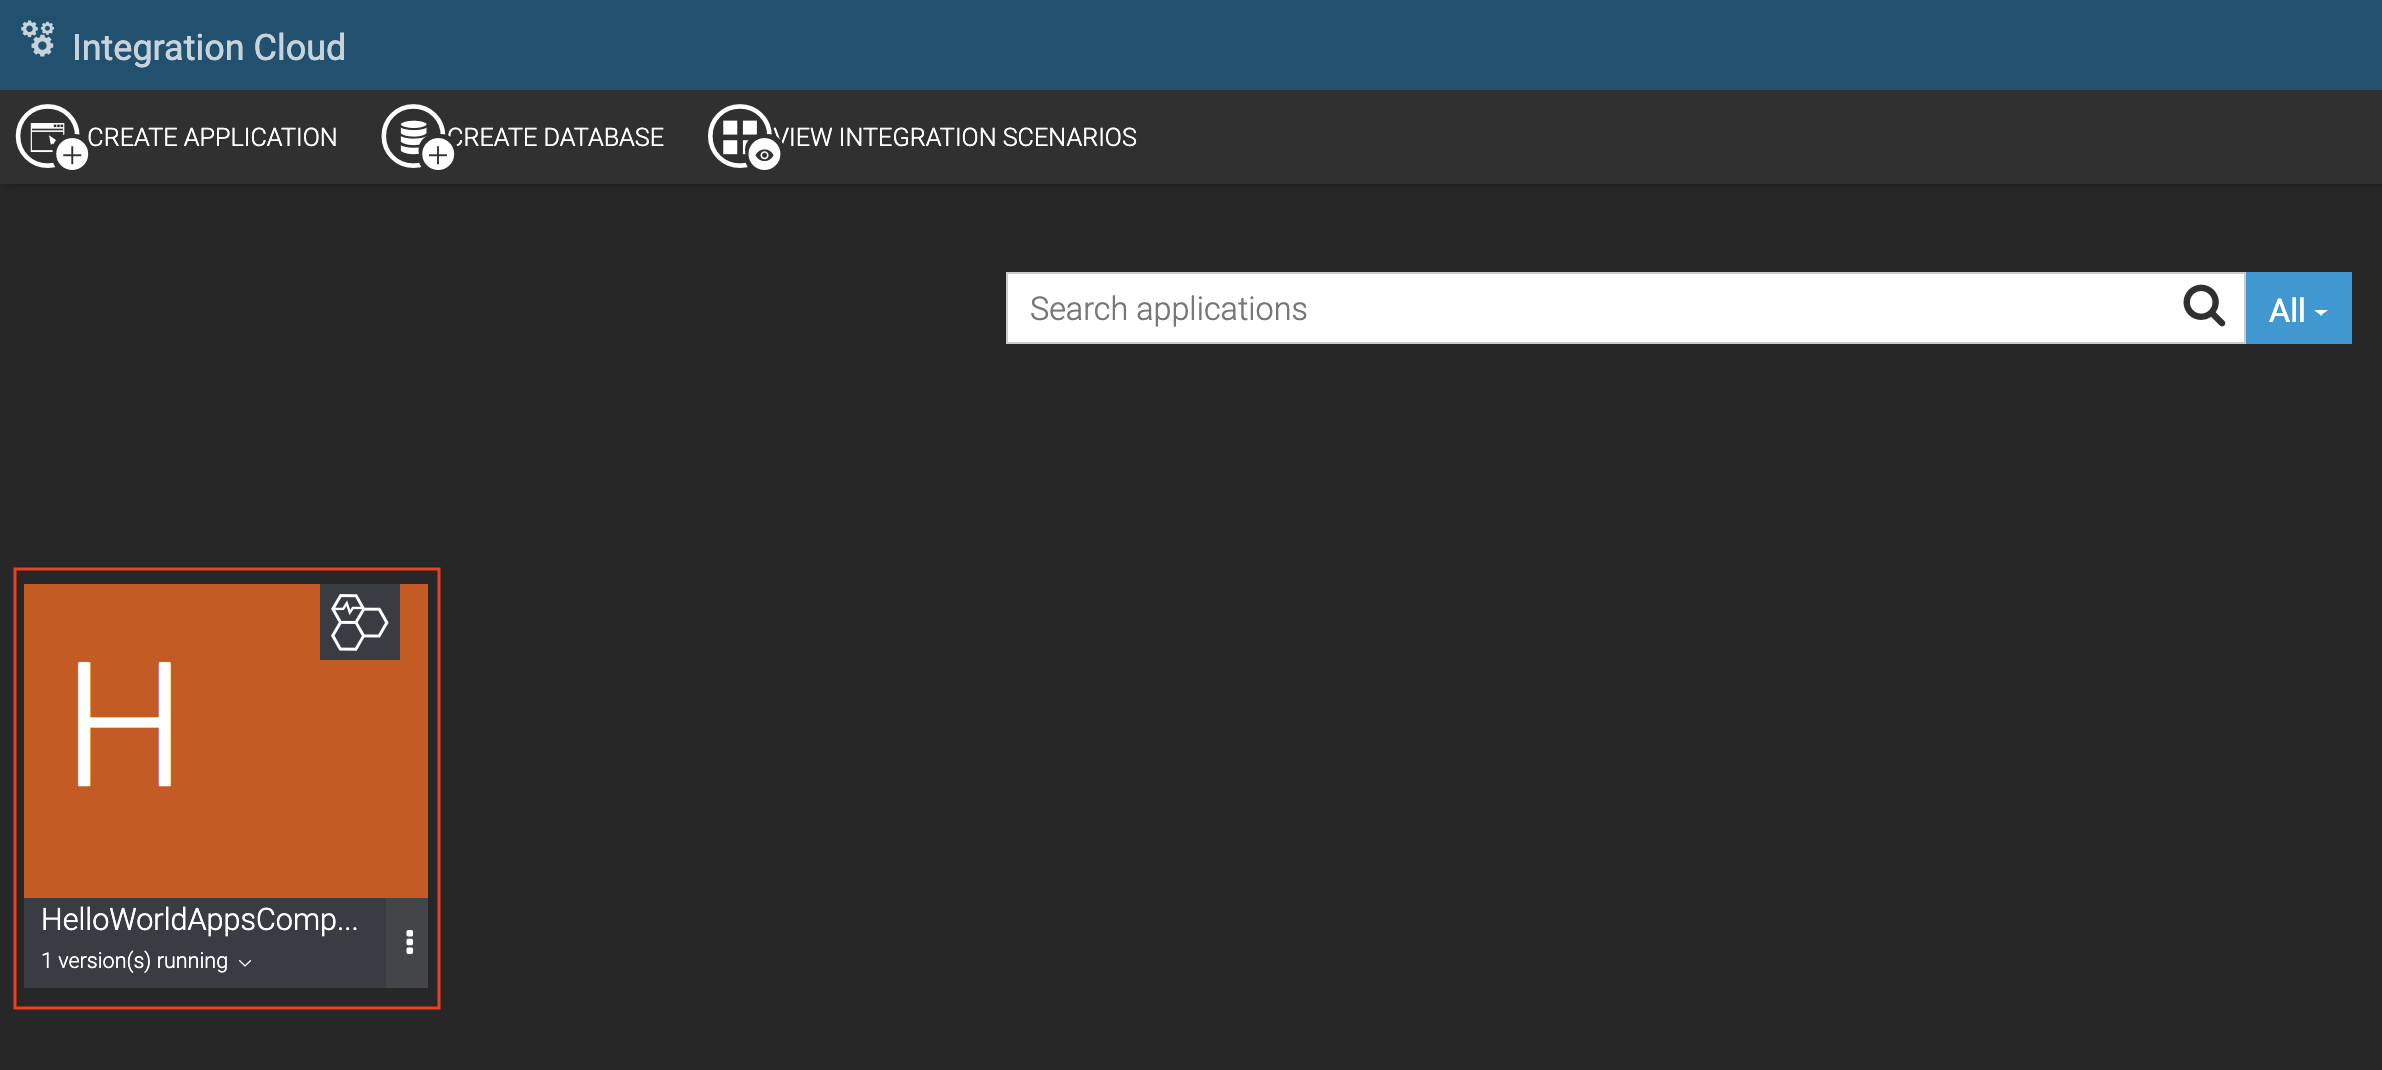 The application opens, and the updated version is displayed as
shown below.
