Creating Integration Projects
Create the project directories that are required for storing the various synapse artifacts that build your integration use case.
Tip
If you want to simultaneously create all the projects required for your use case, read about the integration project solution.
Config Project
This project directory stores the synapse configurations (artifacts) that are used when defining a mediation flow.
-
Open WSO2 Integration Studio and click Miscellaneous → Create Config Project in the Getting Started view as shown below.
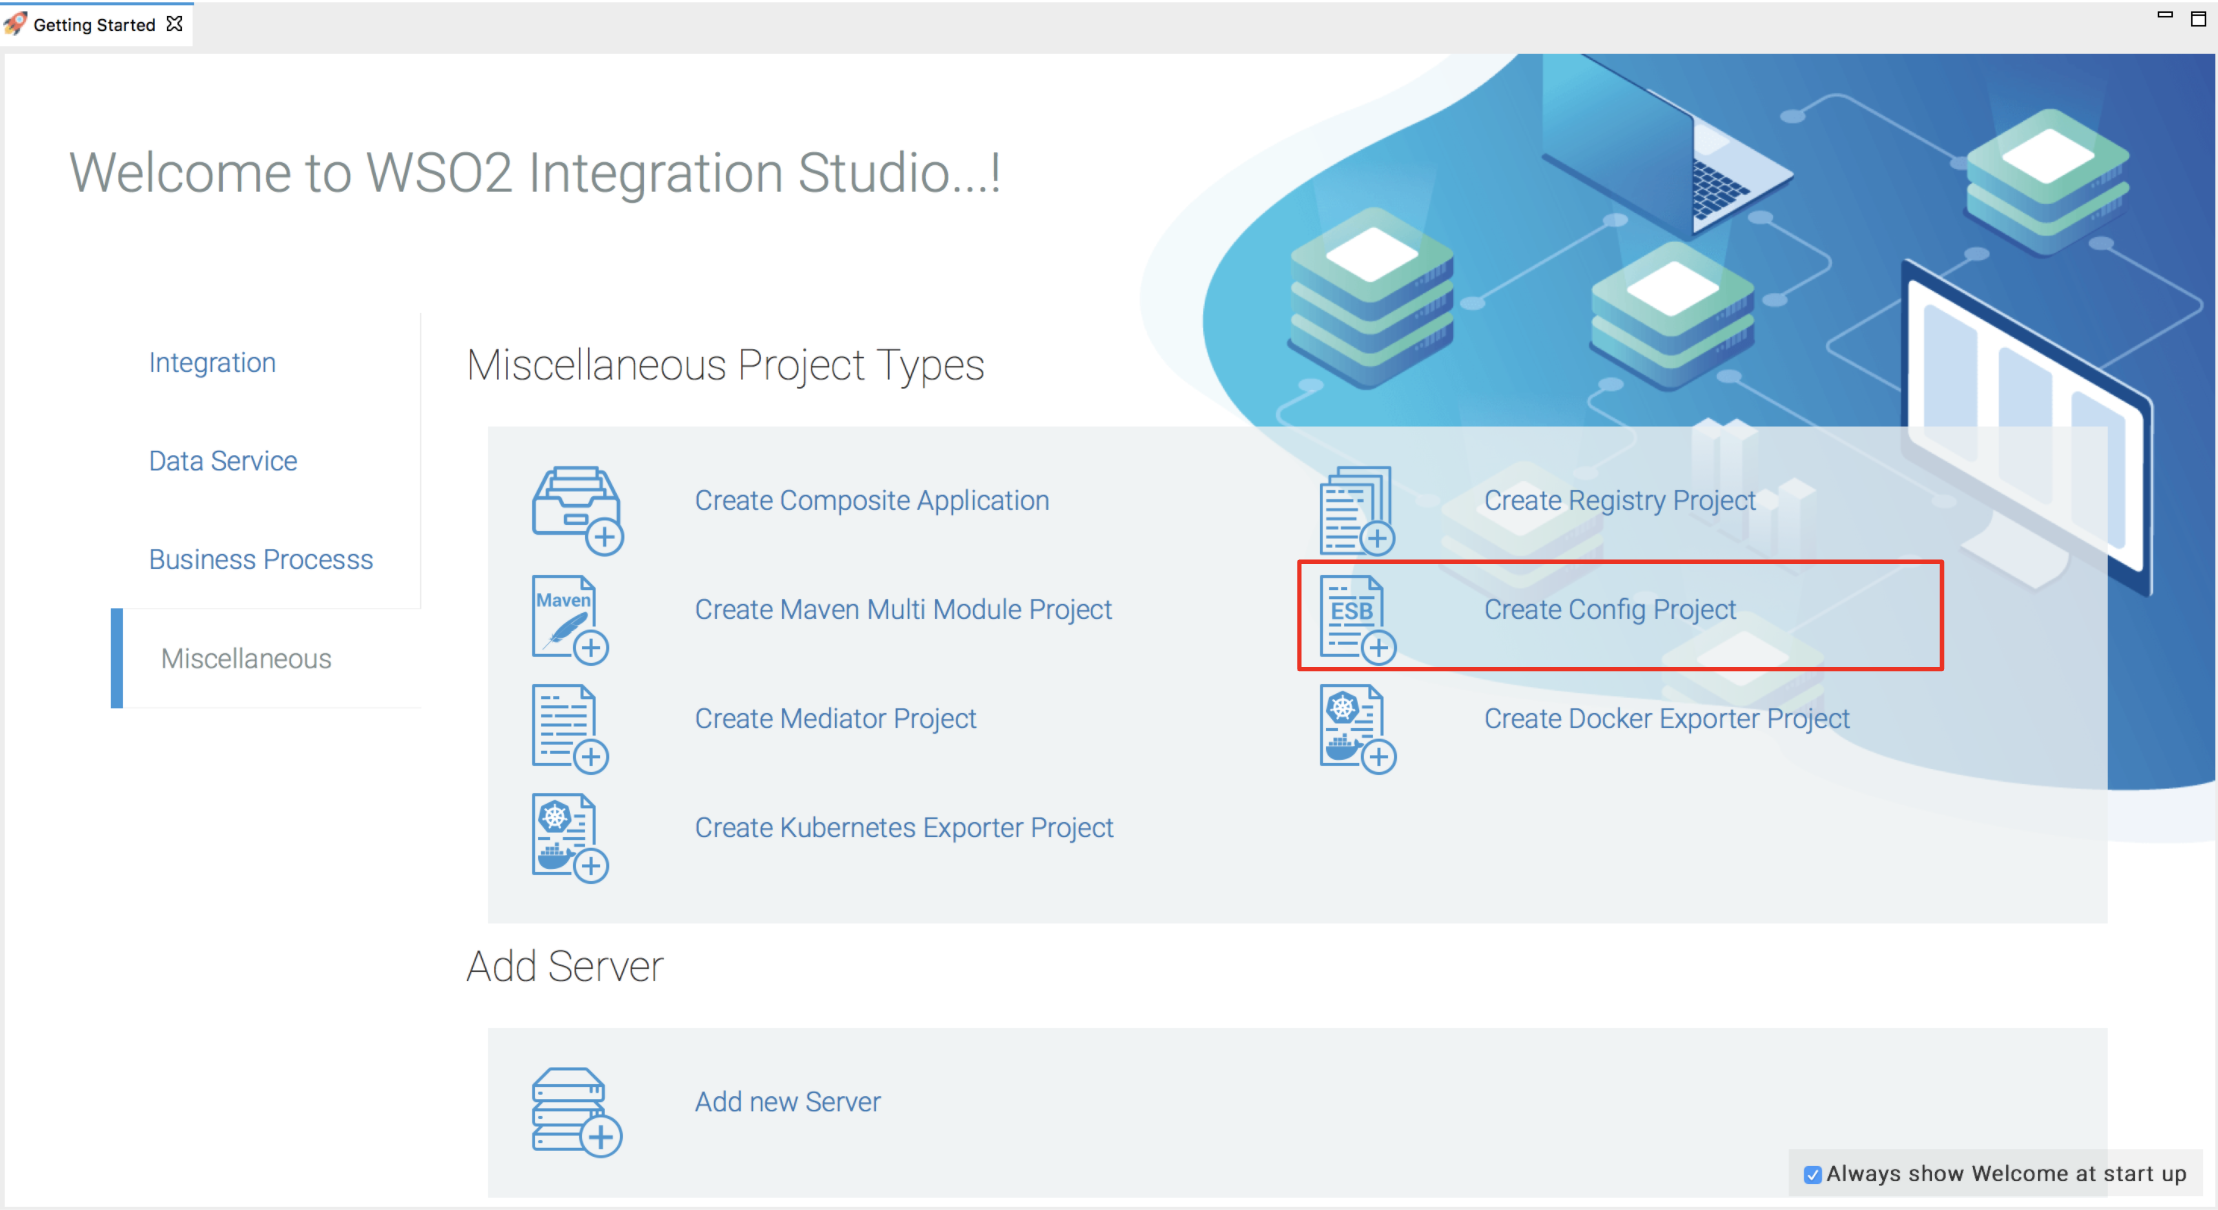
- In the dialog box that opens, select New ESB Config Project and click Next.
- Enter a name for the Config project.
- Click Finish and see that the project is now listed in the project explorer.
You can now start creating the integration artifacts in your Config project.
Registry Resource Project
Create this project directory if you want to create registry resources for your mediation flow. You can later use these registry artifacts when you define your mediation sequences in the Config project.
-
Open WSO2 Integration Studio and click Miscellaneous → Create Registry Project in the Getting Started view as shown below.

- In the dialog box that opens, enter a name for the registry project.
- Click Finish and see that the project is now listed in the project explorer.
See the instructions on creating and using registry artifacts.
Data Services Project
Create this project directory to start creating data services (.dbs files) for exposing various datasources as a service.
-
Open WSO2 Integration Studio and click Data Service → Create Data Service Project in the Getting Started view as shown below.
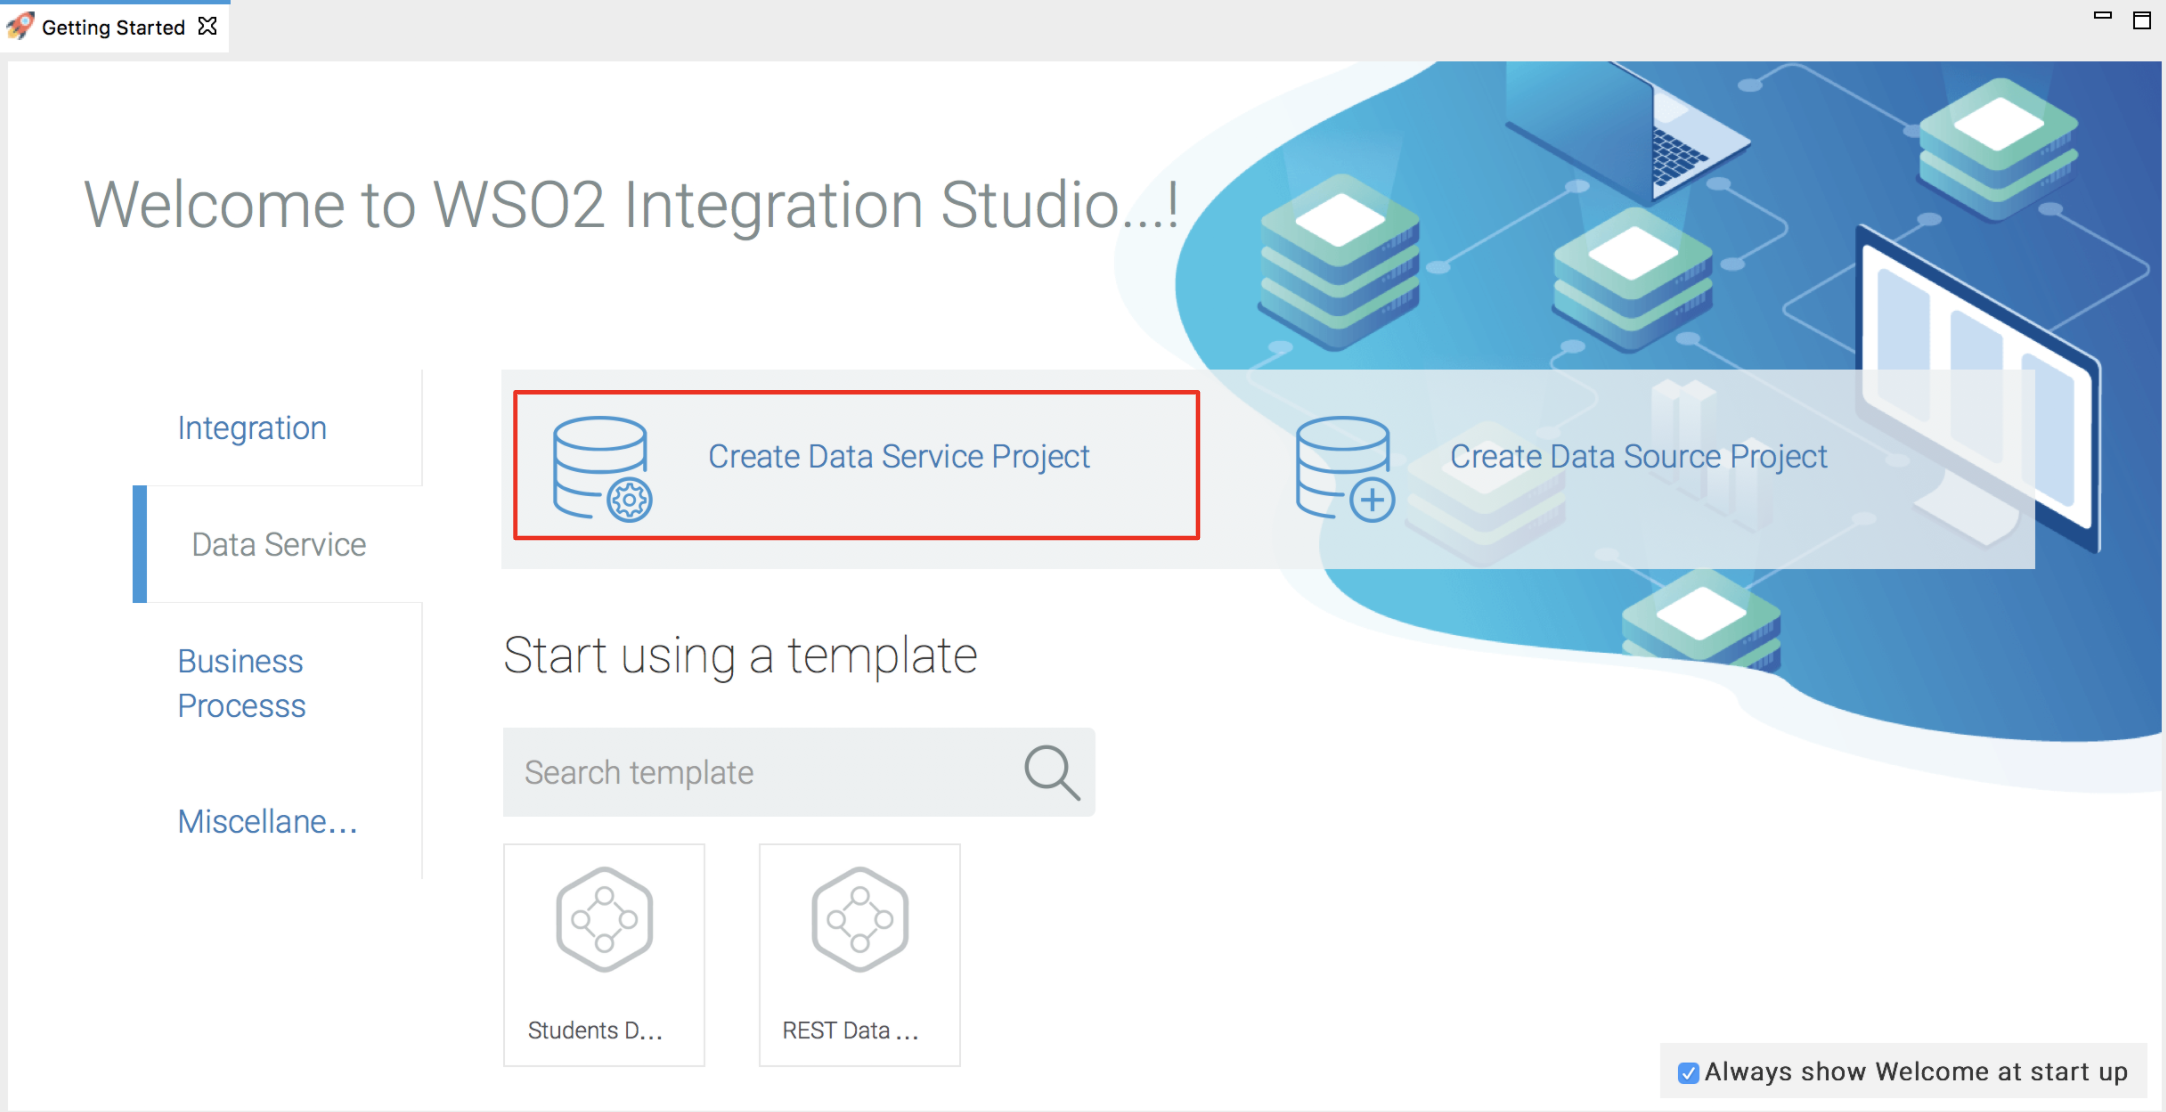
- In the dialog box that opens, enter a project name and click Next.
- Click Finish and see that the project is now listed in the project explorer.
You can now start creating data service artifacts using WSO2 Integration Studio.
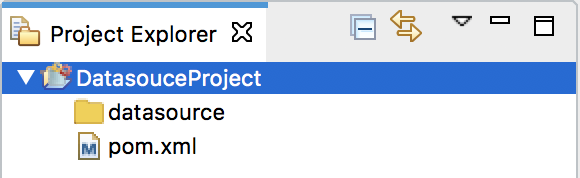
Datasource Project
Create this project directory to start creating datasources that you can expose through a data service.
- Open WSO2 Integration Studio and click Data Service → Create Data Source in the Getting Started view as shown below.
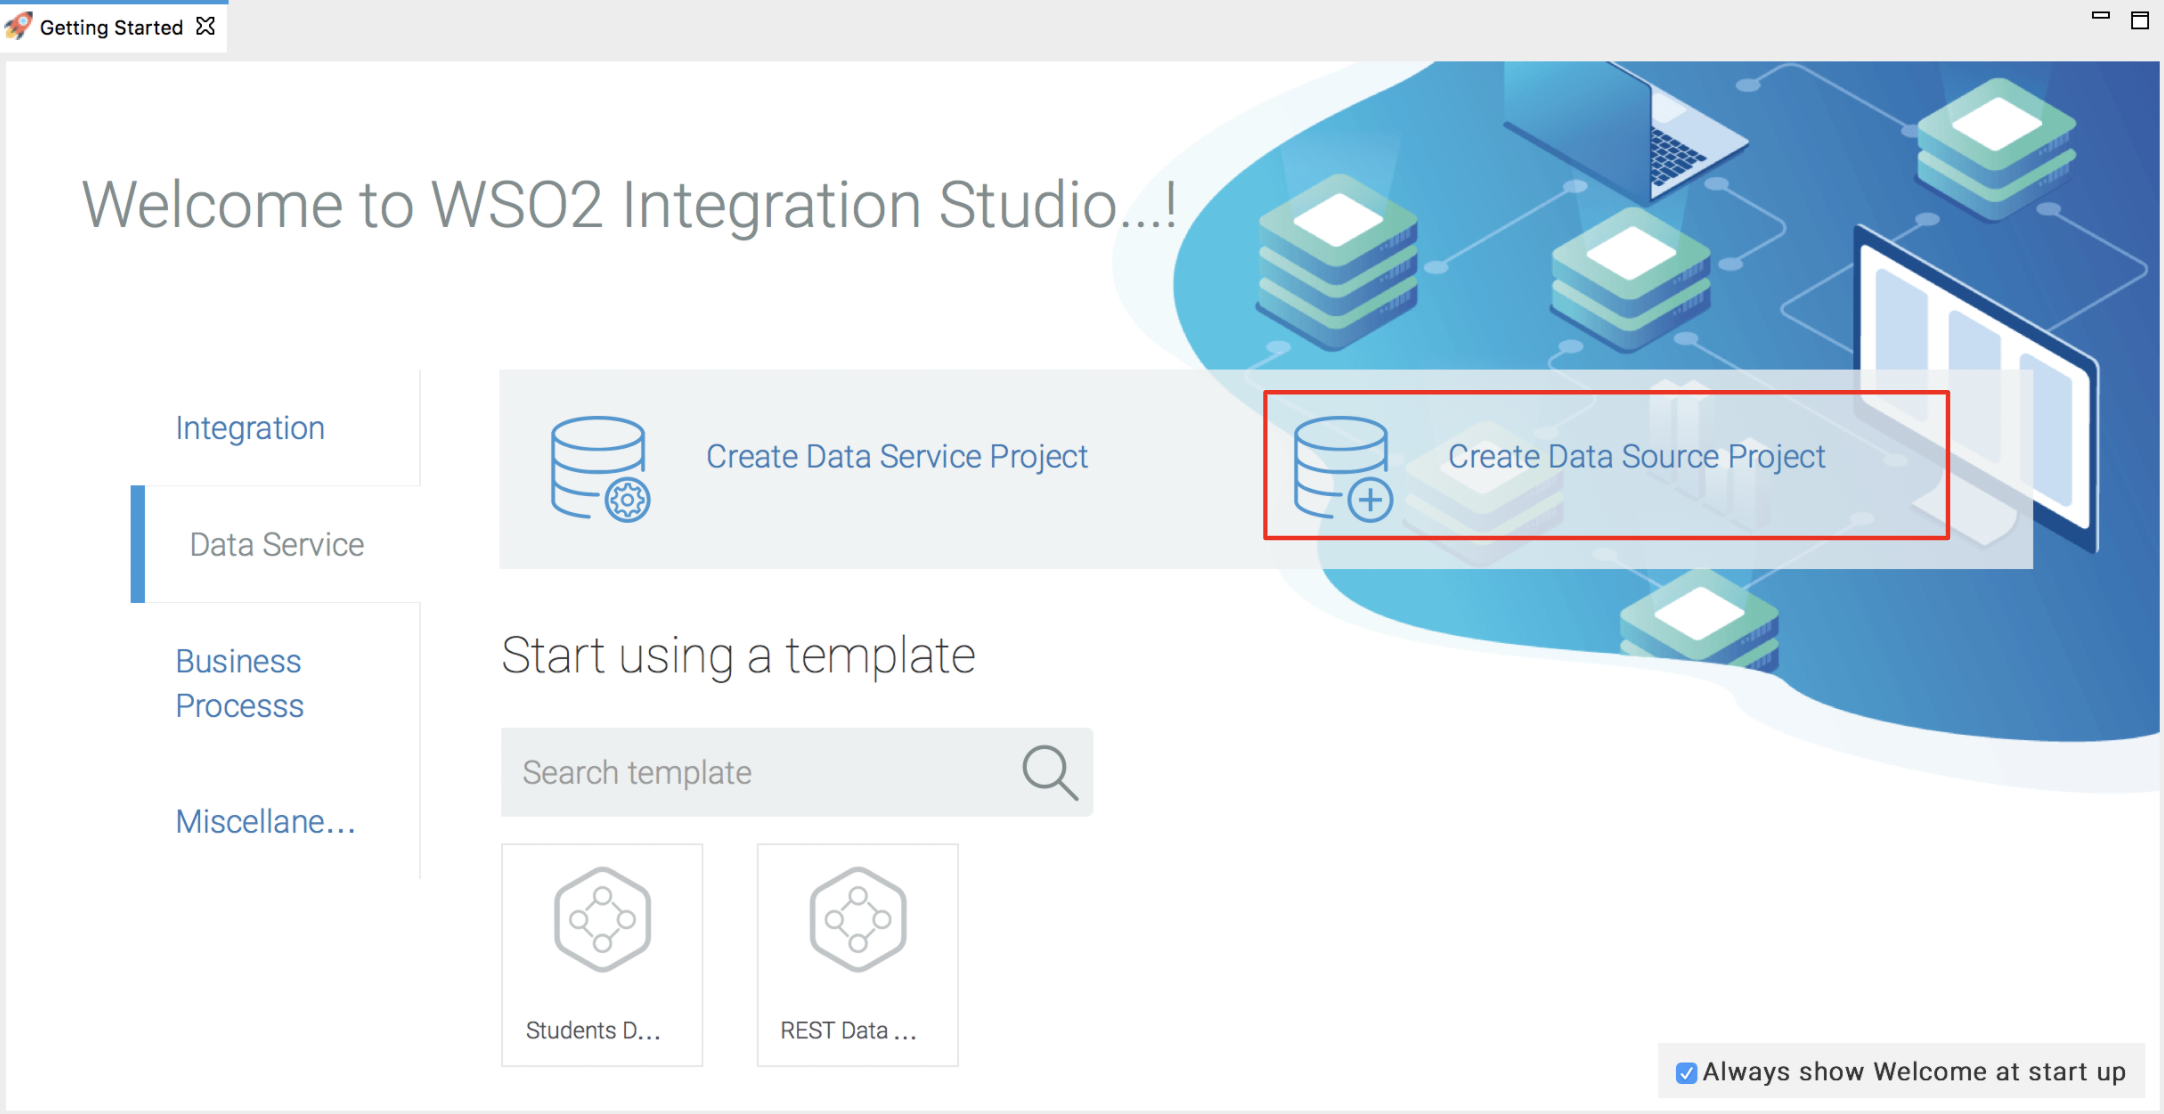
- In the dialog that opens, enter a project name and click Next.

- Click Finish and see that the project is now listed in the project explorer.
Connector Exporter Project
Create this project directory if you have used Connectors in your medition sequence (defined in the Config project). All connector artifacts need to be stored in a connector exporter project before packaging. See the instructions on using connectors.
Composite Application Project
This poject directory allows you to package all the artifacts (stored in other integration projects) into one composite application (C-APP). This C-APP can then be deployed in the Micro Integrator server. See the instructions on packaging integration artifacts.
Alternative: Creating Projects
You can use the above integration projects and other various projects as follows:
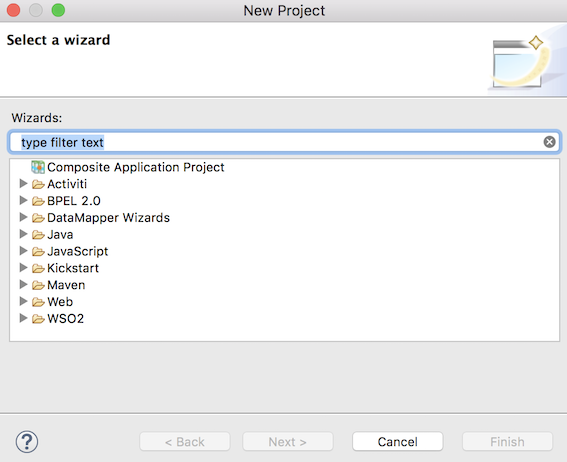
- Right-click on the Project Explorer and click New → Project as shown below.
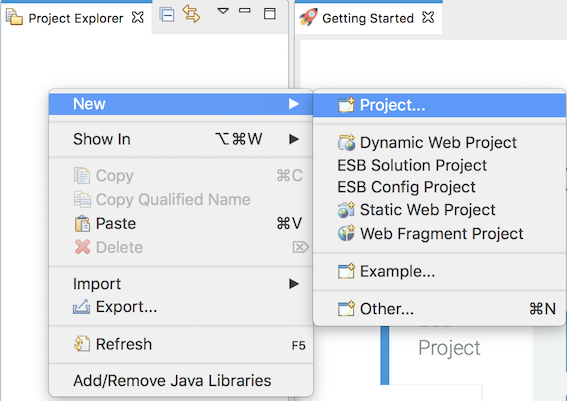
- In the New Project dialog that opens, select the required project.