Creating a Data Service
Follow the instructions given below to create a new REST API artifact.
Tip
If you do not see the features given below in the WSO2 Integrations Studio that you are using, you need to get the latest updates.
Instructions
Tip
You can also use a sample template to create your data service.
- Open the Getting Started view of WSO2 Integration Studio (Menu -> Help -> Getting Started).
- In the Getting Started view, go to the Data Service tab and select the REST Data Service example.
Creating the data service artifact
Follow the steps given below to create the data service file:
-
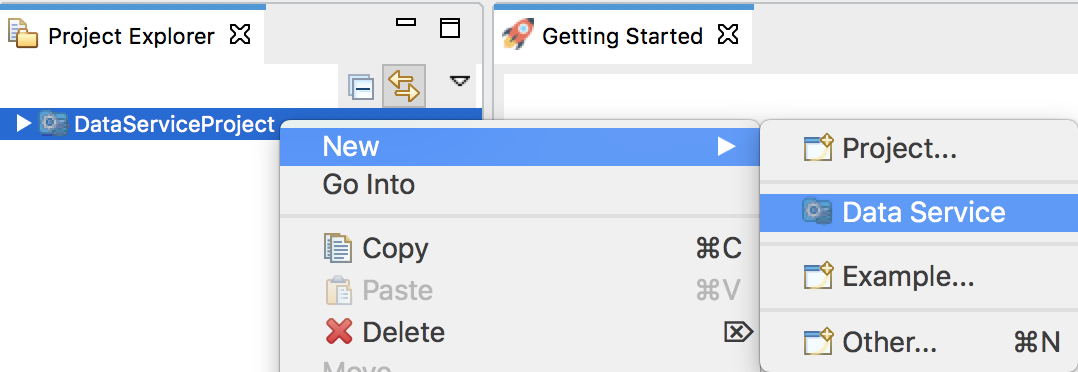
Right-click the Data Service project in the project explorer and go to New -> Data Service.
-
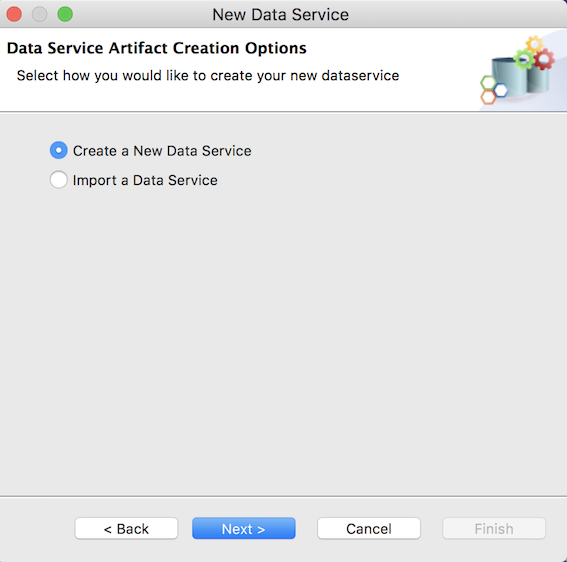
In the New Data Service wizard that opens, select Create New Data Service and click Next.
-
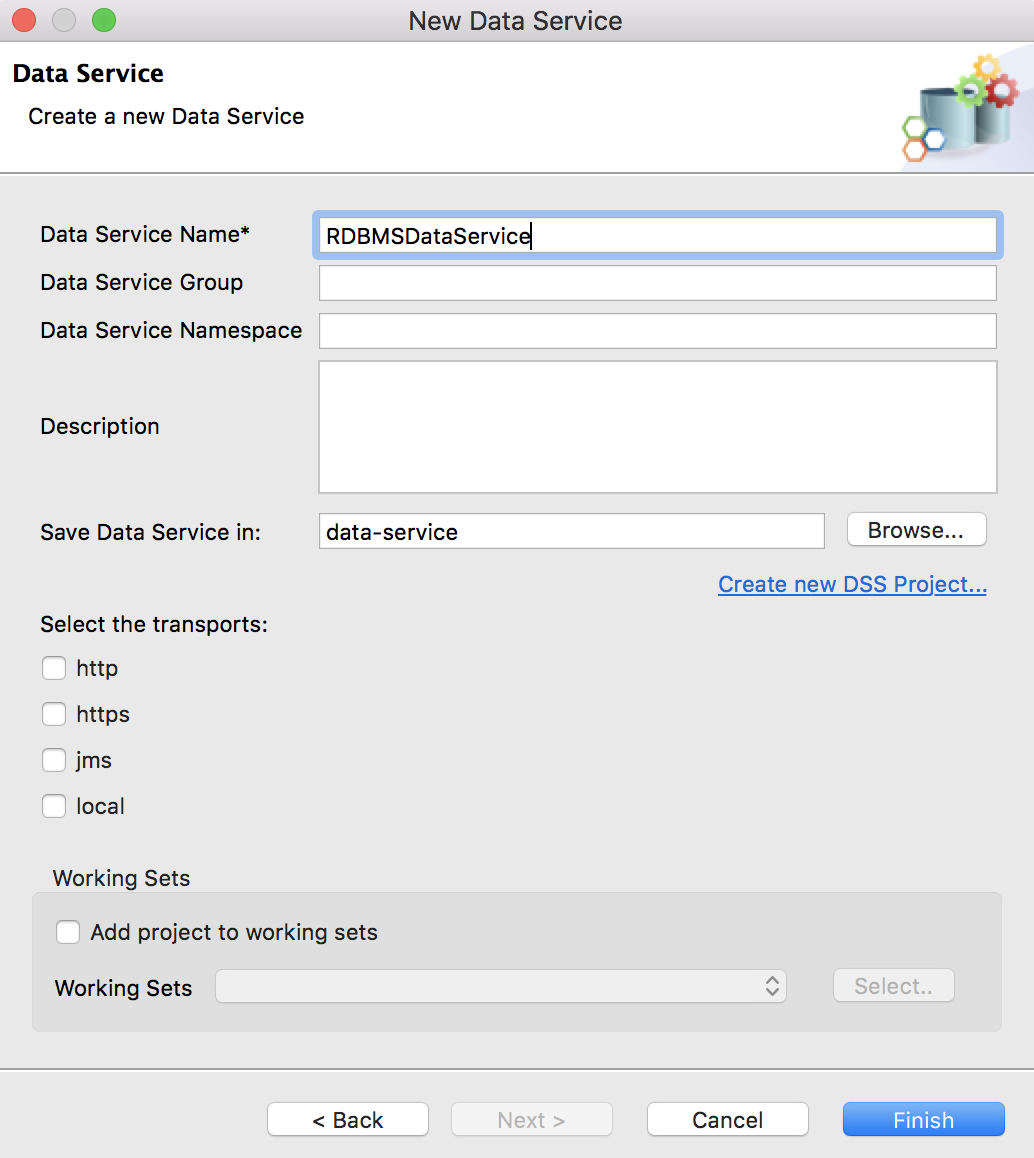
Enter a name for the data service and click Finish.
A data service file (DBS file) will now be created in your data service project as show below.
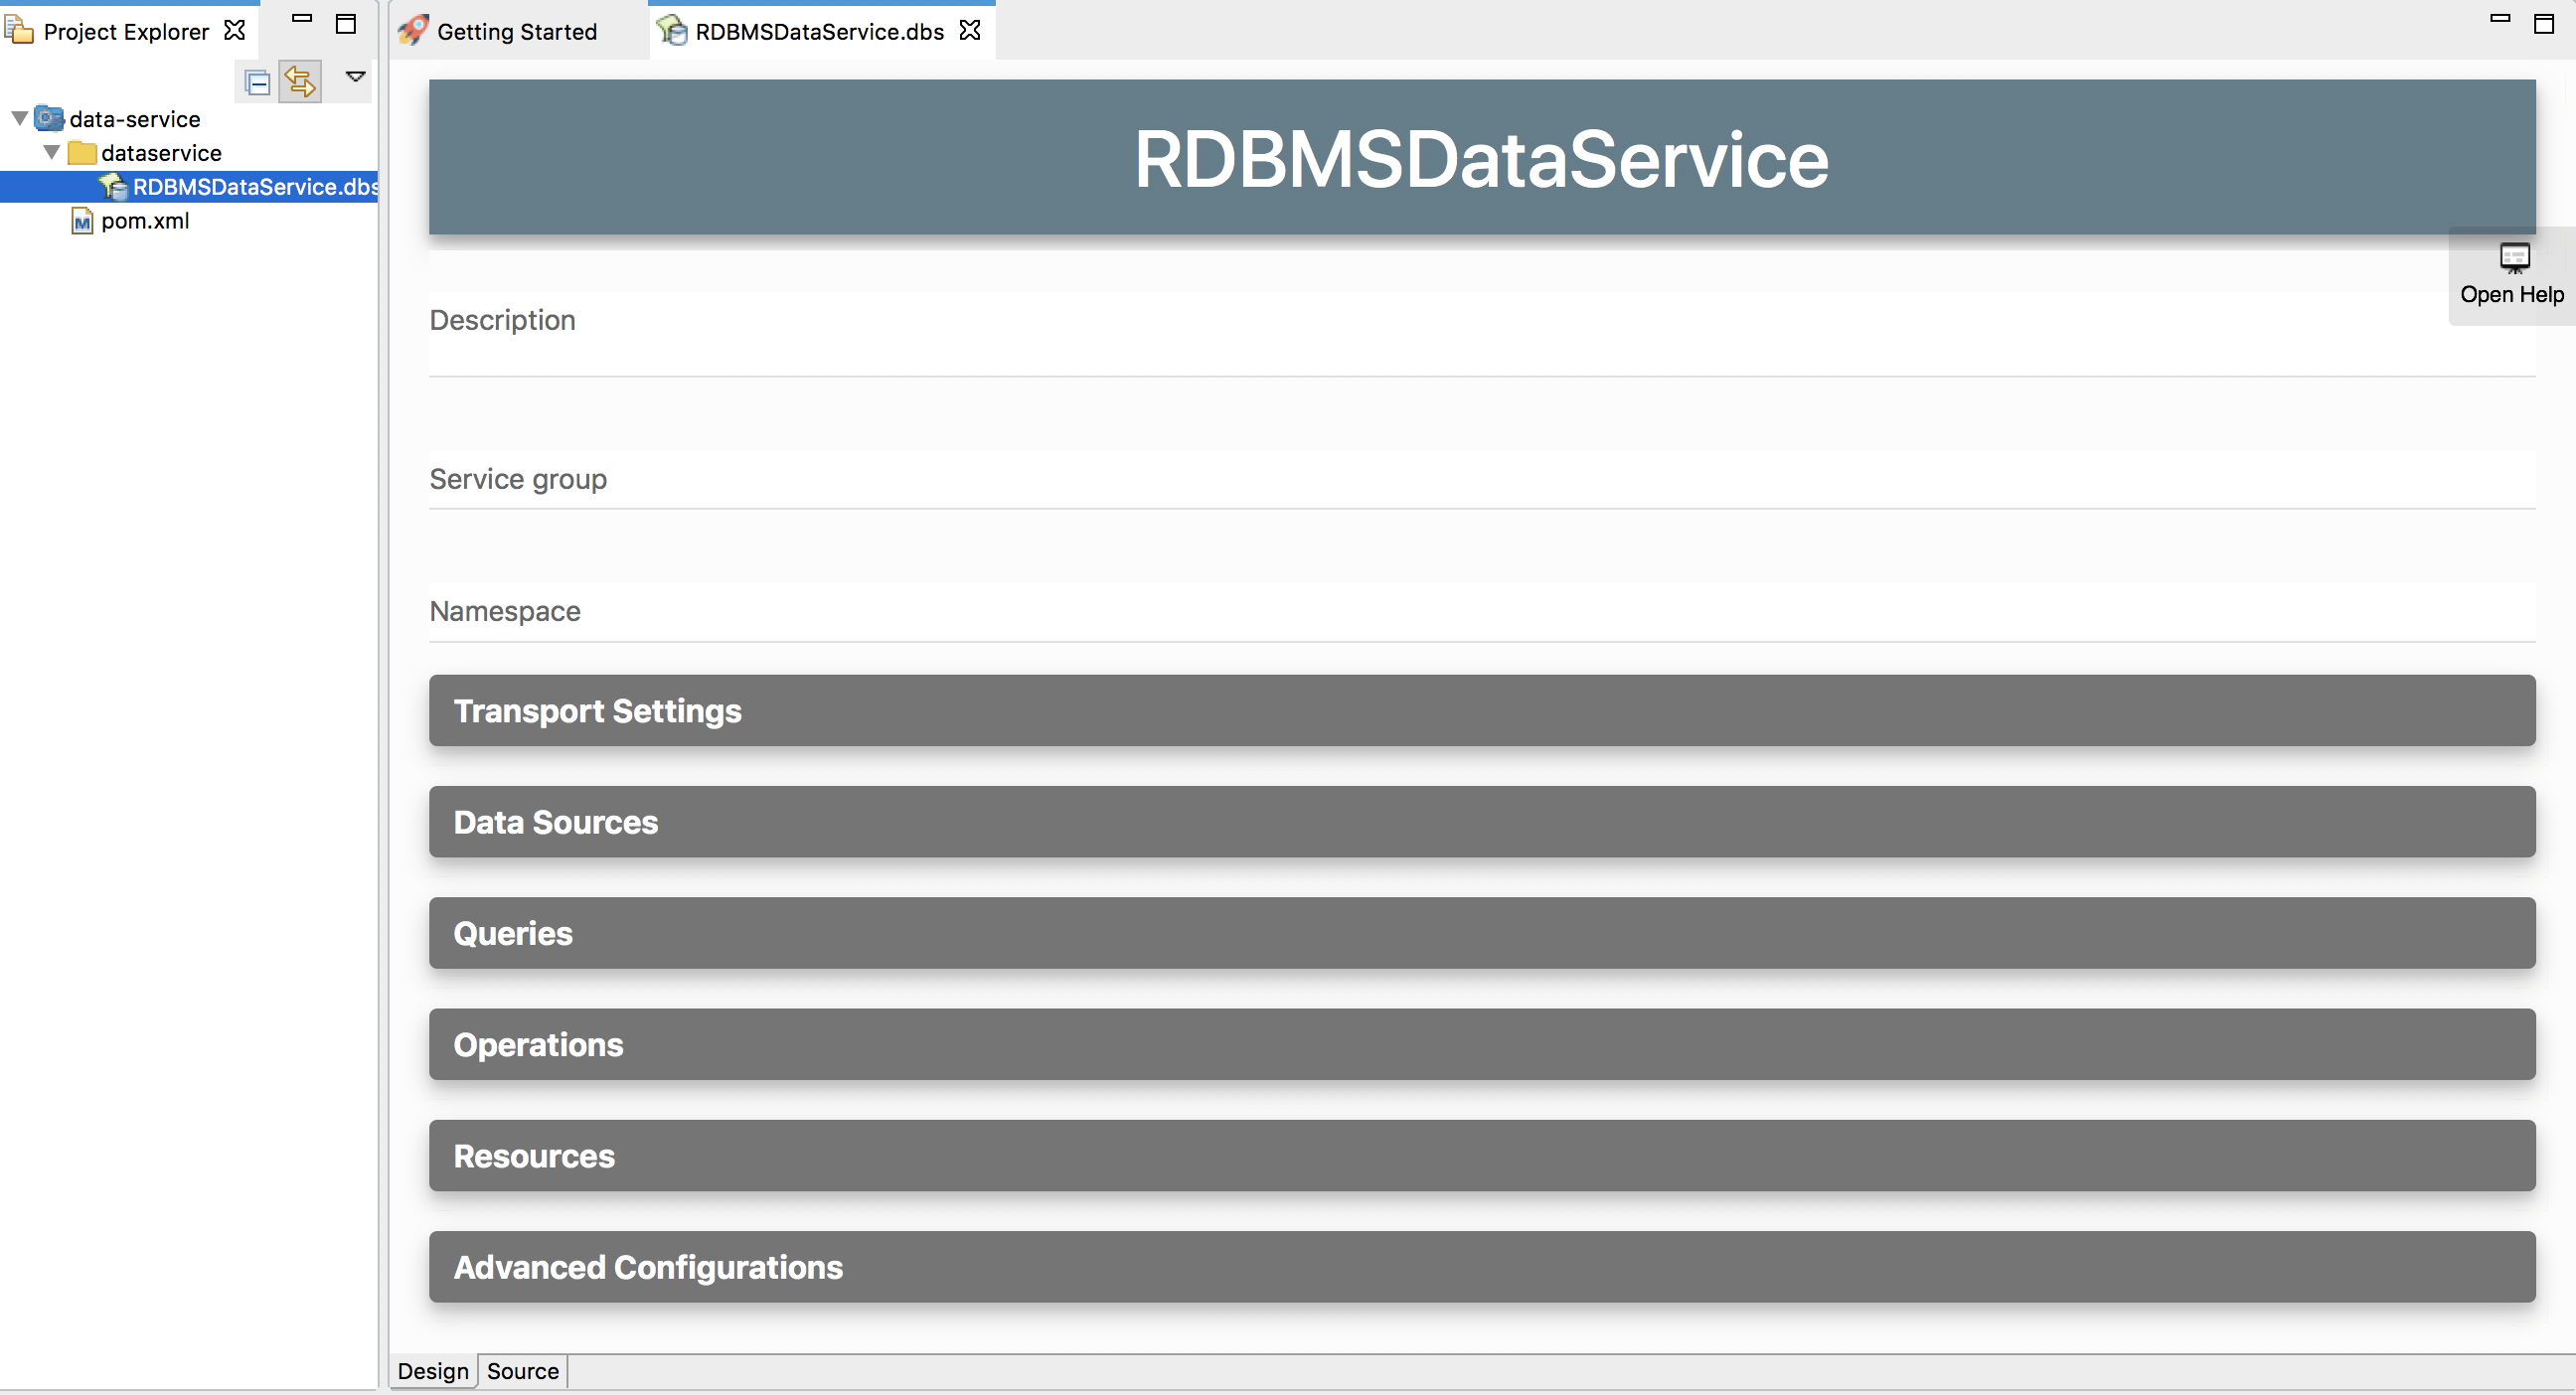
You can now start updating the data service.
Adding a datasource
To create a new datasource connection:
-
Click Data Sources and expand the section:
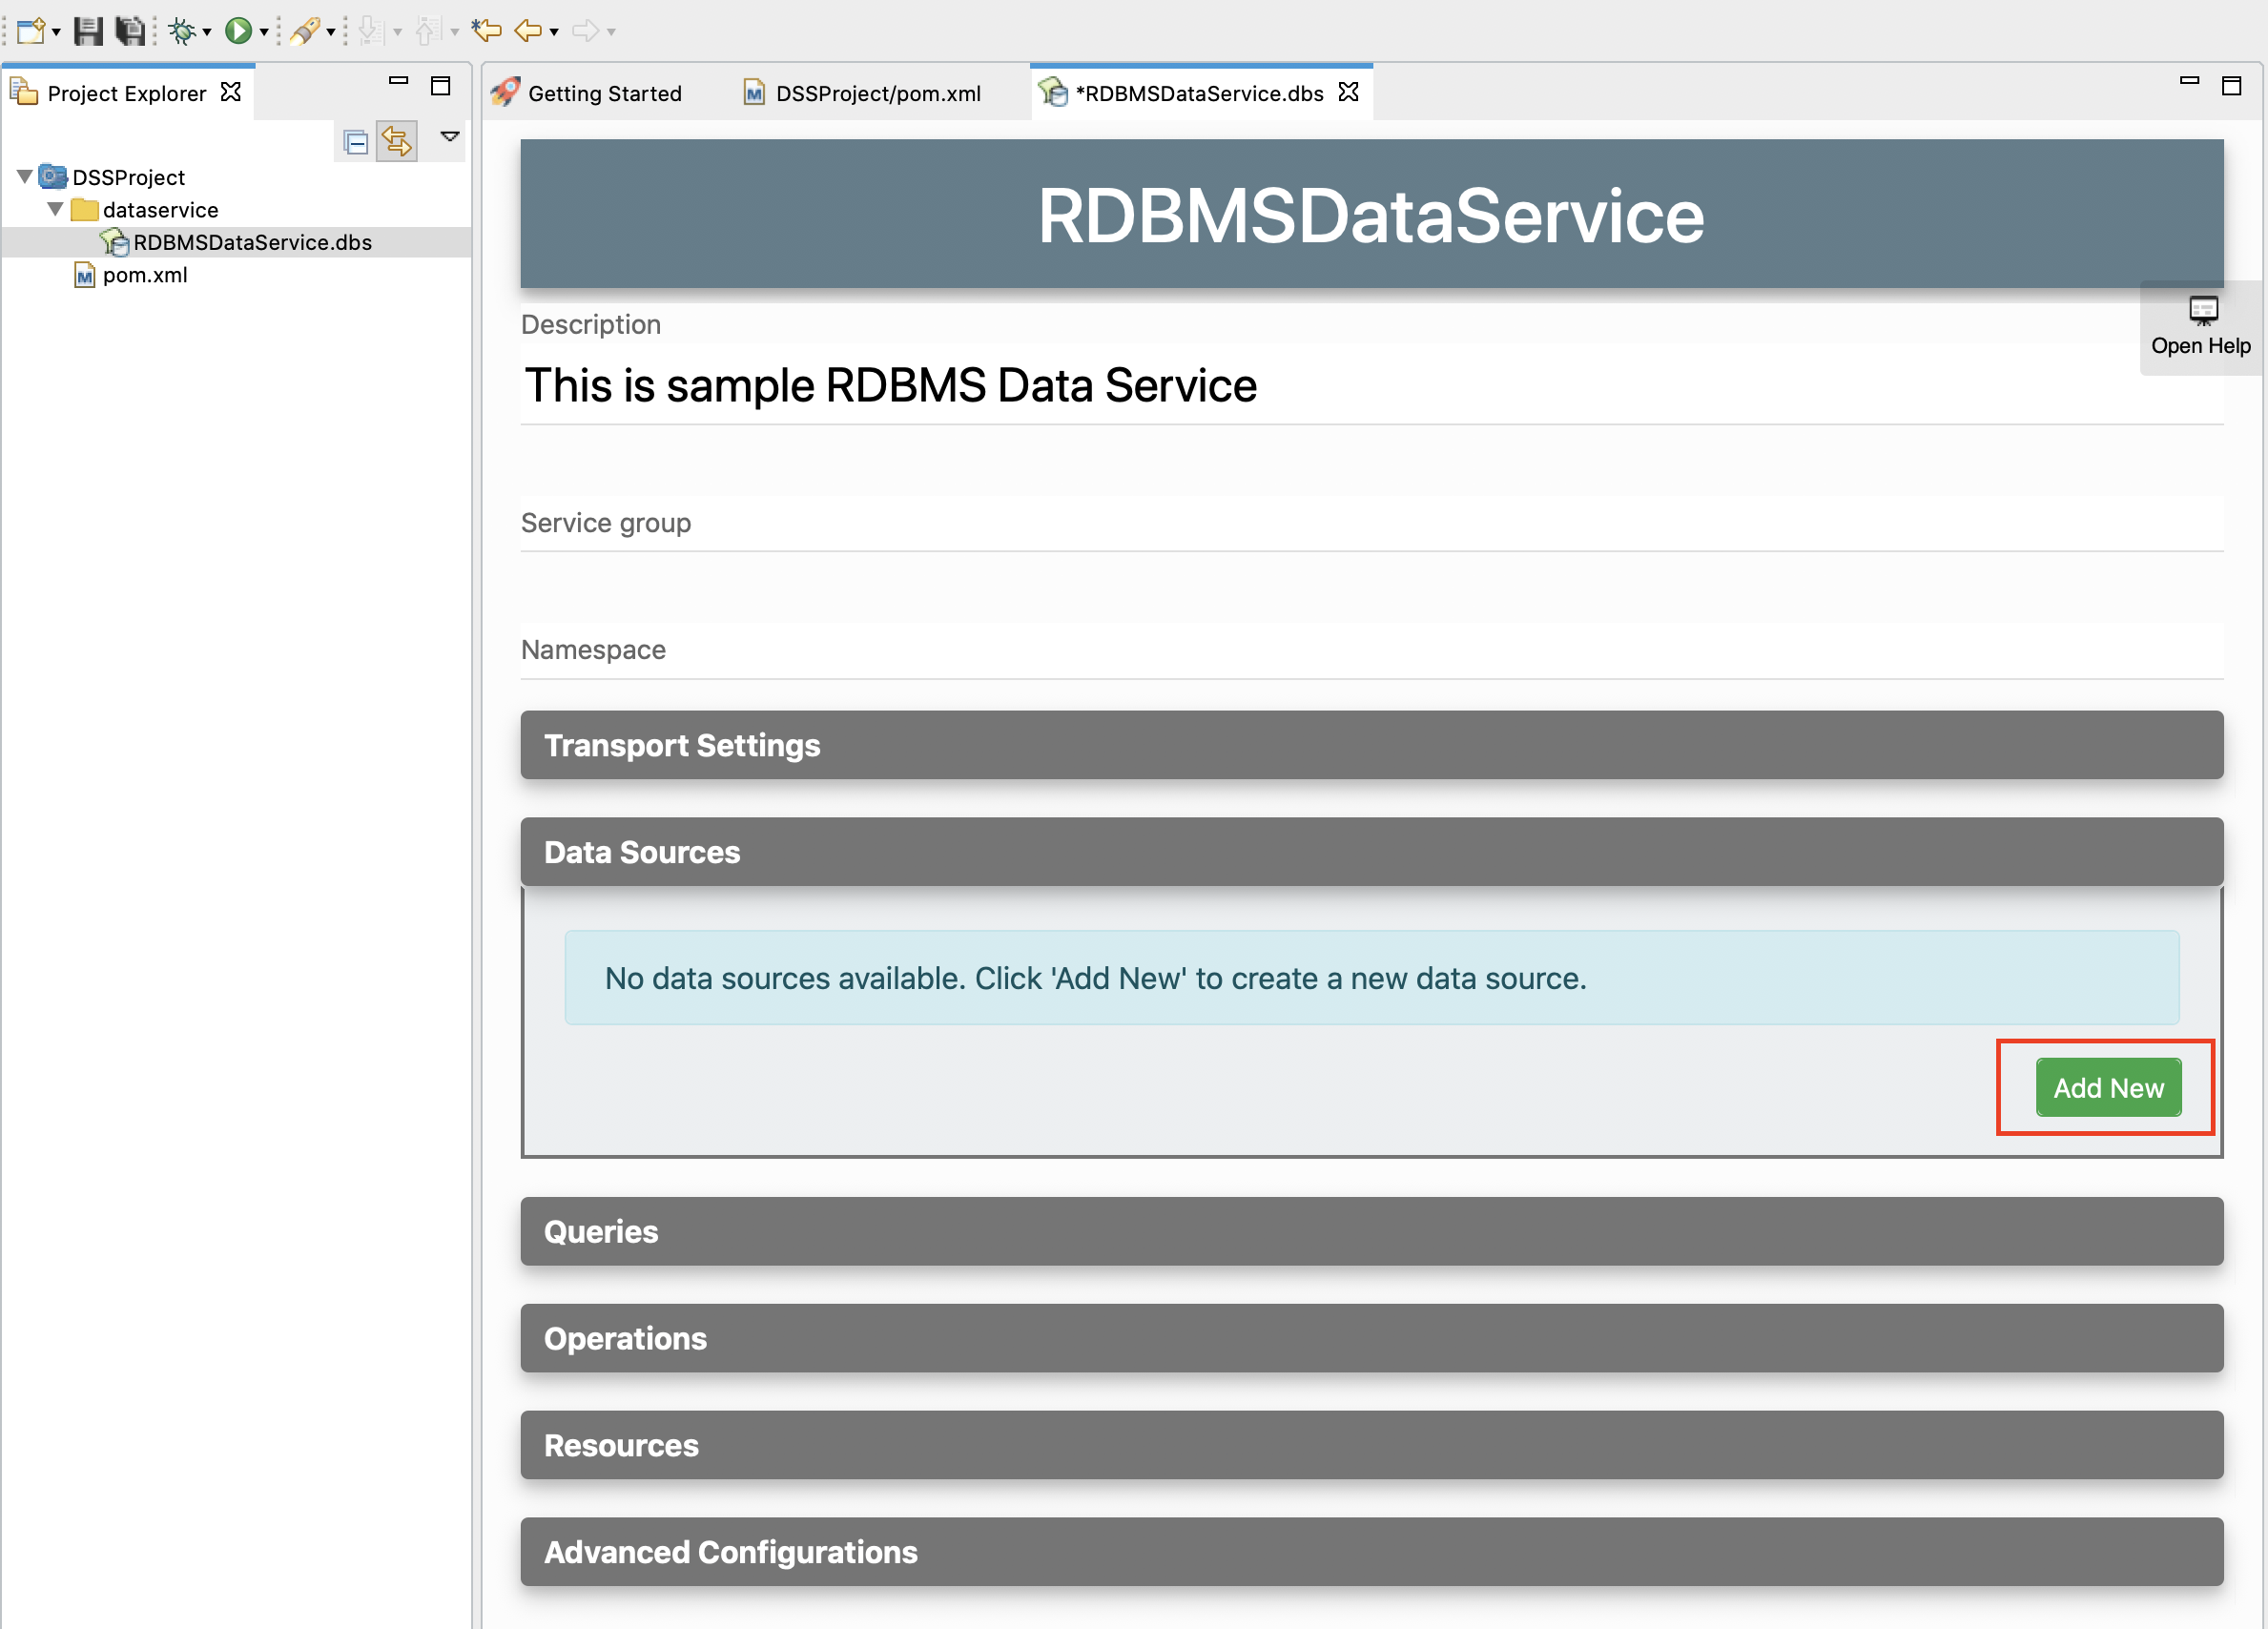
-
Click Add New to open the Create Datasource page.
-
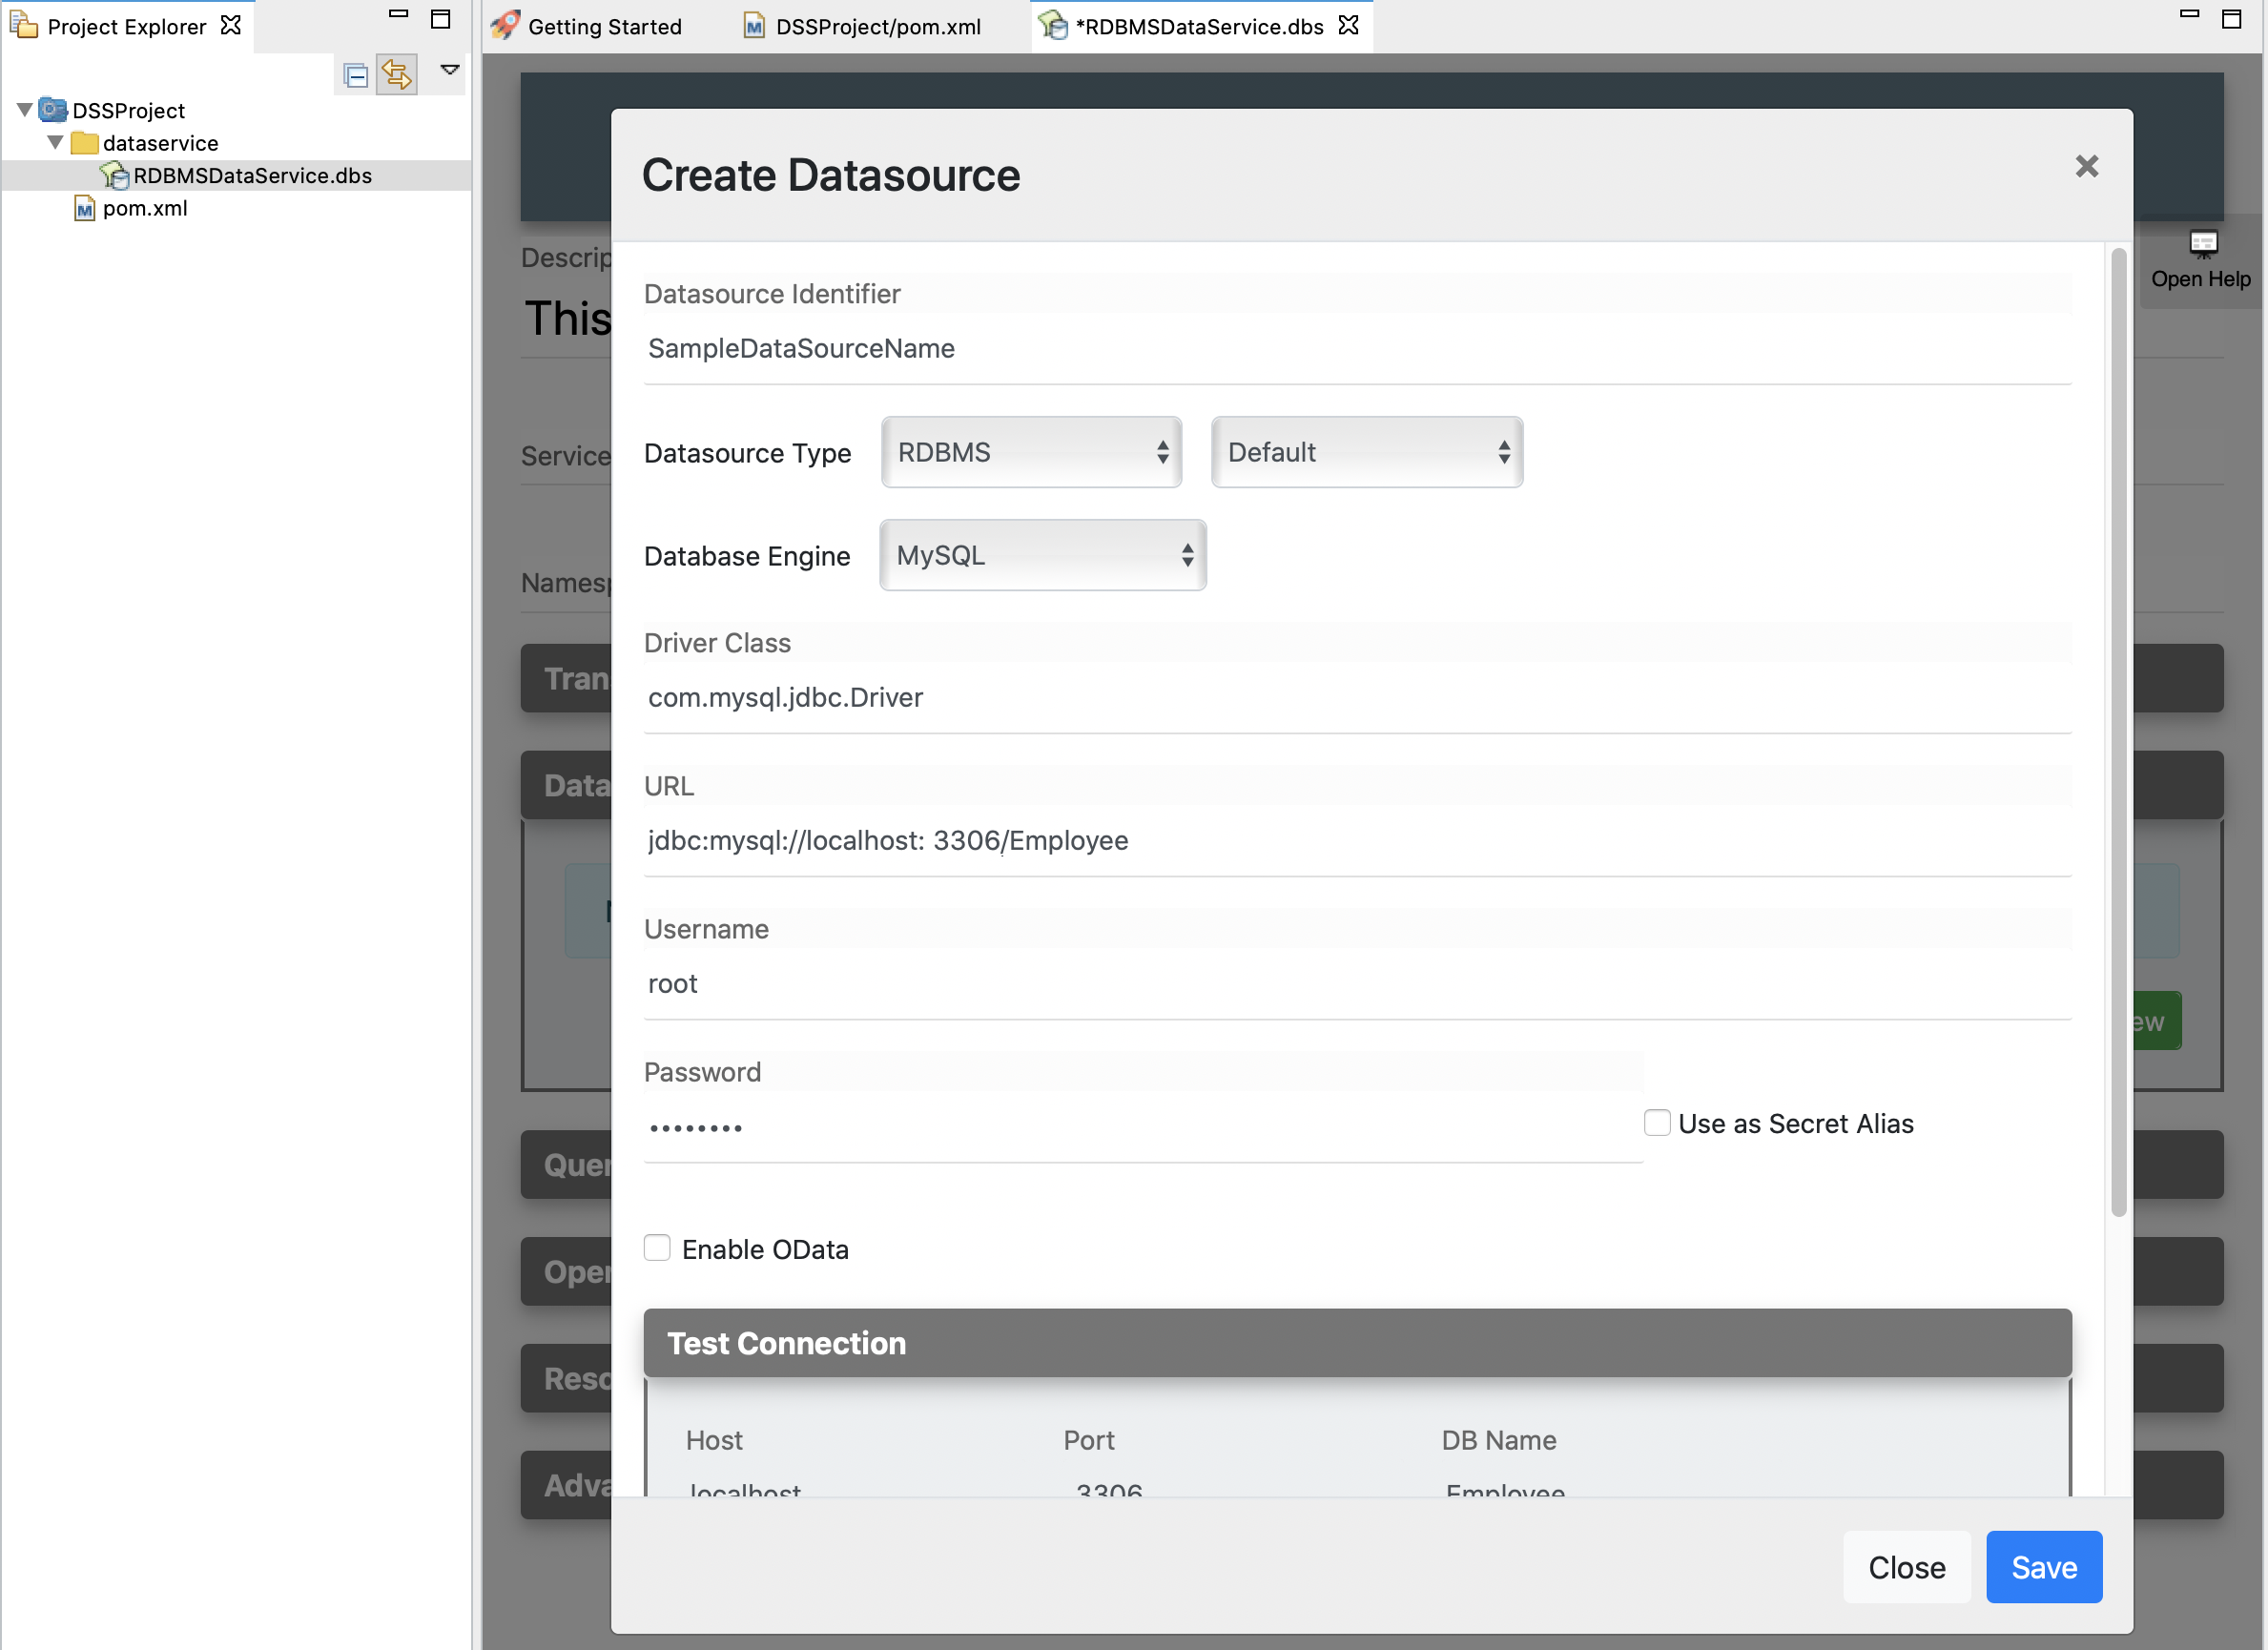
You can now select the type of datasource that you want to use:
Datasource Type Description RDBMS When you select RDBMS, the database engines that you can use are listed in the Database Engine field. Select the required database engine and enter the parameters relevant to the database. See the following examples: If you select External Datasource, you need to specify the class that implements the datasource. CSV When you select CSV, you can expose a CSV file as a data service. Specify the details relevant to your CSV file. See the CSV datasource example for more details. Carbon Datasource This option allows you to specify a separate Carbon Datasource configuration to generate the data service. -
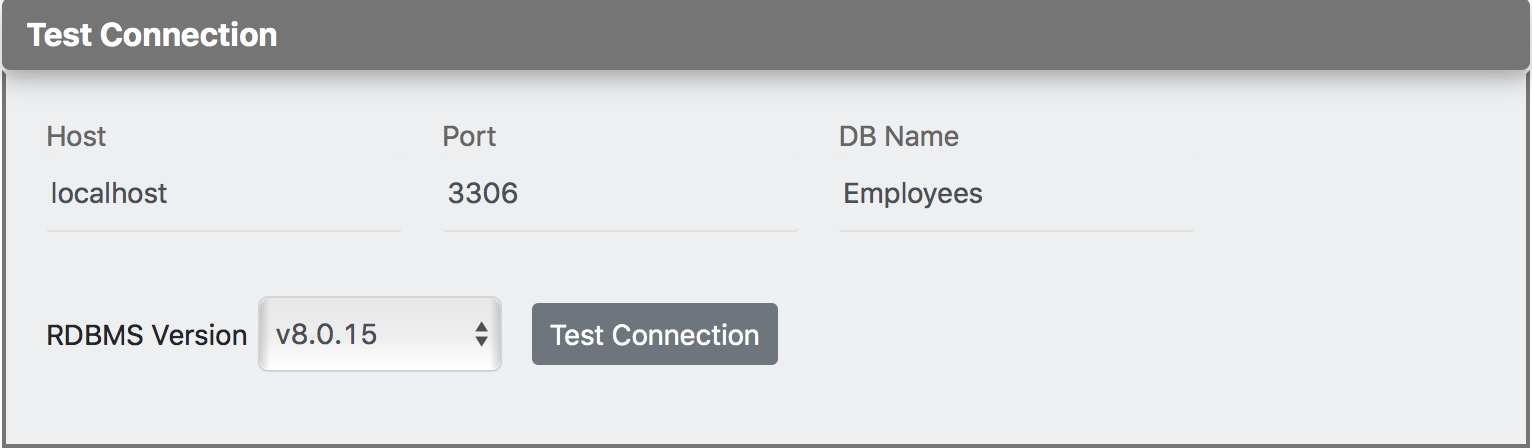
If you specified an RDBM datasource in the previous step:
- You can switch to the Source View to configure addition connection pool parameters.
- Click Test Connection to expand the section and then click the Test Connection button to verify the connectivity between the database and the data service.
-
If you want to configure dynamic authentication, click Dynamic Authentication and specify the required values:
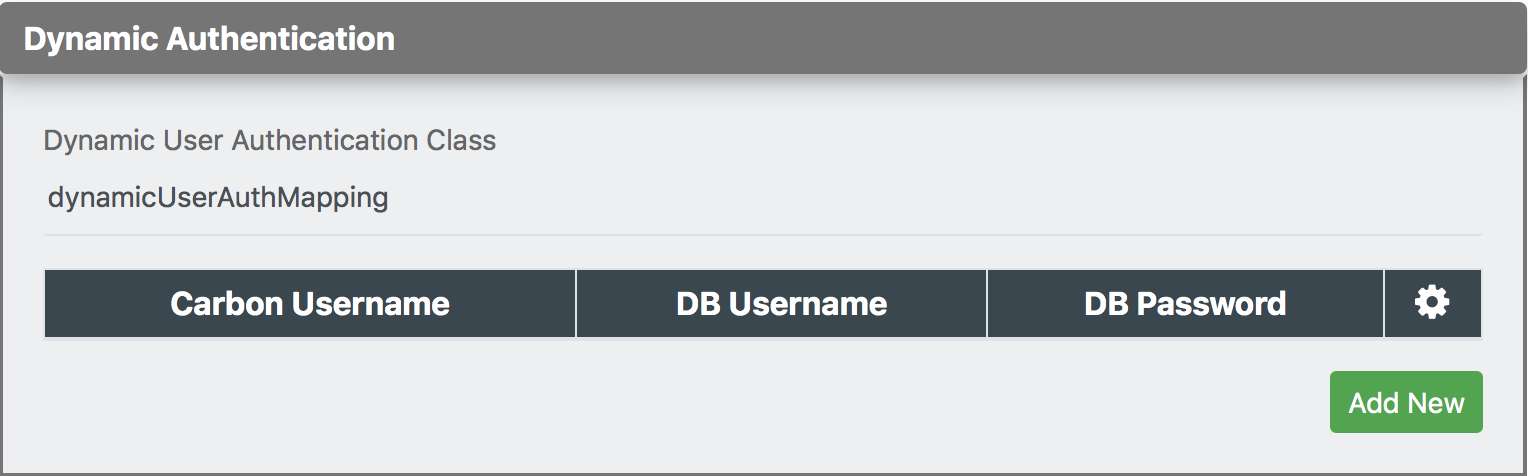
Tip
See the example use case on dynamic user authentication.
-
Save the updates.
Creating a query
To specify a query for your source:
-
Click Queries and expand the section:

-
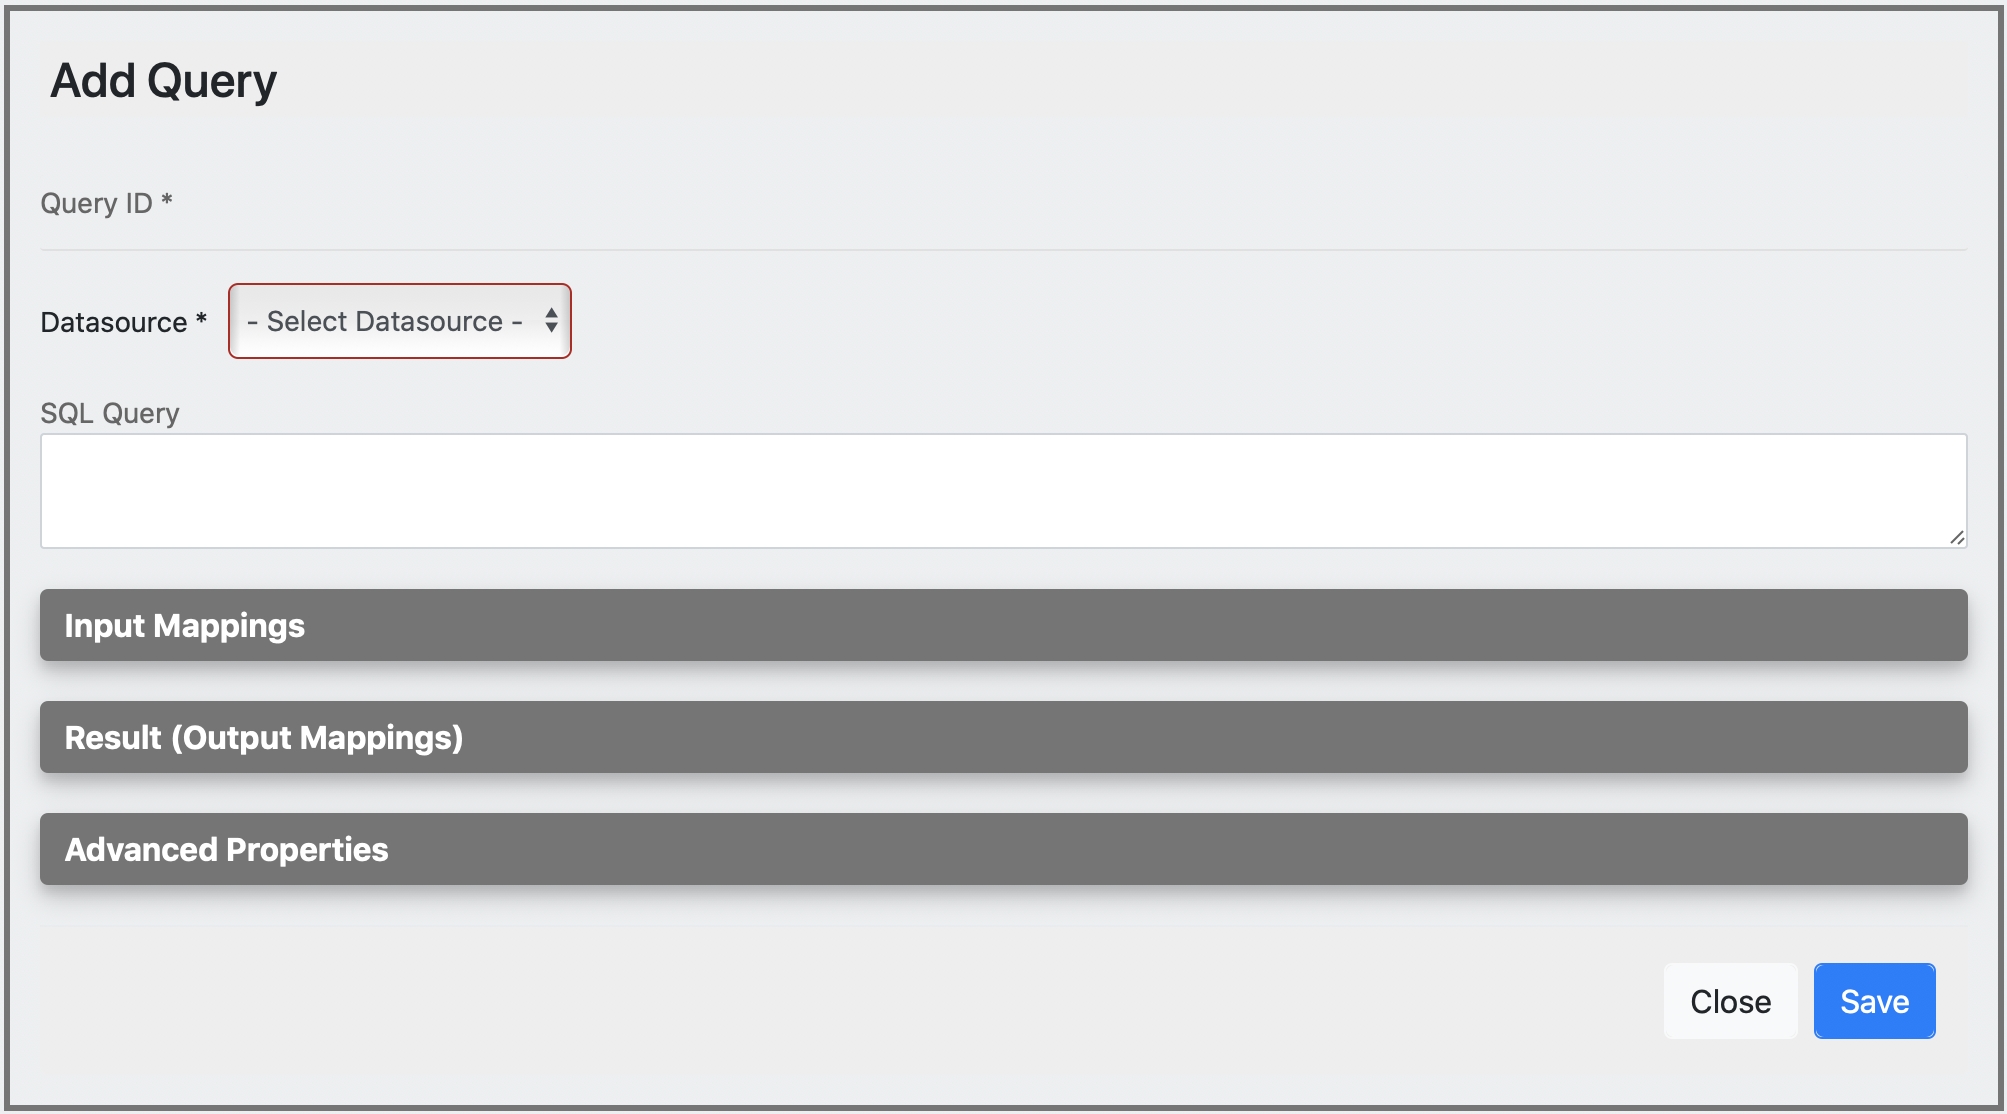
Click Add New to open the Add Query page.
-
Start by entering the following query details.
Parameter Description Query ID Give a unique name to identify the query. Datasource All the datasources created for this data service are listed. Select the required datasource from the list. SQL Query You can enter the SQL query in this text box.
Input mapping
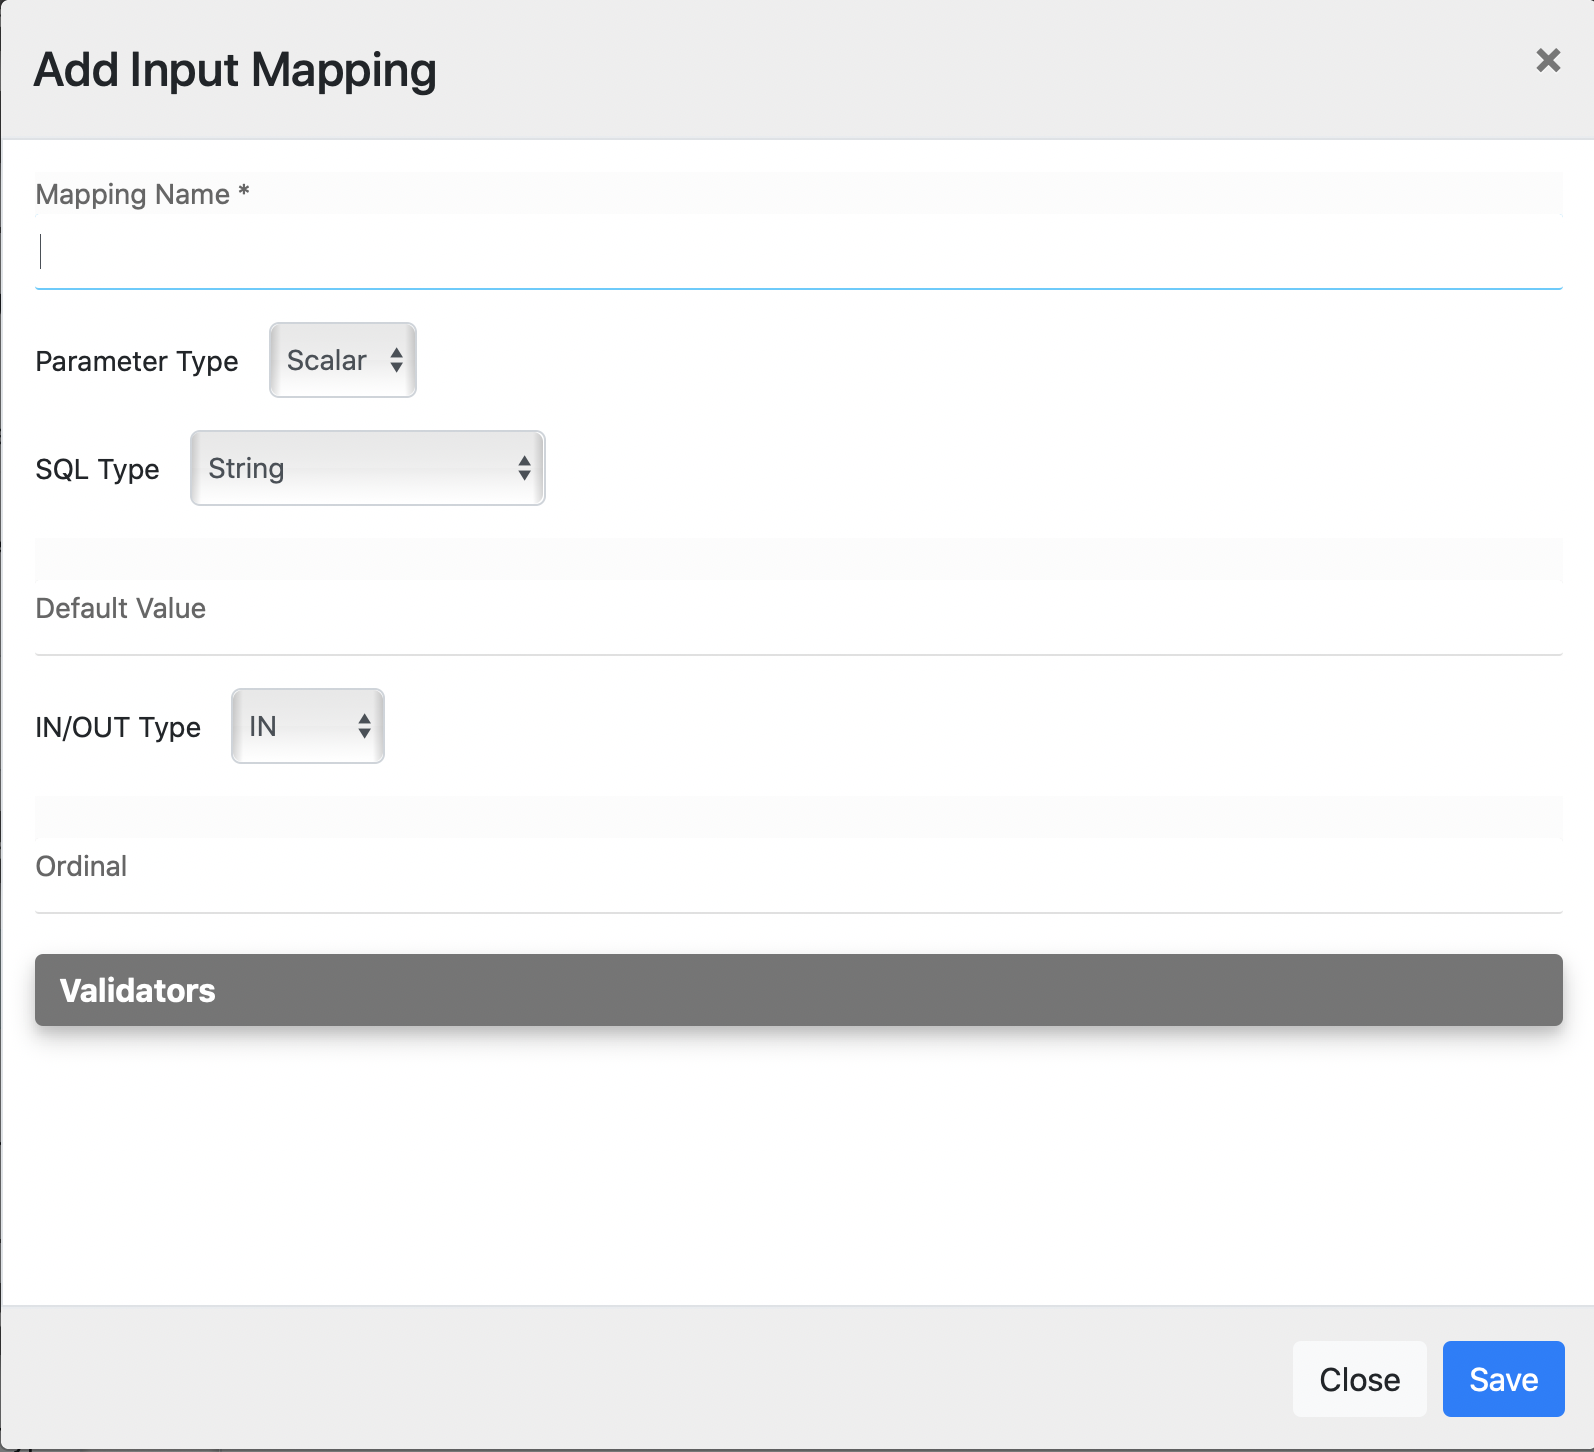
You can configure input parameters for the query using this section.
-
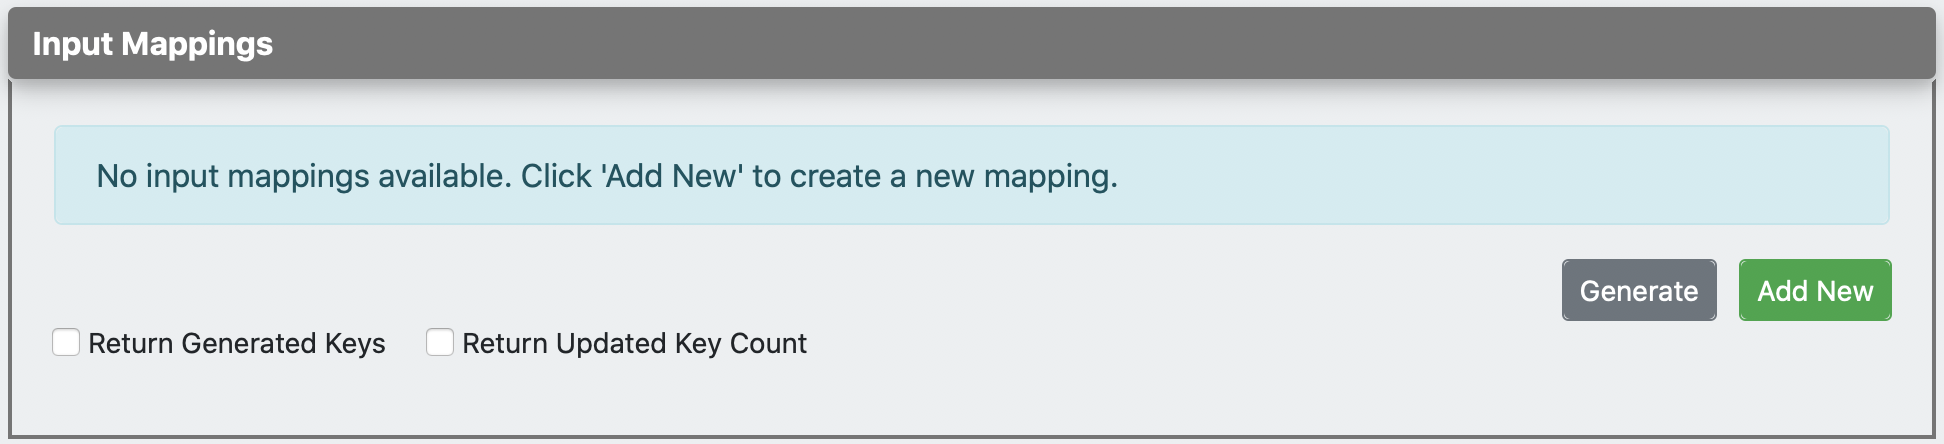
Click Input Mappings and expand the section.
-
There are two ways to create the mapping:
- Click Generate to automatically generate the input mappings from the SQL query.
- Alternatively, click Add New to manually create new input elements.
Info
See the complete list of input mapping parameters.
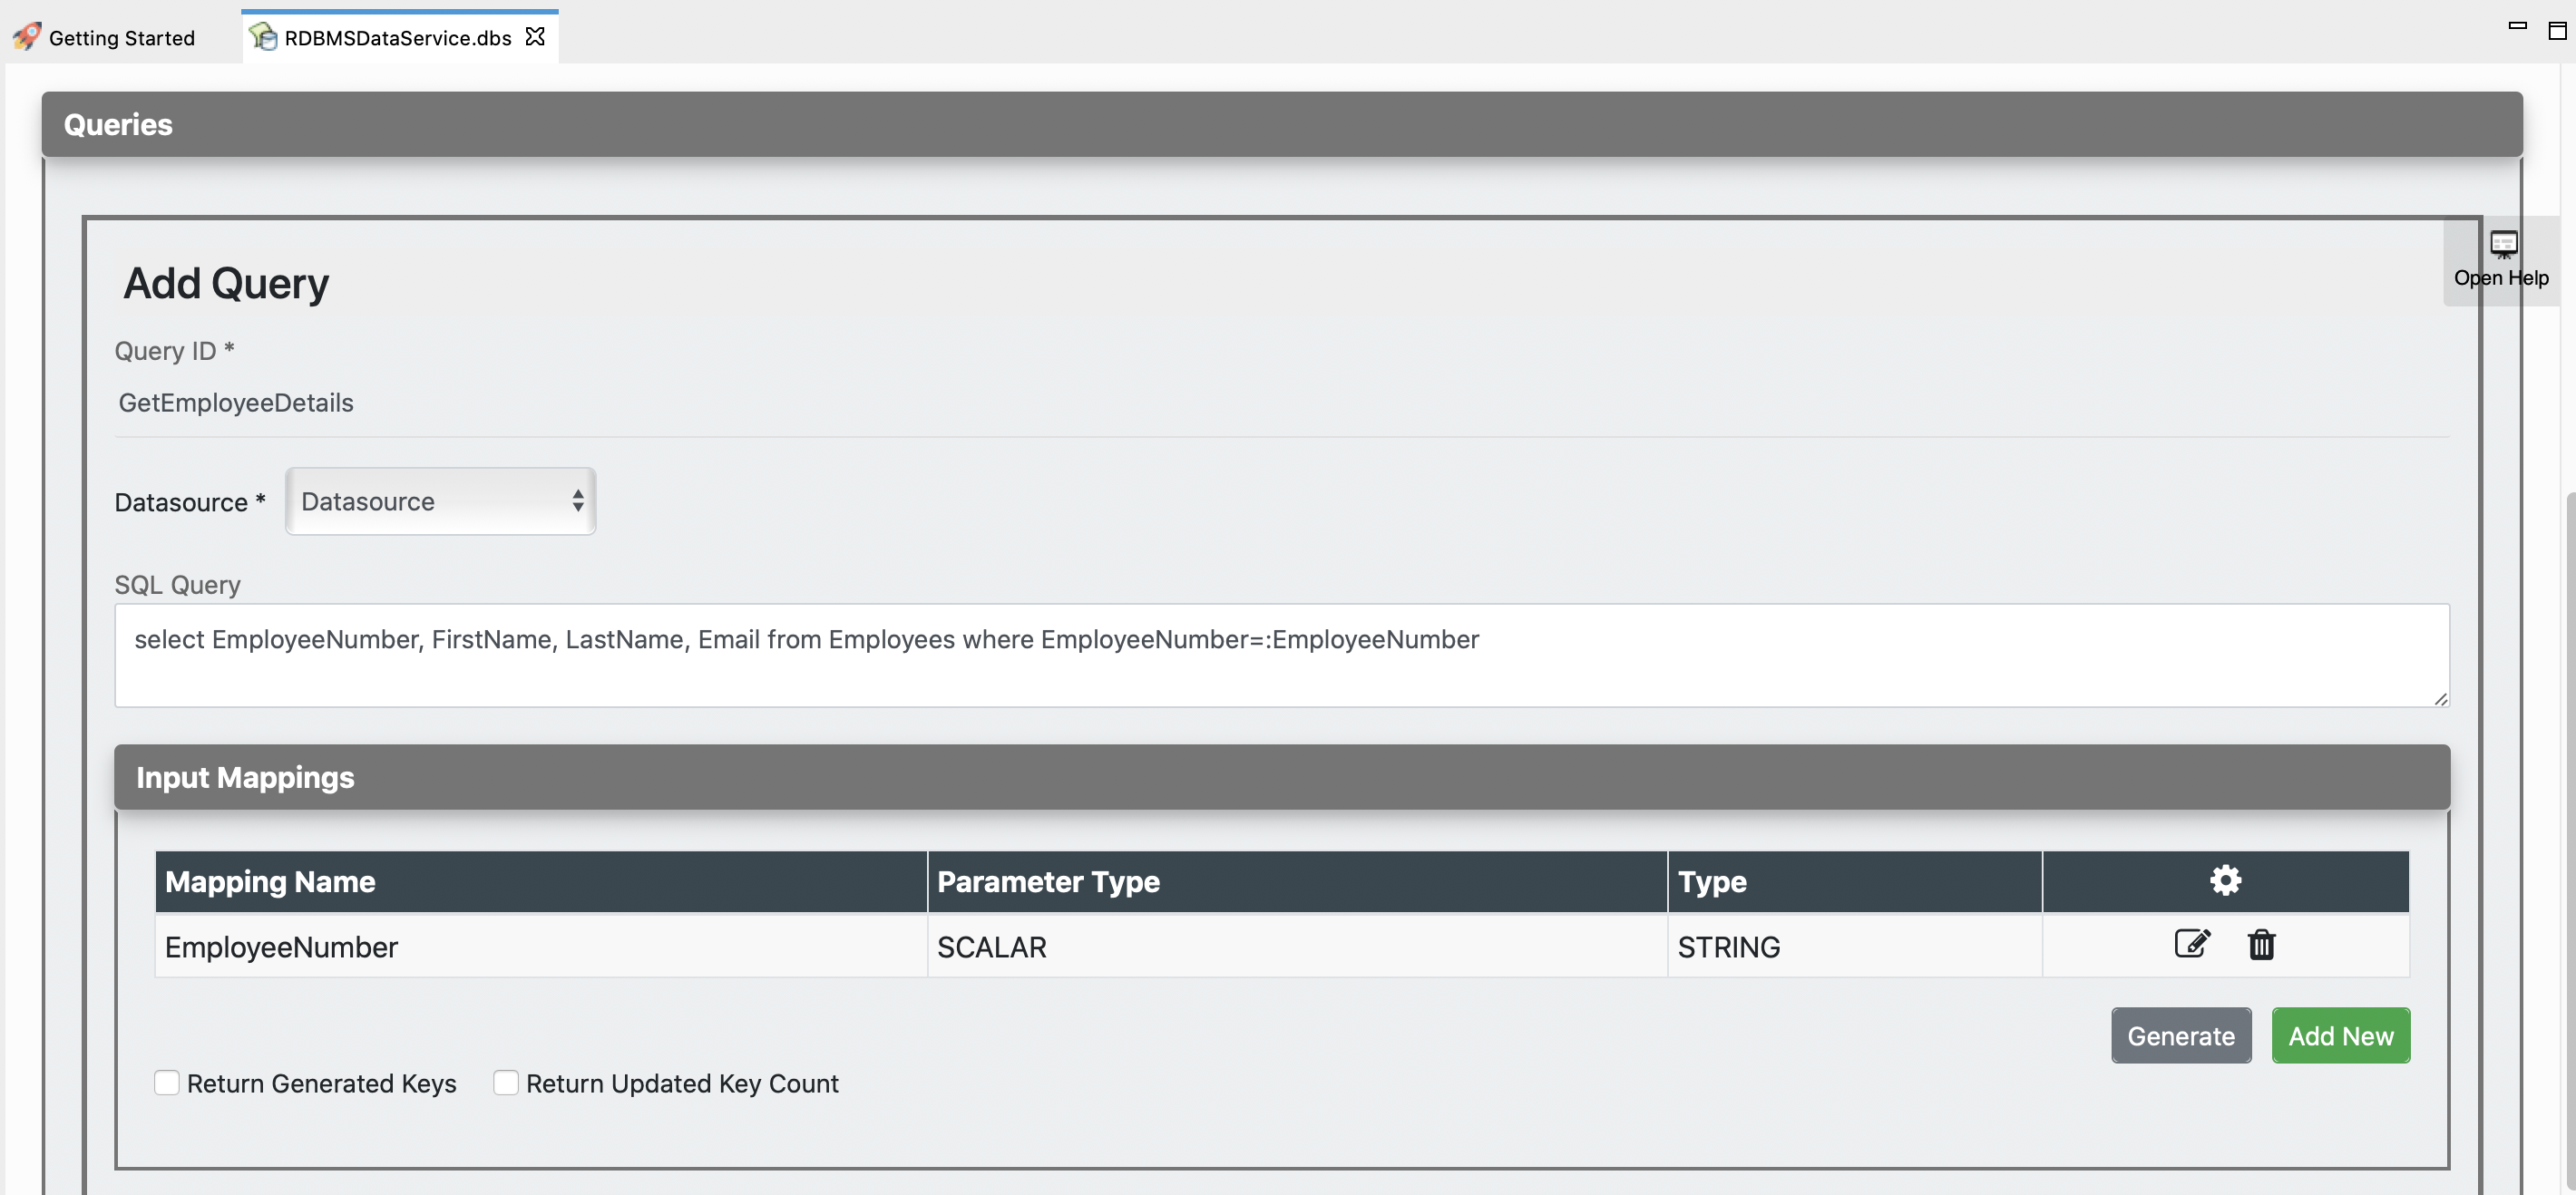
Shown below is an example query with input mapping:
Result (Output Mapping)
You can configure output result parameters for the query using this section.
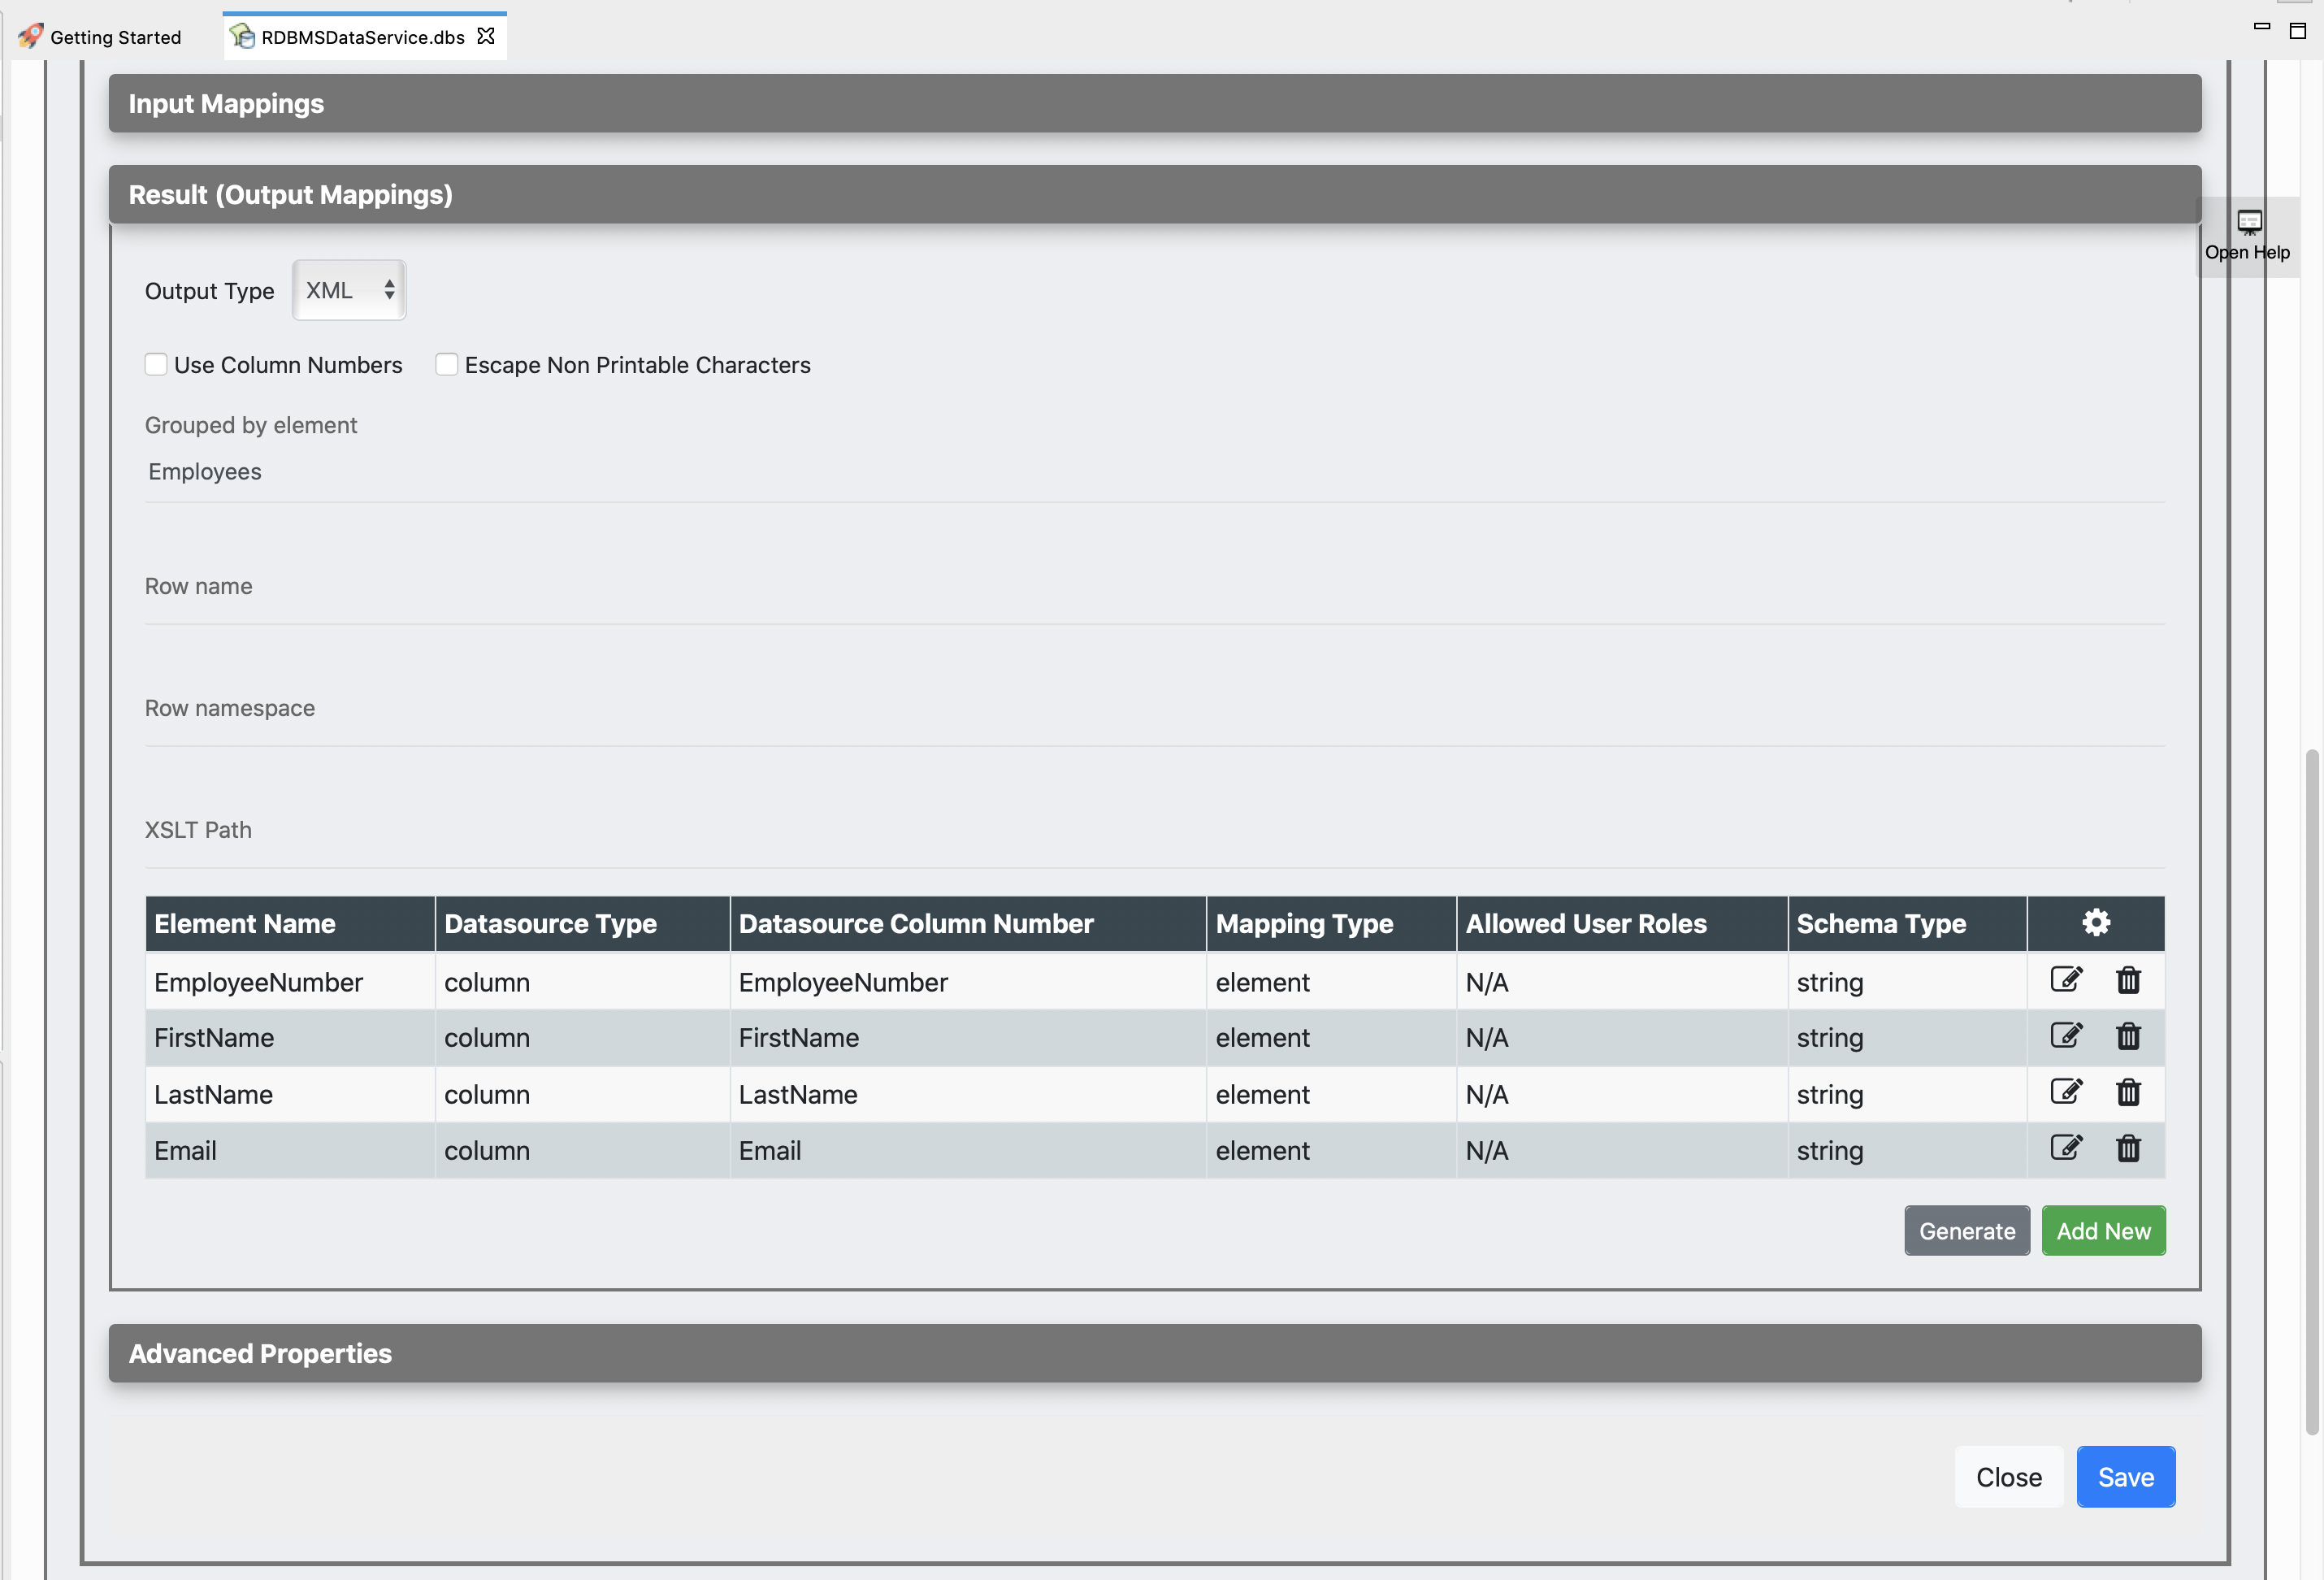
- Click Result (Output Mappings) to expand the section.

- Enter a value for the Grouped by element field to group all the output elements that you will define.
-
There are two ways to create the output elements:
- Click Generate to automatically generate the output elements from the SQL query.
- Alternatively, click Add New to manually create new output elements.
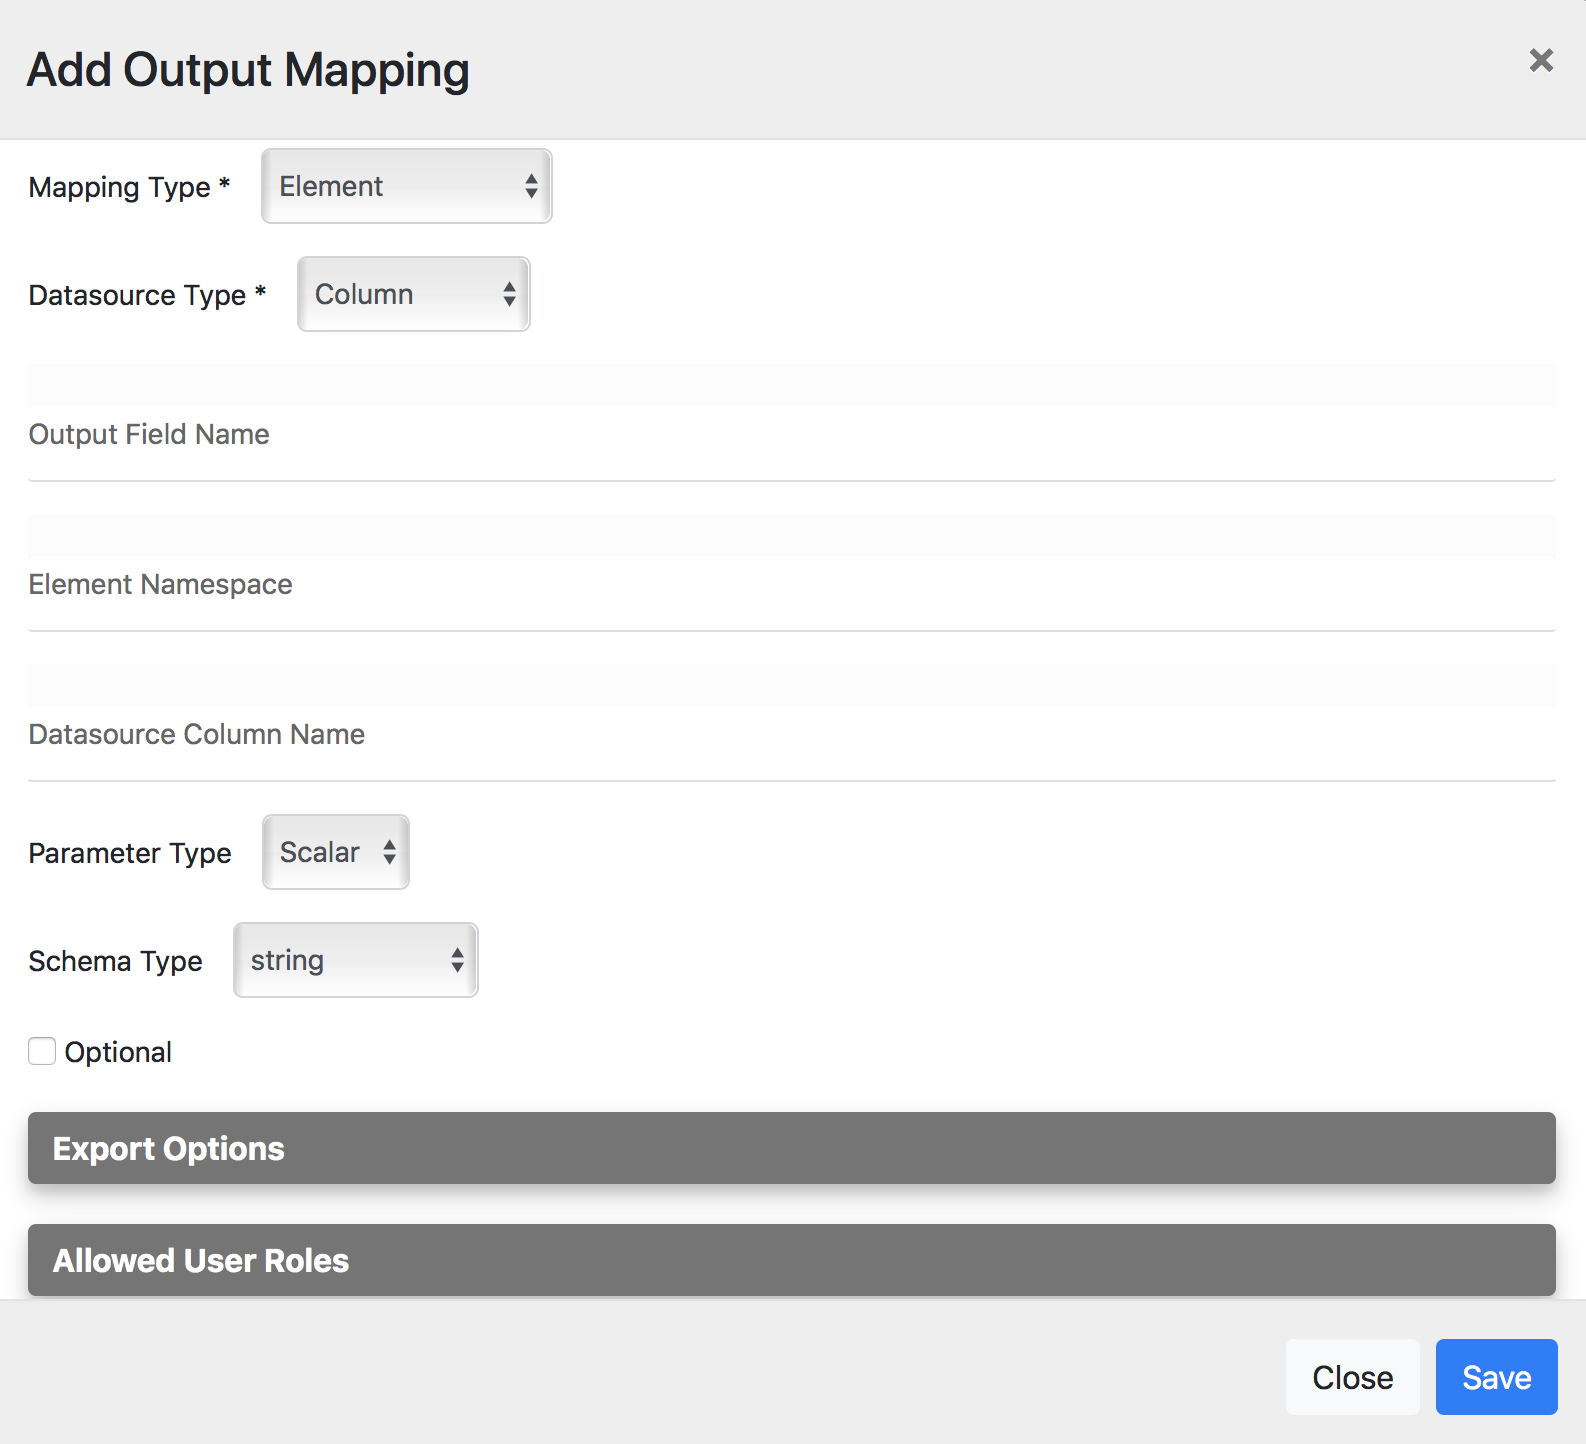
Info
See the complete list of output mapping parameters.
Shown below is an example query with output mappings:
Advanced properties
Click Advanced Properties to expand the section and add the required parameter values.
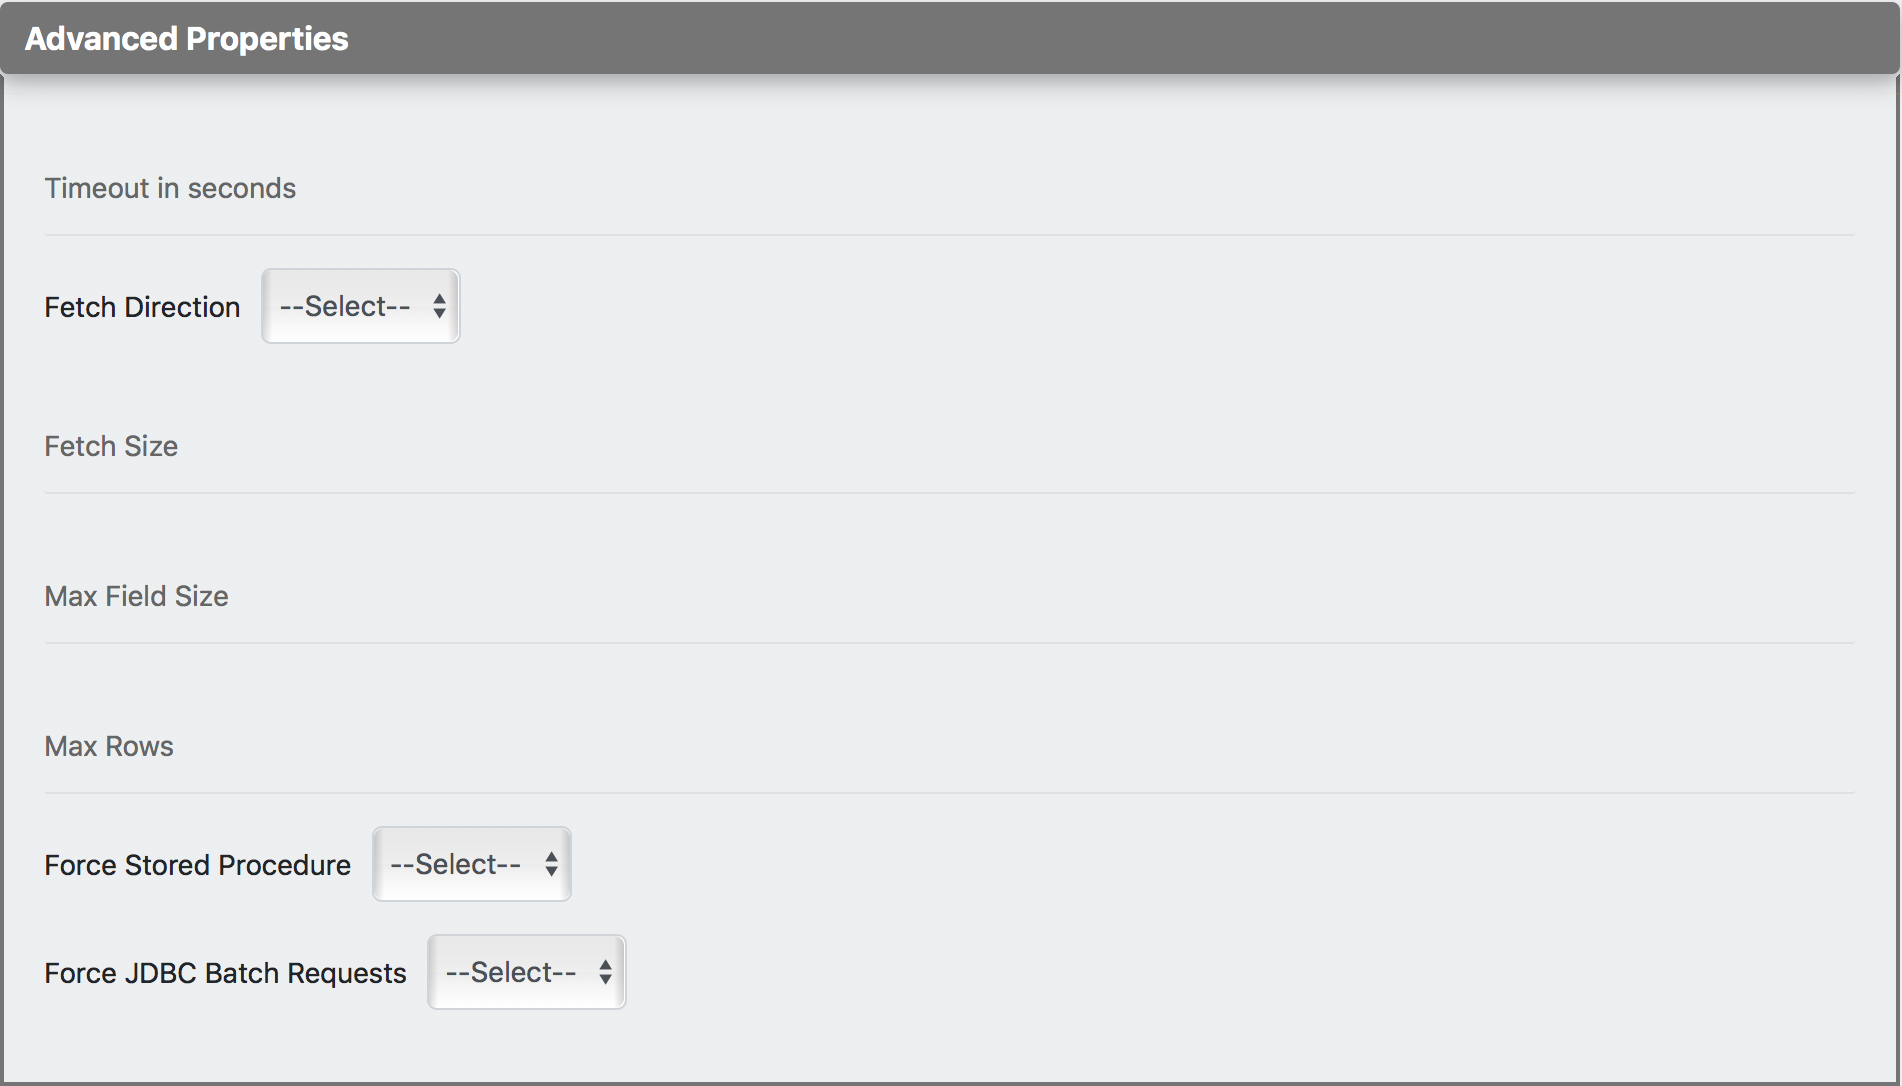
Info
See the complete list of advanced properties.
The data service should now have the query element added.
Adding a SOAP operation
Use this section to configure a SOAP operation for invoking the data service.
-
Click Operations and expand the section:
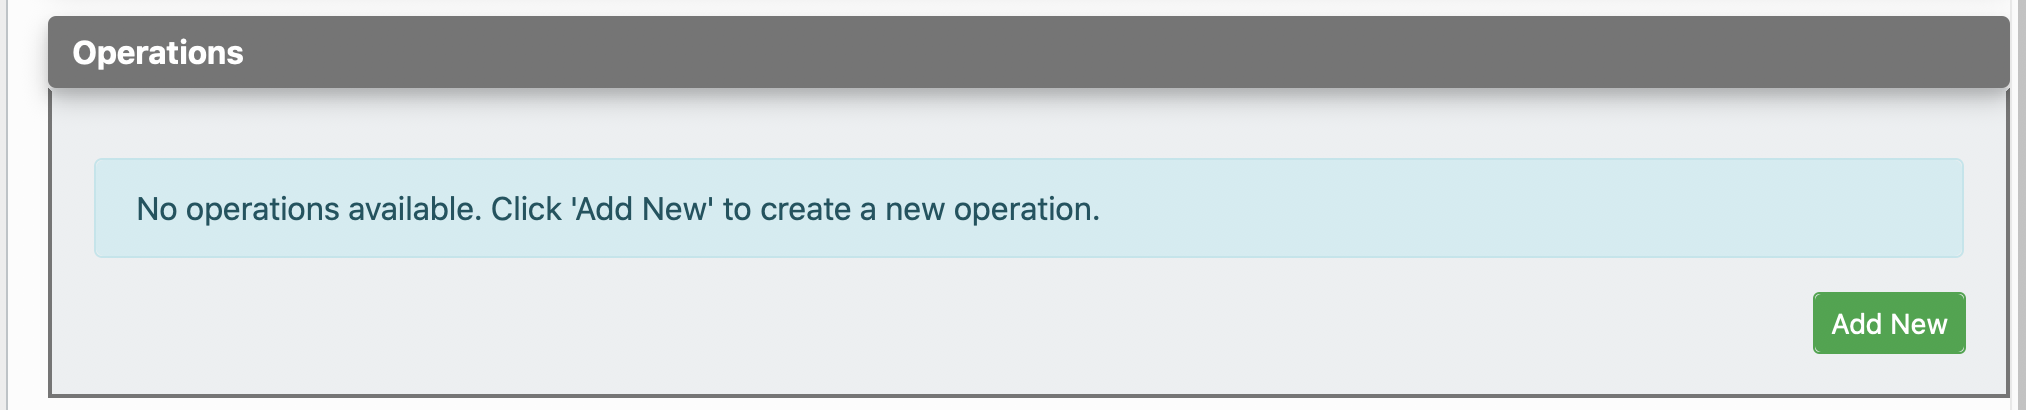
-
Click Add New to add a SOAP Operation for your data service.
-
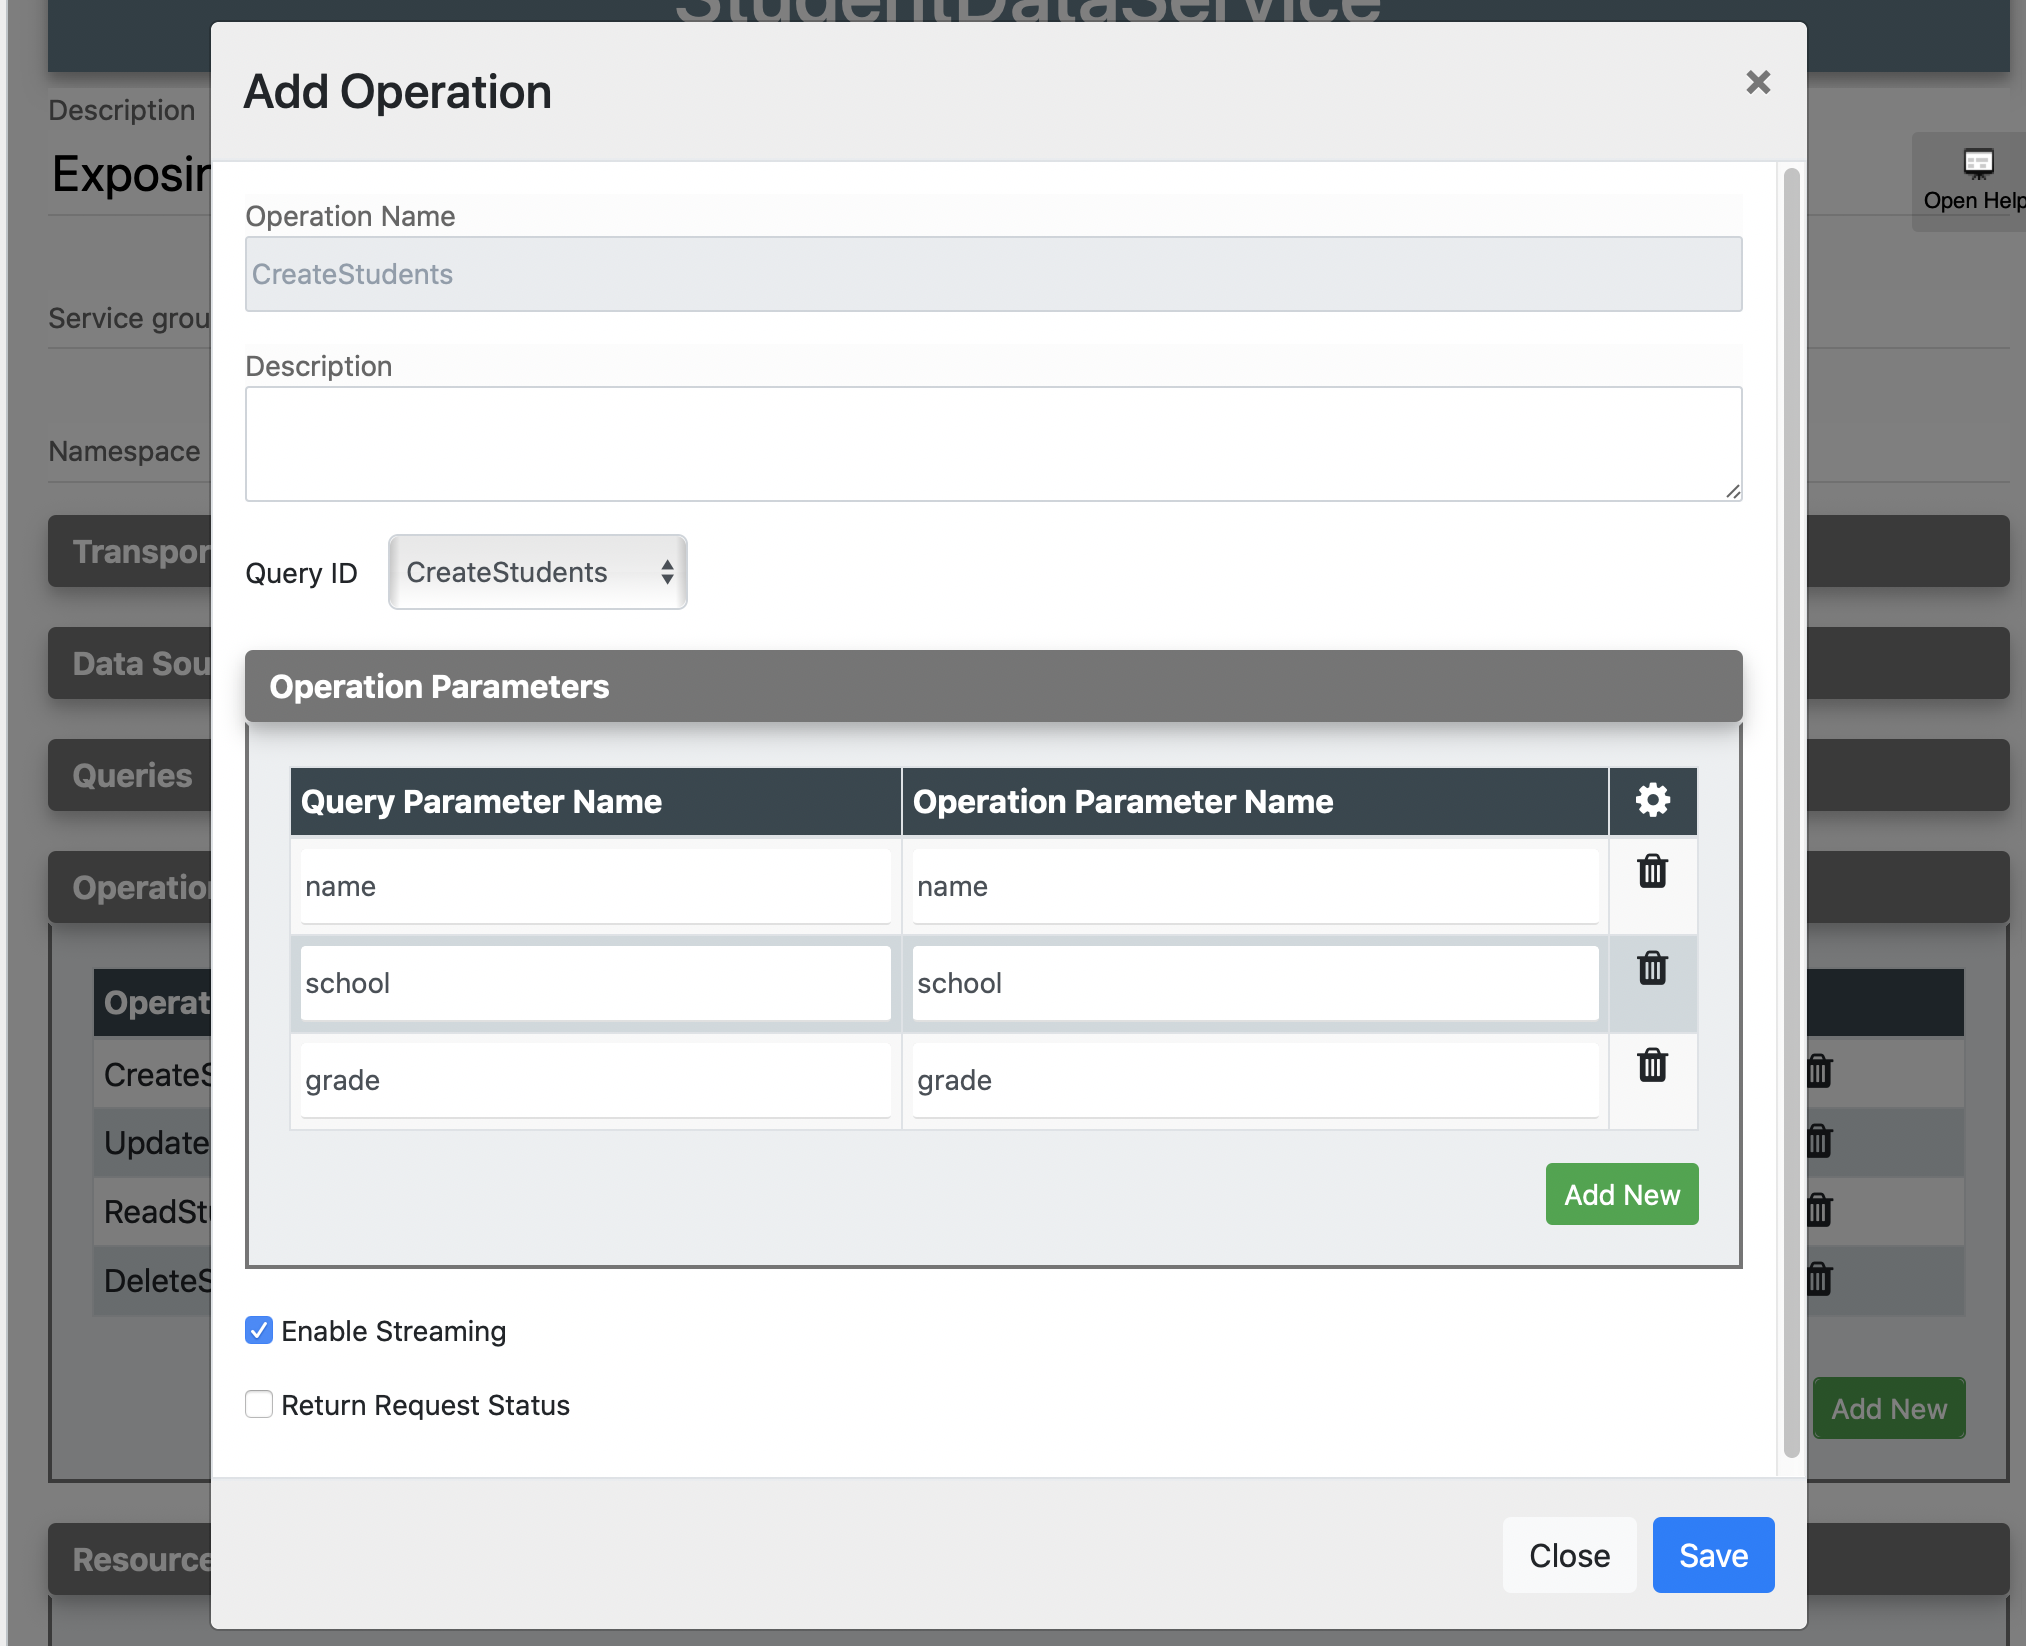
Enter the following information:
Parameter Description Operation Name Give a name to the SOAP operation. Query ID Select the query from the listed queries. Operation Parameters Click Add New and add parameters representing the input elements in your query.
Adding a RESTful Resource
Use this section to configure a REST resource for invoking the data service.
-
Click Resources and expand the section:
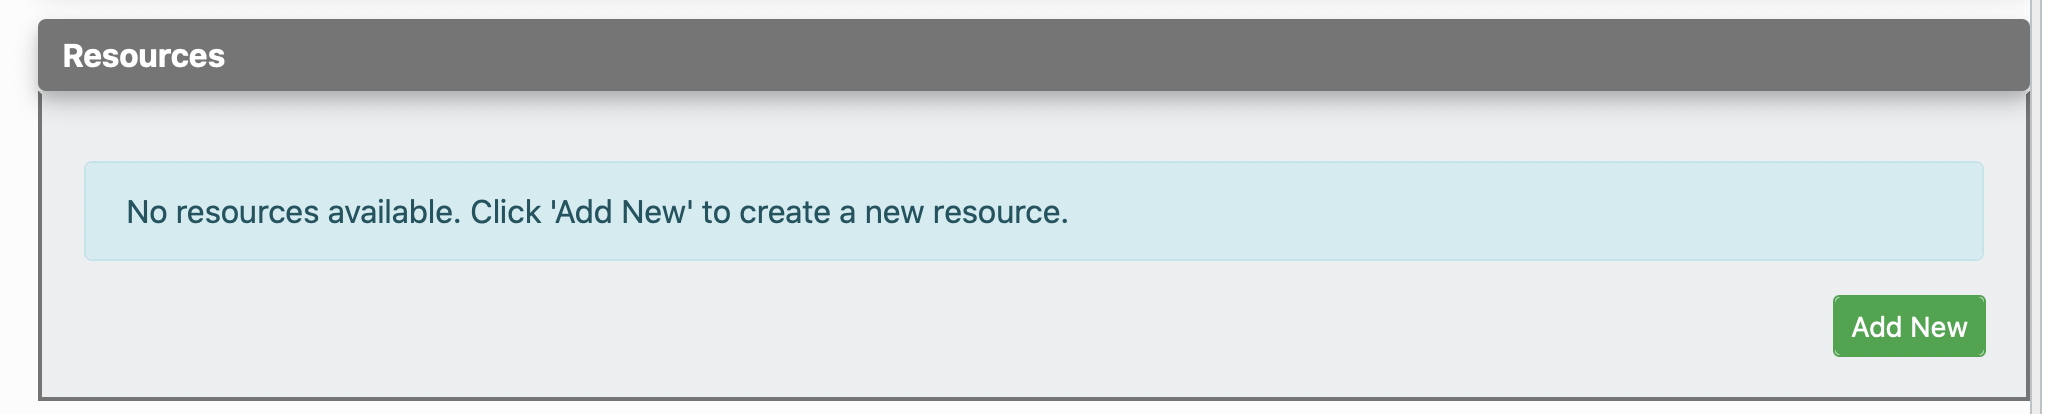
-
Click Add New to add a new resource.
-
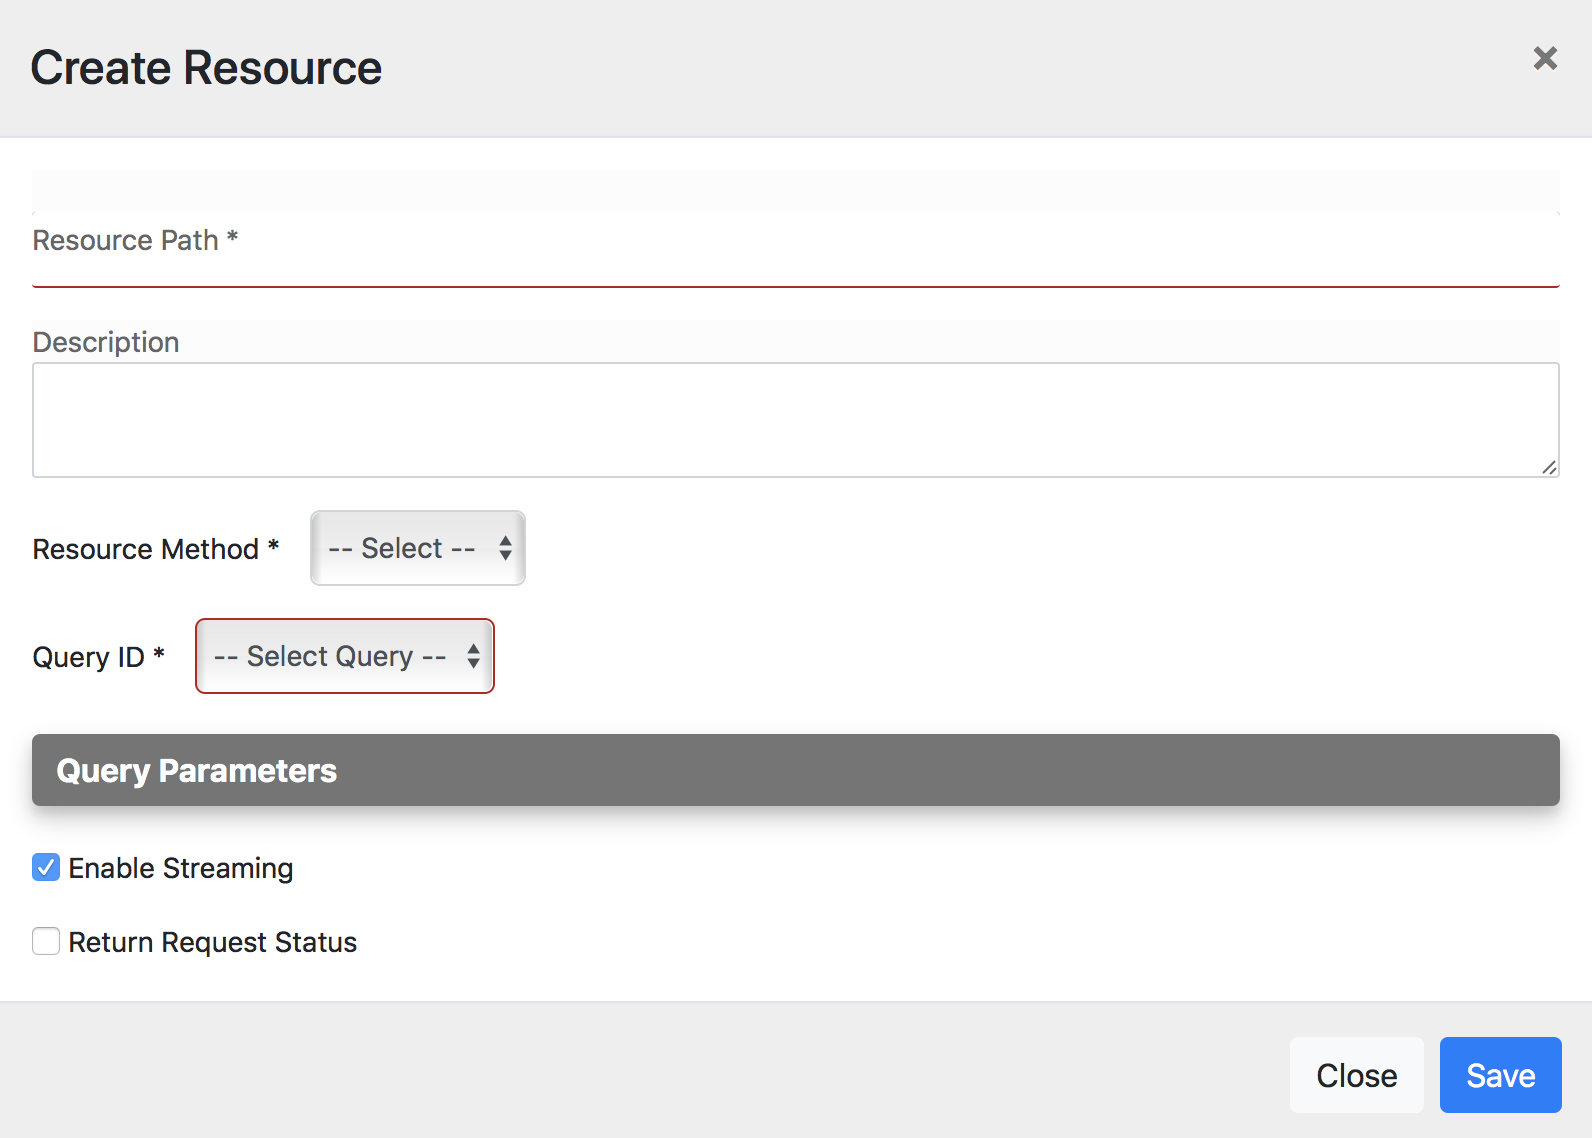
Give the following details to create the REST resource.
Parameter Description Resource Path Give the HTTP REST resource path you need to expose. Query ID Select the Query ID for which you want to create a REST resource. -
Click Save to add the resource to the data service.
The data service should now have the resource added.
Examples
- Exposing an RDBMS Datasource
- Exposing Data in JSON Format
- Using and OData Service
- Using Nested Data Queries
- Batch Requesting
- Invoking Multiple Operations via Request Box
- Using Distributed Transactions in Data Services
- Validating Data Input