Streaming Integrator Quick Start Guide
Introduction
This quick start guide gets you started with the Streaming Integrator (SI), in just 5 minutes.
In this guide, you will download the SI distribution as well as Kafka, and then try out a simple Siddhi application. This Siddhi application consumes messages from a file processes the data, generates an output, and then publishes that output to a Kafka topic.
The following is the outline of this quick start guide.

Step 1: Download the Streaming Integrator
Download the Streaming Integrator distribution from WSO2 Streaming Integrator site and extract it to a location of your choice. Hereafter, the extracted location is referred to as <SI_HOME>.
Step 2: Start the Streaming Integrator
To start WSO2 Streaming Integrator, navigate to the <SI_HOME>/bin directory from the CLI, and issue the appropriate command based on your operating system:
- For Linux:
./server.sh - For Windows:
server.bat --run
Step 3: Download Kafka
Download the Kafka broker from the Apache site and extract it.
This directory is referred to as <KAFKA_HOME> from here on.
Step 4: Create and deploy a simple Siddhi application
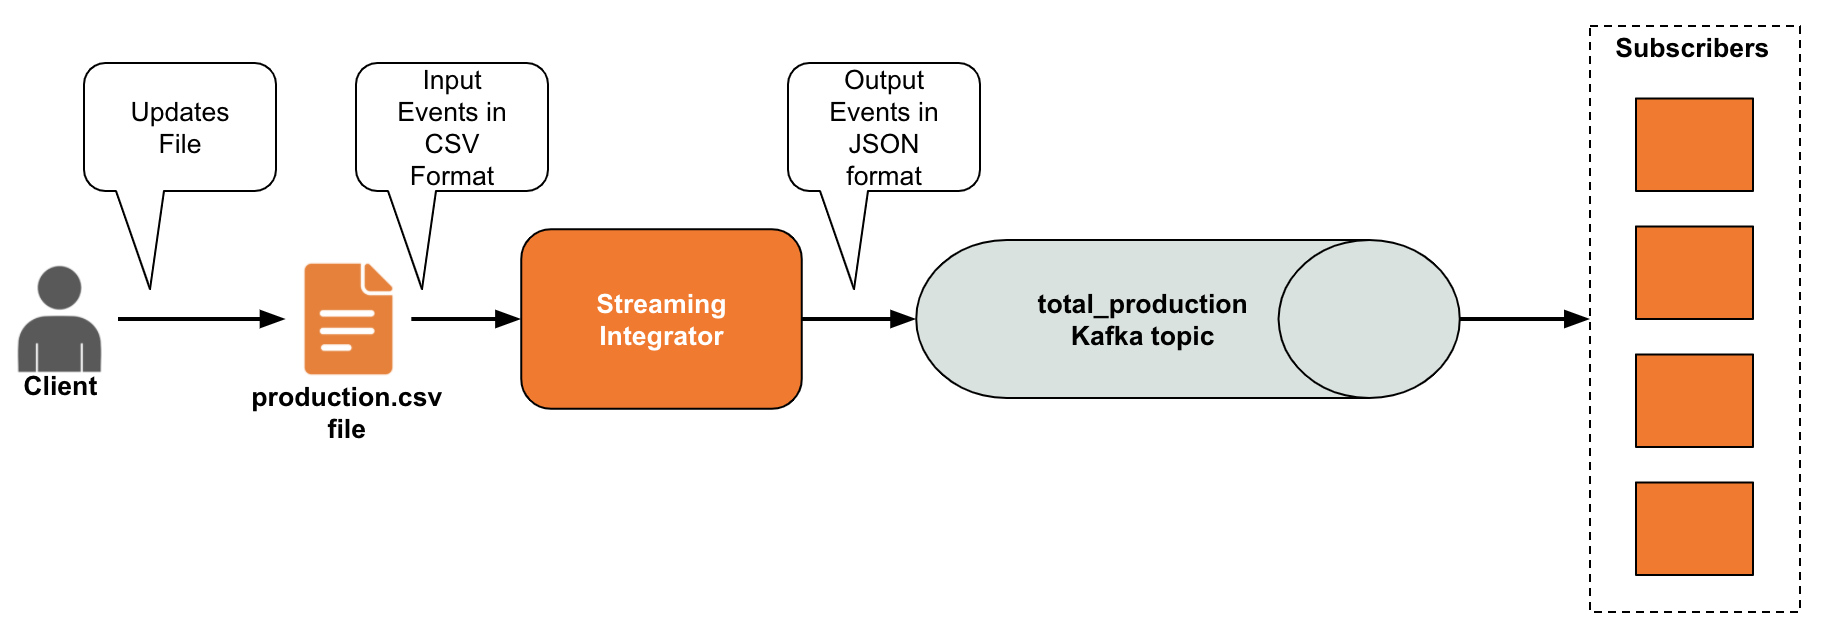
Let's create a simple Siddhi application that reads data from a CSV file, does a simple transformation to the data, and then publishes the results to a Kafka topic so that multiple subscriber applications can have access to that data.
-
Download
productions.csvfile from here and save it in a location of your choice.Info
In this example, the file is located in the
Users/foodirectory. -
Open a text file and copy-paste following Siddhi application into it.
Tip
Here, you are instructed to use a text editor to deploy a Siddhi Application that is already tested in order to minimize the time you spend to follow this guide. It is recommended to design Siddhi application via Streaming Integration Tooling that offers features such as syntax checking, event simulation for testing purposes, reformatting code, the option to design applications in a graphical interface or by writing code, and many more. For more information, see Streaming Integrator Tooling Overview.
@App:name('ManageProductionStats')
@App:description('Receive events via file and publish to Kafka topic')

@source(type = 'file', mode = "LINE", file.uri = "file:/Users/foo/productions.csv", tailing = "true",
    @map(type = 'csv'))
define stream SweetProductionStream (name string, amount double);

@sink(type = 'kafka', bootstrap.servers = "localhost:9092", topic = "total_production", is.binary.message = "false", partition.no = "0",
    @map(type = 'json'))
define stream TotalProductionStream (name string, amount double);

-- Simple Siddhi query to calculate production totals.
@info(name = 'query1')
from SweetProductionStream
select name, sum(amount) as amount
group by name
insert into TotalProductionStream;
The above Siddhi application reads input data from a file named
production.csvin the CSV format, processes it and publishes the resulting output in a Kafka topic namedtotal_production. As a result, any application that cannot read streaming data, but is capable of subscribing to a Kafka topic can access the output. The each input event reports the amount of a specific sweet produced in a production run. The Streaming Integrator calculates the total produced of each sweet with each event. Therefore, each output event reports the total amount produced for a sweet from the time you started running the Siddhi application. -
Save this file as
ManageProductionStats.siddhiin the<SI_HOME>/wso2/server/deployment/siddhi-filesdirectory.This deploys the
ManageProductionStatsin the Streaming Integrator. The following message appears to indicate that the Siddhi application is successfully installed.INFO {org.wso2.carbon.siddhi.editor.core.internal.WorkspaceDeployer} - Siddhi App ManageProductionStats.siddhi successfully deployed.
Step 5: Install the required extensions
The ManageProductionStats Siddhi application uses a Kafka sink. However, the Siddhi extension for Kafka is not installed by default. To install it so that the Siddi application can integrate with Kafka as expected, follow the steps below:
-
Navigate to the
<SI_HOME>/bindirectory and issue the appropriate command based on your operating system:- For Linux:
./extension-installer.sh install - For Windows:
extension-installer.bat install
As a result, a message appears in the terminal with a list of extensions used in your Siddhi application that are not completely installed, and requests you to confirm whether the system should proceed to install them
- For Linux:
-
Enter
Yin the terminal to confirm that you want to proceed to install the required extensions, and then press the return key. Then the following message is displayed to indicate that the extension isinstalled.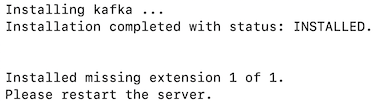
-
Restart the WSO2 Streaming Integrator server as instructed.
Step 6: Start Kafka and create a topic
Let's start the Kafka server and create a Kafka topic so that the ManageProductionStats.siddhi application you created can publish its output to it.
To start Kafka:
-
Navigate to the
<KAFKA_HOME>directory and start a zookeeper node by issuing the following command.sh bin/zookeeper-server-start.sh config/zookeeper.properties -
Navigate to the
<KAFKA_HOME>directory and start Kafka server node by issuing the following command.sh bin/kafka-server-start.sh config/server.properties
To create a Kafka topic named total_production:
-
Navigate to
<KAFKA_HOME>directory and issue the following command:bin/kafka-topics.sh --create --bootstrap-server localhost:9092 --replication-factor 1 --partitions 1 --topic total_production
Step 7: Test your Siddhi application
To test the ManageProductionStats Siddhi application you created, follow the steps below.
-
Open the
/Users/foo/productions.csvfile and add five rows in it as follows:Toffee,40.0
Almond cookie, 70.0
Baked alaska, 30.0
Toffee, 60.0
Baked alaska, 20.0Save your changes.
-
To observe the messages in the
total_productiontopic, navigate to the<KAFKA_HOME>directory and issue the following command:bin/kafka-console-consumer.sh --bootstrap-server localhost:9092 --topic total_production --from-beginning
You can see the following message in the Kafka Consumer log.
{"event":{"name":"Almond cookie","amount":100.0}}
{"event":{"name":"Baked alaska","amount":120.0}}
{"event":{"name":"Toffee","amount":160.0}}
{"event":{"name":"Almond cookie","amount":230.0}}
{"event":{"name":"Baked alaska","amount":260.0}}
{"event":{"name":"Toffee","amount":320.0}}
What's next?
Once you try out this quick start guide, you can proceed to one of the following sections.
-
Learn the basic functionality of the Streaming Integrator in less than 30 minutes by Creating Your First Siddhi Application
-
Try out Streaming Integrator tutorials.
-
Learn how to run WSO2 Streaming Integrator in containerized environments, try Running SI with Docker and Kubernetes